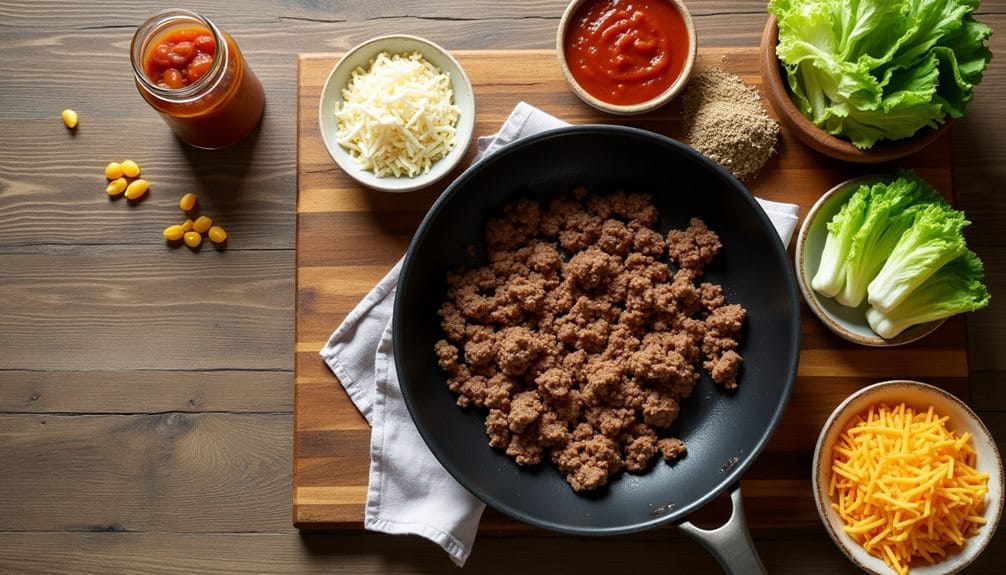
You’ve probably attended a barbecue or potluck where everyone brings a dish. Now, imagine a similar scenario, but this time, you’re hosting a taco night and everyone gets to assemble their own meal. Intrigued? Picture a DIY Taco Board laden with all the fixings: juicy meats, fresh veggies, a rainbow of salsas, and, of course, warm tortillas. You’re not just providing a meal, but an entire experience that encourages creativity and conversation. Ready to discover how to create this interactive dining masterpiece?
History
Believe it or not, the humble taco has a rich and vibrant history that dates back centuries. Originating from Mexico, it was a meal of necessity, crafted by workers in silver mines. They would wrap tortillas around simple fillings, creating an easy-to-carry meal. Over time, these ‘tacos de minero’ or miner’s tacos became a staple across the nation.
The taco’s journey to America began in the early 1900s, with migrants who brought their culinary traditions with them. Your favorite taco toppings, like ground beef, lettuce, and cheese, were actually American adaptations. These took off in popularity, leading to the creation of the hard-shell taco by Glen Bell, the founder of Taco Bell.
Today, the taco is a symbol of fusion cuisine, appreciated globally for its versatility. From traditional fillings like carnitas and barbacoa to unconventional ones like Korean bulgogi or vegan jackfruit, tacos have evolved to suit diverse palates. So next time you prepare your DIY Taco Board with All the Fixings, remember, you’re not just making dinner, you’re participating in a culinary tradition that spans continents and centuries. Now, isn’t that something to taco ’bout?
Recipe Cooking Steps
If you’re in the mood for a simple, customizable, and delicious dish, then this DIY Taco Board with All the Fixings is just what you need. Perfect for any occasion, this recipe allows you to whip up a satisfying meal in no time at all. With only five main ingredients, you can create a scrumptious taco spread that caters to all tastes. Whether you’re feeding a family, hosting a party, or just craving a casual yet hearty meal, this recipe has got you covered.
The beauty of this DIY Taco Board lies in its flexibility. You can easily interchange ingredients based on your personal preference or dietary requirements. From classic beef tacos to a healthier vegetarian alternative, this recipe accommodates all. And the best part? It’s incredibly easy to make!
Ingredients:
- 1 pound of ground beef or turkey
- 1 packet of taco seasoning
- 1 head of lettuce, chopped
- 2 cups shredded cheese (Mexican blend)
- 1 jar of salsa
Begin by cooking the ground beef or turkey in a large skillet over medium heat until no pink remains. Drain any excess fat, then stir in the taco seasoning until the meat is thoroughly coated. While the meat cooks, prepare your taco board. Arrange the lettuce, cheese, and salsa in separate bowls or sections on the board. Once the meat is fully cooked, add it to the board. Your DIY Taco Board is now ready for assembly. Simply grab a lettuce leaf, pile on some meat, sprinkle with cheese, and finish with a dollop of salsa. Repeat until you’ve created your perfect taco.
Here are a few additional tips to enhance your DIY Taco Board experience. If you’re catering for a larger group, don’t hesitate to double or even triple the recipe. Consider adding more toppings such as guacamole, sour cream, diced tomatoes, or jalapenos for an extra burst of flavor and texture. Finally, to keep your tacos warm for longer, you might want to heat your serving platters before placing the ingredients. Happy taco making!
Step 1. Beginning Meat Preparation
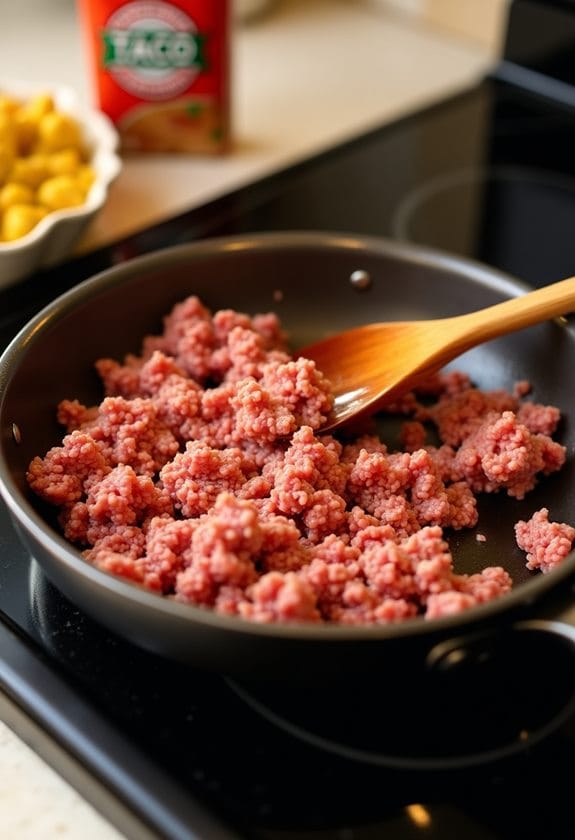
Start by getting your skillet nice and hot over medium heat. You’re about to begin the first leg of your DIY Taco Board journey: meat preparation. Go on, grab that pound of ground beef or turkey. You can choose either depending on your preference. Beef lends a robust flavor while turkey offers a leaner option.
Once your skillet’s hot, it’s time to introduce your meat to the pan. Hear that sizzle? That’s the sound of flavor development. Cook the meat, breaking it up as it sizzles away. You’re aiming for a crumbly texture here, not large chunks. Keep stirring until there’s no pink left. This should take about 5-7 minutes.
Next, it’s time to drain the excess fat. A slotted spoon works best for this task. Remember, you want your meat flavorful, not greasy. Once that’s done, remove the skillet from the heat. Now, you’ve got a skillet full of perfectly browned, crumbled meat, ready for the next step. Remember, we’re not adding the taco seasoning just yet. That’s for the next subtopic. So, stay tuned!
Step 2. Taco Seasoning Addition
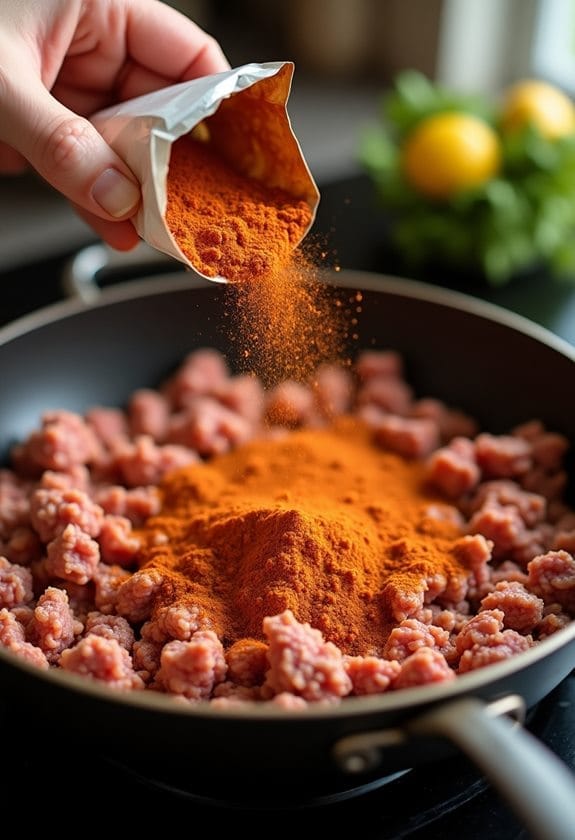
Now, it’s time for the game-changer – the taco seasoning. This simple yet potent mix is what gives your tacos their signature kick and depth of flavor. You’ve cooked your chosen meat until it’s no longer pink and drained any excess fat. So, go ahead, open that packet and sprinkle it all over your meat. Stir it in well so every bit of meat is coated with the vibrant spices.
As the seasoning sizzles and melds with the meat, your kitchen will fill with an aroma that screams, ‘It’s taco time!’ Be patient, let the meat simmer a bit. This allows the flavors to really penetrate and will make your taco filling taste even better.
Step 3. Taco Board Assembly Initiation
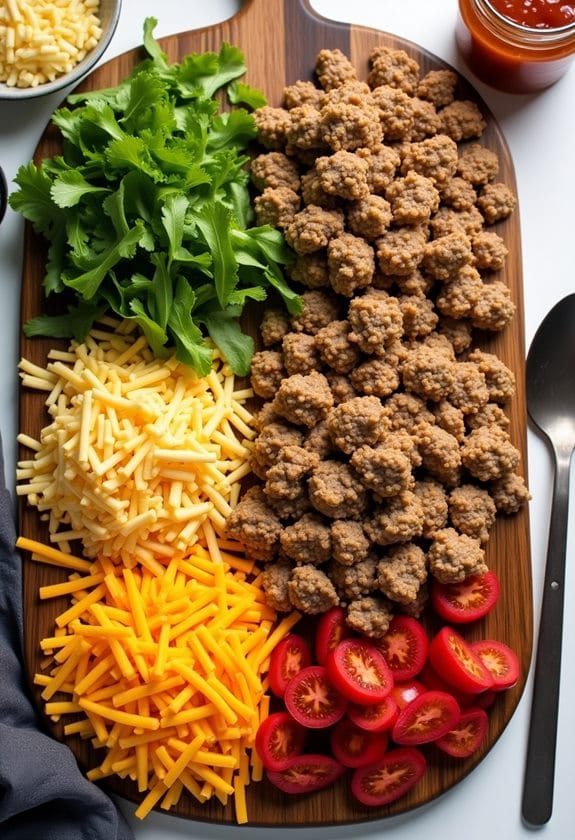
Often, the real fun begins when it’s time to assemble your taco board. With all your ingredients prepped and ready, it’s time to lay out the feast. Start by arranging bowls of your chopped lettuce, shredded cheese, and salsa on the board. Make it visually appealing – maybe a pattern or just a color balance, that’s up to you.
Next, add your cooked, seasoned meat to the board. Remember, presentation is key. Use a serving dish that complements your board’s aesthetic.
Now, the stage is set for everyone to create their own taco masterpieces. Encourage your guests to grab a lettuce leaf, pile on some meat, sprinkle cheese, and drizzle salsa on top.
But don’t limit to just these items. Feel free to add more toppings like guacamole, sour cream, diced tomatoes, or jalapenos. And if you’re entertaining a crowd, don’t hesitate to double or even triple the recipe.
Lastly, a pro-tip: to keep tacos warm longer, consider heating your serving dishes before adding the ingredients. You’re now ready to enjoy your DIY Taco Board. Happy assembling!
Step 4. Initial Taco Assembly Start
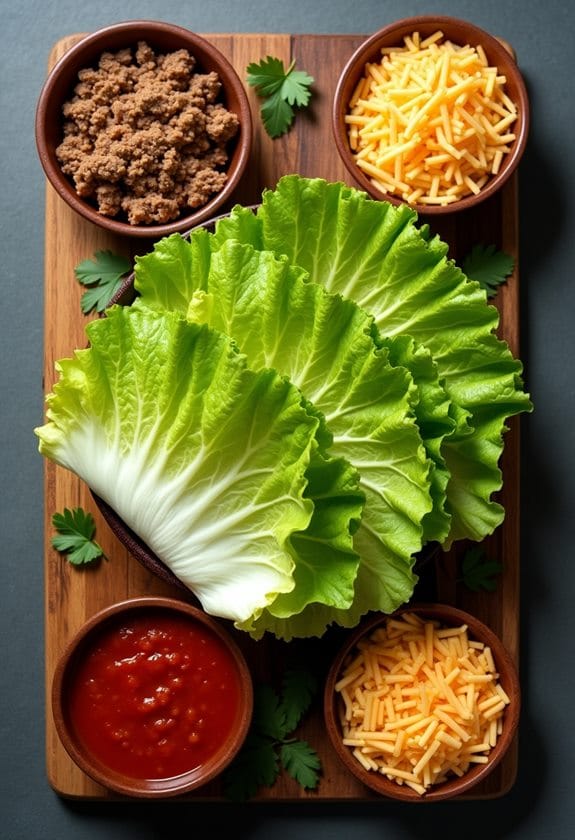
Let’s dive right into the cooking process for our DIY Taco Board. First, brown your pound of ground beef or turkey in a large skillet over medium heat. Make certain it’s thoroughly cooked, so there’s no pink left. Then, drain that excess fat. You’re after the rich flavors, not the grease.
Next, add your packet of taco seasoning. Stir it well to guarantee your meat gets a nice, even coating. While your meat is simmering, start prepping your taco board. Lay out your chopped lettuce, shredded cheese, and salsa in their own sections. This makes your board look enticing and organized.
Once your meat is ready, place it on the board. Then, the fun part begins! Grab a lettuce leaf, top it with meat, sprinkle on some cheese and finish with a dash of salsa. Keep it going until you’re content with your taco selection.
Just a few tips: Consider doubling the recipe for a large crowd. And don’t shy away from extra toppings like guacamole or diced tomatoes. Finally, preheat your serving platters to keep your tacos warm. Enjoy your DIY Taco Board!
Step 5. Taco Customization and Serving
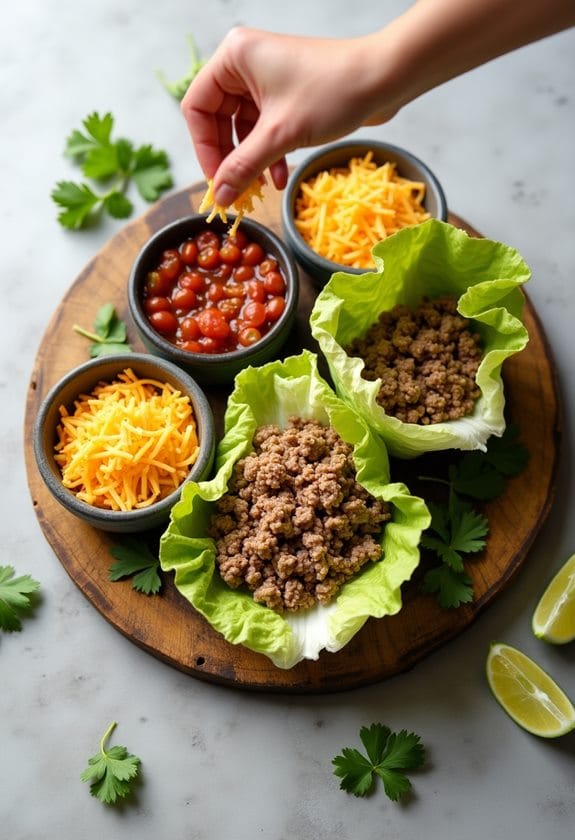
Time to kick your taco game up a notch! Your DIY Taco Board is ready, but the real fun begins with customization. You’ve got your base ingredients: seasoned meat, lettuce, cheese, and salsa. Now, it’s time to make it your own.
Choose your favorites or try something new. Maybe you’re a guacamole guru or a sour cream specialist. Or perhaps you like to turn up the heat with jalapenos or diced tomatoes. It’s your board, so pile on those flavors!
Next, consider your guests. If you’re serving a larger crowd, don’t hesitate to double or triple the recipe. And remember, variety is the spice of life, so offer an array of toppings to cater to different tastes.
When it comes to serving, presentation is key. Arrange your ingredients neatly on your board. Keep your warmed tortillas and the seasoned meat in the center and your toppings around them.
New Recipe
- Pepperoni and Hot Honey PizzaTry the tantalizing twist of pepperoni pizza with hot honey, where sweet meets heat—how will it transform your taste buds?
Final Thoughts
Why not transform your next meal into a fun and engaging DIY Taco night? With a little planning and preparation, you can treat your loved ones to a custom taco feast that’s as entertaining as it is delicious.
Here’s a quick recap of what you need to remember:
- Be Creative – There’s no “right” way to make a taco, so feel free to experiment with different ingredients and flavors.
- Prep Ahead – To keep things stress-free, chop all your veggies and cook your meat in advance. This way, you’ll only need to assemble everything when it’s time to eat.
- Offer Variety – Provide a mix of traditional and unique toppings to cater to all tastes. Spicy salsa, creamy guacamole, tangy sour cream, and crunchy veggies are all great choices.
- Enjoy the Process – Remember, the goal is to have fun. Don’t stress about making everything perfect. The beauty of a DIY taco board is that it’s meant to be an interactive and enjoyable experience.

