Imagine the crunch of fresh tortilla chips, the melt of cheese, and the tang of spicy salsa coming together in a perfect bite. You’re hosting a party, and instead of the usual buffet, you’ve opted for a DIY Nacho Bar. It’s a simple yet creative solution that allows your guests to craft their own delicious plates of nachos. But will it be as easy as it sounds? And how can you guarantee that this food station caters to everyone’s tastes? Stay with me, as we’re about to explore how to make this idea a resounding success.
History
While it’s hard to pinpoint the exact origin of the nacho, it’s widely accepted that this delicious dish was born in the border town of Piedras Negras, Mexico. This simple yet savory snack was first whipped up on the fly by a savvy maître d’, Ignacio “Nacho” Anaya, when a group of hungry U.S. military wives crossed the border for a meal.
Using what he had on hand, Anaya topped some tortilla chips with cheese and jalapenos, then popped them in the oven. The result? An instant crowd-pleaser that was named ‘Nacho’s Especiales’. Over time, this dish, known now simply as ‘nachos’, spread beyond the borders of Piedras Negras, crossing cultures and cuisines, and becoming a beloved food worldwide.
The beauty of nachos lies in their versatility. From their humble beginnings as a three-ingredient snack, they’ve evolved into a canvas for culinary creativity. Today, you can find nachos topped with everything from traditional Mexican ingredients to unique, modern twists. It’s this spirit of innovation that keeps the legacy of Ignacio Anaya alive, making nachos a timeless favorite.
Recipe Cooking Steps
If you’re searching for a fun and customizable dish to serve at your next gathering, seek no further than a DIY Nacho Bar. This easy-to-prepare dish allows your guests to build their own nachos to their liking, guaranteeing everyone gets exactly what they want. The base of the dish is a crispy tortilla chip, topped with a variety of ingredients. The beauty of this dish is that it requires minimal cooking and can be assembled in no time.
The key to a successful DIY Nacho Bar is to offer a variety of toppings. This simple recipe includes traditional Mexican ingredients like salsa, cheese, and jalapenos, but feel free to get creative and add your favorites. Shredded chicken, olives, or even beans can add a unique twist to your Nacho Bar. Remember, the goal is to cater to different tastes and make the nacho bar as enjoyable as possible for your guests.
Ingredients:
- 1 large bag of tortilla chips
- 1 jar of salsa
- 2 cups of shredded cheese (Cheddar, Monterey Jack, or a blend)
- 1 jar of pickled jalapenos
- 1 can of black beans, drained and rinsed
Start by spreading the tortilla chips on a large serving platter or in individual serving bowls. Next, sprinkle a generous amount of shredded cheese over the chips, followed by the black beans. Heat the nachos in the oven or microwave until the cheese is melted and bubbly. Once the nachos are out of the oven, top them with salsa and pickled jalapenos. Be sure to serve immediately while the cheese is still warm and melted.
Here are a few tips to keep in mind while preparing your DIY Nacho Bar. Choose thick, sturdy tortilla chips that can hold up to the toppings. If you’re using the oven to melt the cheese, arrange your chips in a single layer to guarantee even heating. And don’t forget, feel free to get creative and add more toppings as per your guests’ preference. After all, the goal is to have a variety of flavors and textures to make your nacho bar interesting and enjoyable.
Step 1. Spreading Tortilla Chips Step
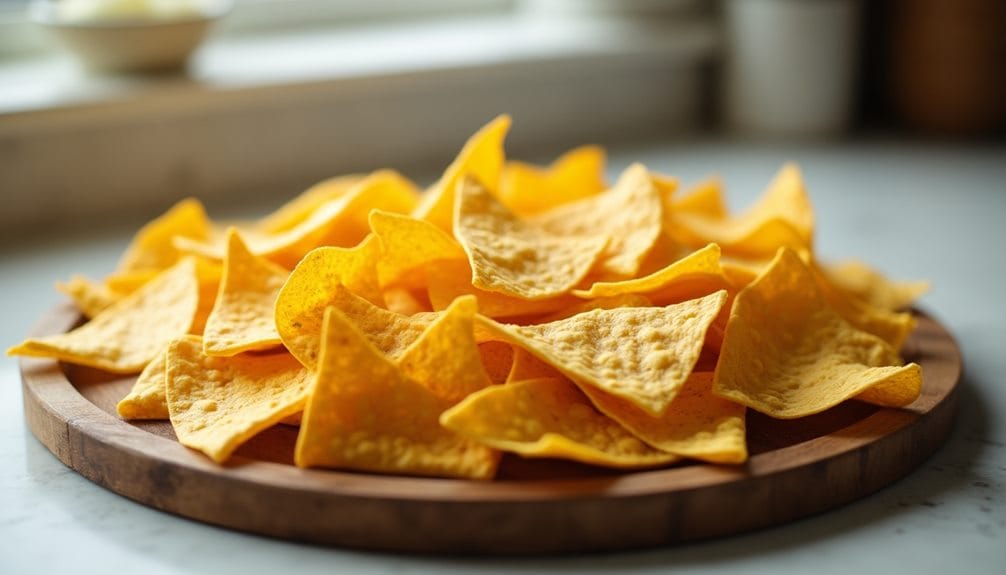
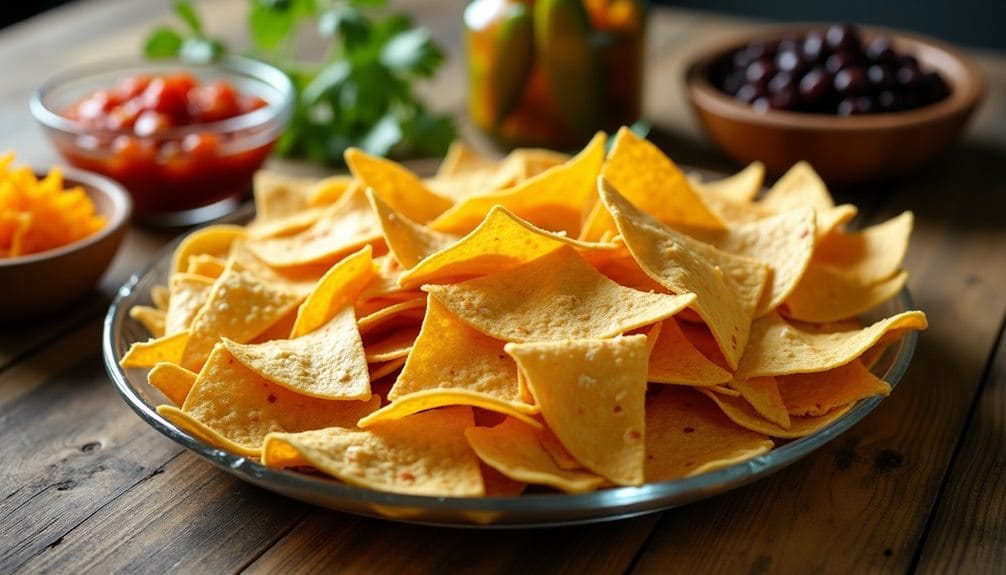
Before you begin piling on the toppings, it’s important to spread out your tortilla chips. This step is essential as it forms the base of your nacho masterpiece. Start by selecting a large platter or tray. It’s got to be big enough to hold all your chips and toppings, so don’t hold back. Next, grab your bag of tortilla chips. Choose sturdy ones as they’ll need to hold up under the weight of your toppings.
Now, it’s time to spread. Scatter your chips across the platter, aiming for a single layer. You don’t want chips buried underneath, unable to reach the toppings. Make sure each chip has its own space on the tray. This guarantees even distribution of toppings, and also makes it easier for your guests to grab a chip without bringing half the pile with it.
Take a moment to admire your work. You’ve created a canvas of golden, crunchy tortilla chips, just waiting to be adorned with delicious toppings. This is the foundation of your DIY nacho bar, a simple but essential part of the process. Next up, the fun part: toppings! But remember, we’re not there just yet.
Step 2. Cheese and Beans Addition
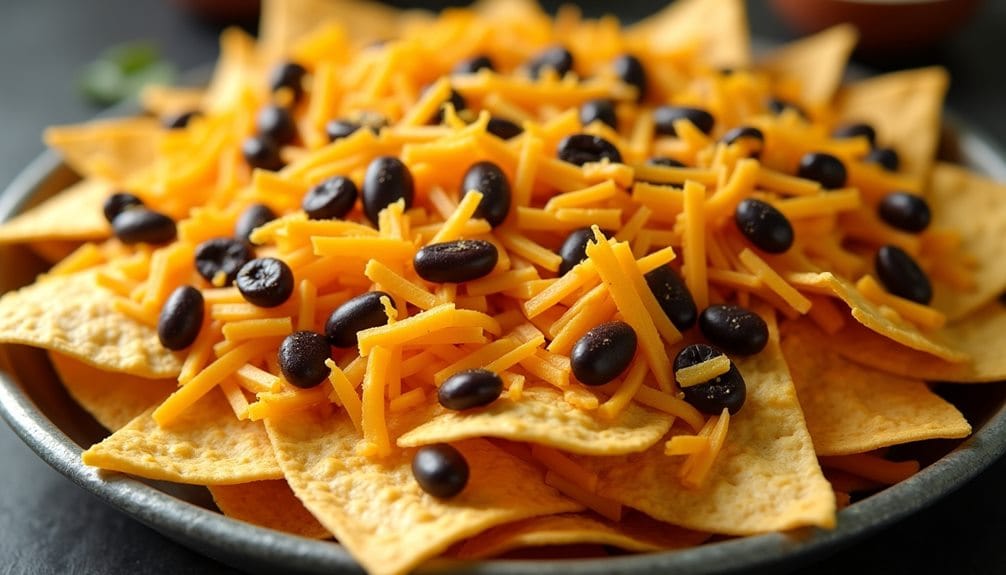
Now it’s time for the hearty additions to your nacho bar: cheese and beans. Start by generously sprinkling your preferred type of shredded cheese over the tortilla chips. You can’t go wrong with a classic cheddar, but a Monterey Jack or a blend also works wonders. Remember, it’s your nacho bar, so feel free to mix and match until you find your perfect cheesy blend.
Next, it’s time to add the beans. A can of black beans, rinsed and drained, provides a lovely contrast and an extra punch of protein. Scatter these evenly over your cheese-sprinkled chips. If black beans aren’t your thing, substitute them with another variety like pinto or kidney beans.
These additions aren’t just for taste; they also provide texture and depth to your nachos. The melting cheese gives a rich, gooey element while the beans offer a soft bite amidst the crunch of tortilla chips.
Step 3. Heating Nachos in Oven
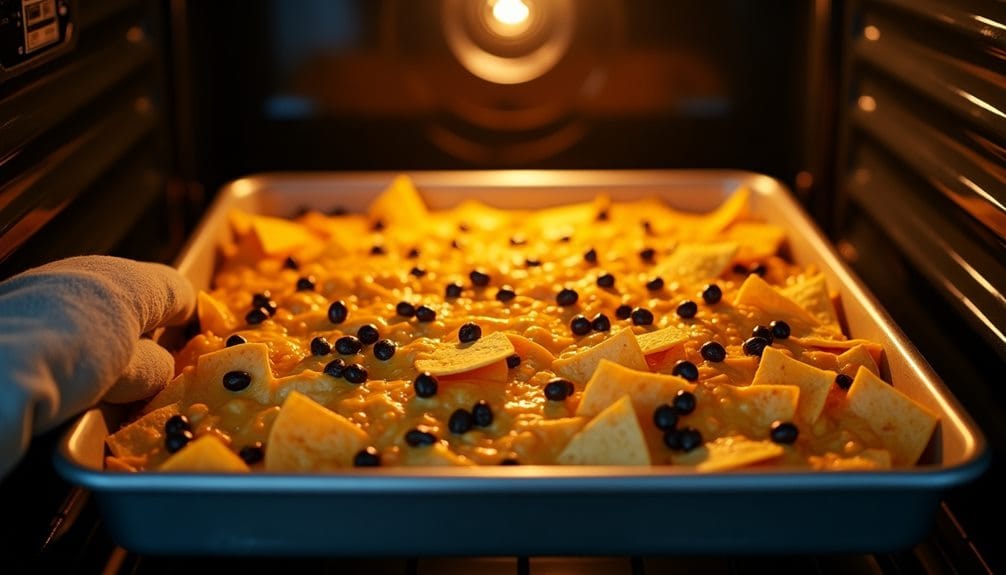
Ready to crank up the heat? Now’s the time in your DIY nacho bar process. This step is all about getting those nachos nice, hot and cheesy. Preheat your oven to 375 degrees. The ideal temperature for melting cheese without burning your chips.
Take your platter or individual bowls filled with the tortilla chips, cheese, and beans. Pop them in the oven. Keep an eye on it, you’ll want to remove them when the cheese is fully melted. It’ll usually take about 5-7 minutes.
You might be tempted to crank up the heat even more to speed up the process. Resist that temptation. Higher heat could lead to your chips burning before your cheese gets a chance to fully melt.
Once you see that beautifully melted cheese, remove your nachos from the oven. Be careful, it’s hot. Let it cool for a minute or two so you don’t burn your mouth.
You’ve now mastered the art of heating nachos in the oven. This simple step takes your DIY nacho bar to the next level, making your nachos warm, comforting, and irresistibly cheesy. Remember, patience is key.
Step 4. Salsa and Jalapenos Topping Step
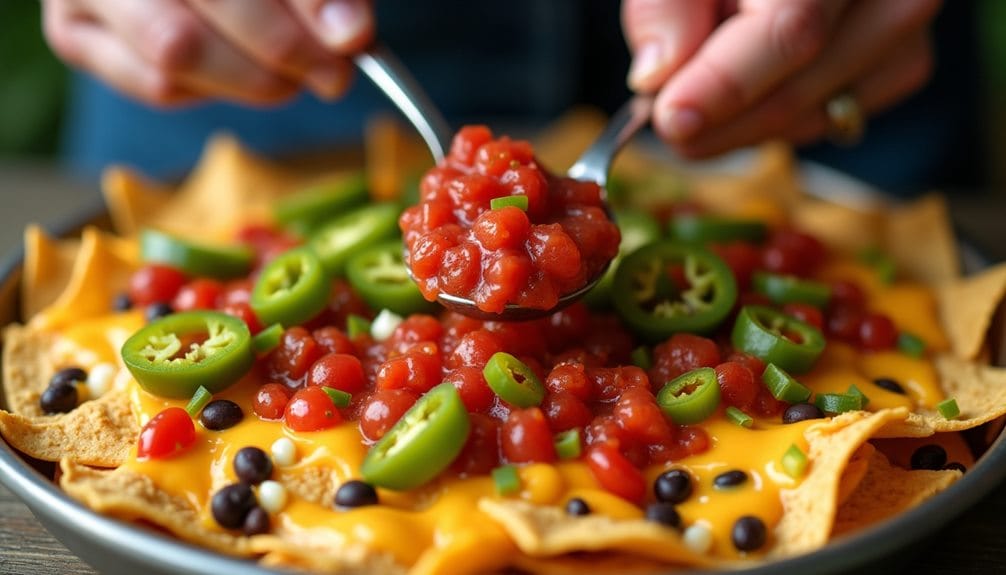
Next up in your DIY nacho bar adventure is the addition of salsa and jalapenos. It’s not just about heat, but also about adding a tangy, invigorating contrast to the rich, melted cheese and hearty beans.
Start by spooning generous dollops of salsa over your warm, cheesy nachos. There’s no hard and fast rule to this – it’s all about how saucy you want your nachos to be. The salsa not only adds moisture to the nachos, but it also brings a wonderful burst of vitality with its tomatoes and herbs.
Moving onto jalapenos, these little green slices of heat are a staple in any nacho dish. If you’re a fan of spice, be generous with the jalapenos. However, if you’re catering to a crowd with varying taste buds, you might want to serve these on the side. This way, your guests can adjust the heat level to their liking.
Step 5. Immediate Serving Suggestion
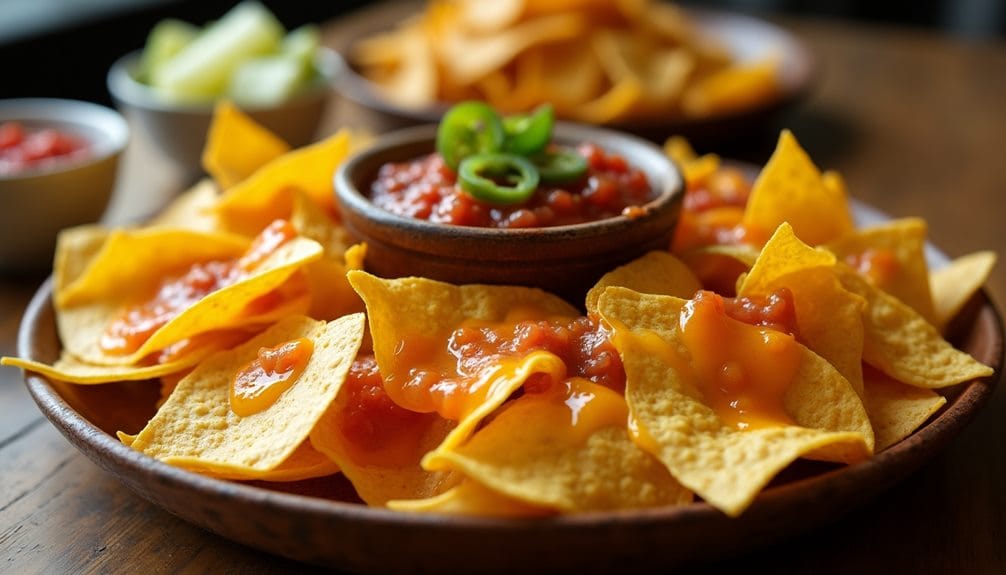
The moment your nachos exit the oven, bubbly and aromatic, is when the magic really happens. Don’t wait around! You’ve gotta serve these beauties straight away to enjoy their full glory. Get them onto your serving plates or bowls, making sure each has a good mix of chips, cheese, and beans.
Then it’s time to crown your creation. Drizzle your salsa over the top, and scatter your pickled jalapenos across the nachos. They add that perfect hit of tang and heat. Remember, you’re the master of your nacho universe, so add as much or as little of these toppings as you’d like.
Now, step back and behold your DIY Nacho Bar masterpiece. It’s a sight to behold, isn’t it? But it’s not just for looking at. Call in your guests, family, or whoever’s lucky enough to share this feast with you. Encourage them to dig in immediately while the cheese is hot and melty, and the chips are still crispy. They’ll relish the symphony of flavors and textures you’ve just created. Enjoy the praise, you’ve earned it!
New Recipe
- Pepperoni and Hot Honey PizzaTry the tantalizing twist of pepperoni pizza with hot honey, where sweet meets heat—how will it transform your taste buds?
Final Thoughts
All in all, hosting a DIY Nacho Bar is a surefire way to please a crowd. It’s not just about the food, it’s about the experience of creating something delicious. You get to put on your chef’s hat and your guests get the thrill of customizing their own plate. The versatility of this setup is what makes it truly shine. You can cater to a variety of dietary needs and preferences, making sure everyone feels included.
Invest in quality ingredients, especially when it comes to the chips. They’re the foundation of your nacho bar, so don’t skimp. Keep a keen eye on your nachos when they’re in the oven, you don’t want burned chips or overcooked cheese.
Remember, this is your nacho bar, and while we’ve provided a basic guideline for you, feel free to mix things up. Add some unique toppings like grilled pineapple or caramelized onions to spruce up the traditional nacho bar.
Hosting a DIY Nacho Bar isn’t just a meal, it’s an event. So, roll up your sleeves, get creative, and most importantly, have fun with it. Your guests are sure to be wowed.

