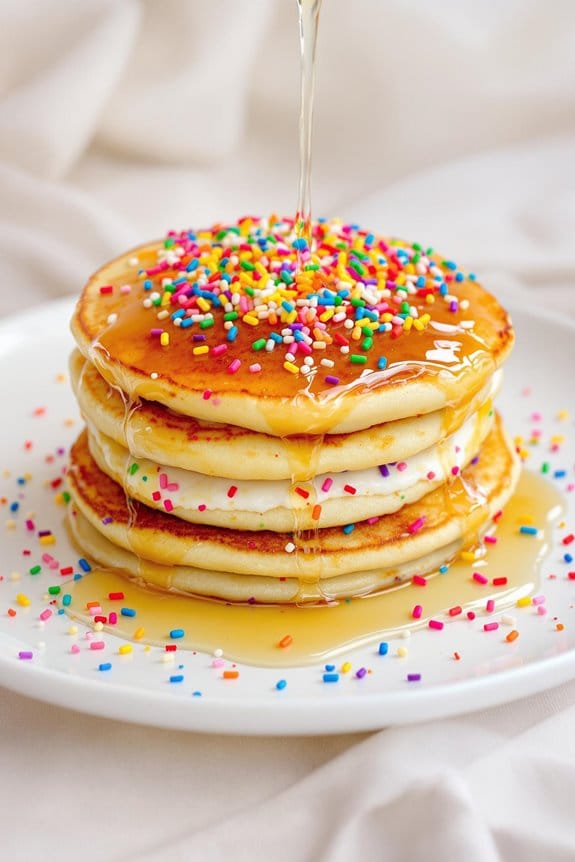
Have you ever thought about turning your typical breakfast fare into a centerpiece at your next gathering? Imagine mini pancake skewers, your choice of ripe, juicy fruits interspersed between light, fluffy pancakes. It’s simpler than you might think, and the customizable options are nearly endless. From choosing your pancake batter—be it traditional, gluten-free, or infused with flavors like cinnamon or vanilla—to selecting the best seasonal fruits, the combinations can uniquely cater to any palate. There’s also a strategic method to skewer your pancakes and fruits for the best presentation and ease of eating. Curious how you can elevate this dish further?
History
While the concept of pancakes dates back thousands of years, mini pancake skewers are a relatively modern twist on this ancient dish. Originally, pancakes were simple, hearty fare, often made from wheat, buckwheat, or cornmeal mixed with water or milk.
Over time, they became a canvas for culinary creativity and regional adaptations, turning into a beloved breakfast staple across cultures.
It wasn’t until the 21st century that creative chefs began experimenting with the presentation of pancakes, transforming them into more engaging, bite-sized forms ideal for parties, brunches, and family gatherings. The idea of skewering small pancakes interleaved with pieces of fruit or other sweets emerged as a playful, versatile twist that appealed to all ages.


This innovation not only made pancakes more customizable but also more social, as they became a shared dish that could be enjoyed communally.
Mini pancake skewers cater to the modern palate that appreciates both aesthetic appeal and practicality. Their festive appearance and easy portability make them suitable for a variety of occasions, from casual get-togethers to more formal buffet settings.
Through this evolution, pancakes continue to connect generations, now artfully served on a stick.
Recipe
Mini pancake skewers offer a delightful twist on traditional breakfast fare, transforming ordinary pancakes into a fun, interactive meal perfect for gatherings or a special family treat. This playful presentation involves stacking mini pancakes with layers of fruit and other sweet toppings on skewers, making them appealing to both kids and adults alike.
The key to successful mini pancake skewers lies in making the pancakes small and uniform in size, guaranteeing they cook evenly and are easy to stack.
The ingredients involved are generally pantry staples, allowing for lots of creativity depending on what you have on hand or prefer. This recipe calls for the basic pancake batter, which you can enhance with vanilla or a pinch of cinnamon for extra flavor. Fruit options include anything that can be easily skewered such as strawberries, bananas, and blueberries. For a decadent touch, you can also include small chunks of chocolate or marshmallows.
Ingredients:
- 1 cup all-purpose flour
- 1 tablespoon sugar
- 1 teaspoon baking powder
- 1/2 teaspoon baking soda
- 1/4 teaspoon salt
- 1 egg, beaten
- 1 cup buttermilk
- 2 tablespoons unsalted butter, melted
- 1/2 teaspoon vanilla extract (optional)
- Assorted fruits (strawberries, bananas, blueberries)
- Optional extras (chocolate chunks, marshmallows)
- Maple syrup and/or chocolate syrup for drizzling
- Wooden skewers
Cooking Instructions:
In a large bowl, mix together the flour, sugar, baking powder, baking soda, and salt.
In another bowl, whisk the beaten egg with the buttermilk and melted butter, then add the vanilla if using.
Pour the wet ingredients into the dry ingredients and stir just until combined; it’s okay if the batter is slightly lumpy.
Heat a nonstick skillet over medium heat and grease it lightly with butter or oil.
Drop tablespoonfuls of batter onto the skillet, and cook until bubbles form on the surface, about 1 to 2 minutes.
Flip and cook another minute until golden.
Repeat with the remaining batter.
Allow pancakes to cool slightly before assembling the skewers, alternating pancakes with your choice of fruits and extras.
Extra Tips:
When assembling your skewers, press gently to assure everything stays in place without smashing the fruit or pancakes.
If using chocolate or marshmallows, adding them while the pancakes are still warm can make them slightly melty and delicious.
Serve immediately after assembling or keep them in a warm oven (200°F) until ready to serve.
Drizzle with maple syrup or chocolate syrup immediately before serving for an extra touch of sweetness.
Experiment with different fruits and toppings according to the season or occasion to make each batch of mini pancake skewers unique and delightful.
Step 1. Mix Batter Ingredients Together
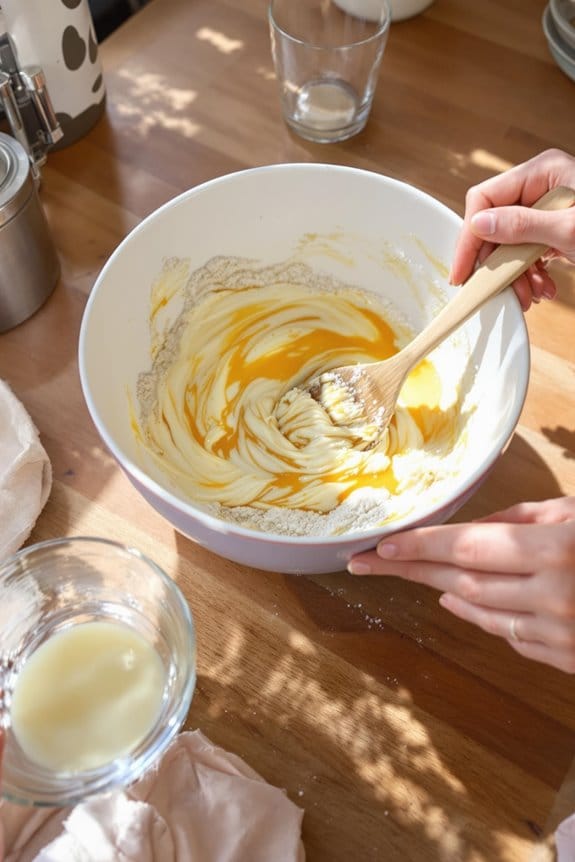
Begin by gathering all the necessary ingredients for your pancake batter. You’ll need all-purpose flour, a pinch of salt, sugar, baking powder, an egg, milk, and melted butter. Make certain everything’s at room temperature to guarantee a smooth batter.
First, sift the flour with the baking powder, salt, and sugar into a large bowl. Sifting not only combines these ingredients evenly but also aerates the flour, making your pancakes fluffier.
In another bowl, beat the egg and then whisk in the milk and melted butter. It’s essential that your butter’s cooled down a bit; you don’t want to scramble that egg!
Now, pour your liquid mixture into the dry ingredients. Stir gently with a whisk or a fork. Here’s the key: don’t over-mix. Your batter should be slightly lumpy yet well combined. If it looks too thick, add a splash more milk; if too runny, a tablespoon or so of flour.
This batter is the canvas for those delightful mini pancakes you’re envisioning. Get everything lump-free and silky, and you’ll set the stage for perfect golden rounds that’ll hold your skewer fruits beautifully.
Just remember, they don’t need to be overly smooth. A few lumps can make for tender pancakes.

Step 2. Heat Pancake Griddle
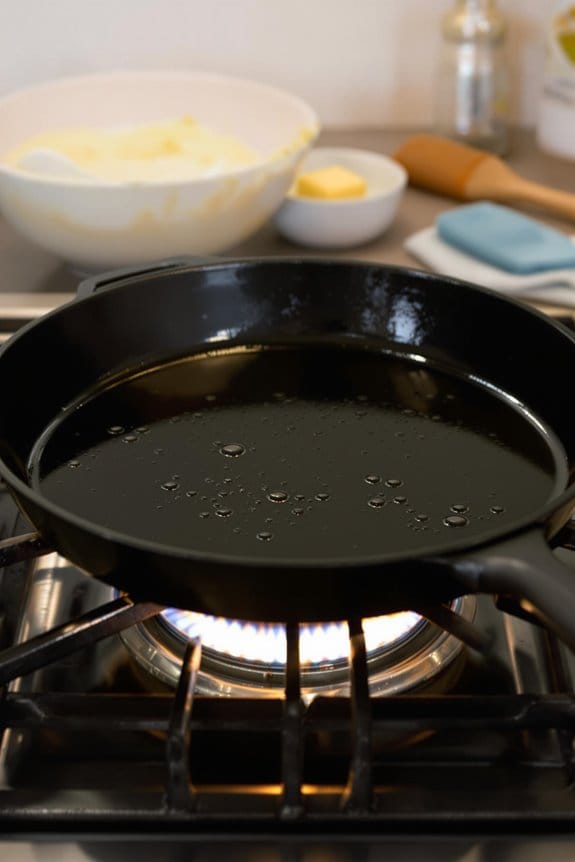
Heat your pancake griddle until it’s nicely hot. This initial step is critical, guaranteeing that each pancake cooks evenly and acquires that delightful golden-brown finish that’s not just appealing but downright delicious.
But how hot is hot enough? Ideally, you’re aiming for a temperature of about 375 degrees Fahrenheit. If your griddle has temperature control, set it right there. If it doesn’t, here’s a simple trick: sprinkle a few drops of water onto the griddle. If they dance around and evaporate rapidly, it’s just right.
While your griddle heats, take this time to give your batter a gentle stir. It’s settled a bit while resting. Reincorporating the ingredients guarantees your pancakes are light and fluffy. Remember, consistency is key in achieving the perfect mini pancake.
Keep an eye on your griddle’s heat as it can easily tip from perfectly hot to too hot. If you notice excessive smoke or a burning smell, reduce the heat slightly.
It’s better to cook pancakes a bit longer at a moderate heat than to burn them at a high heat, which spoils the flavor and texture.
Step 3. Pour Batter Onto Griddle
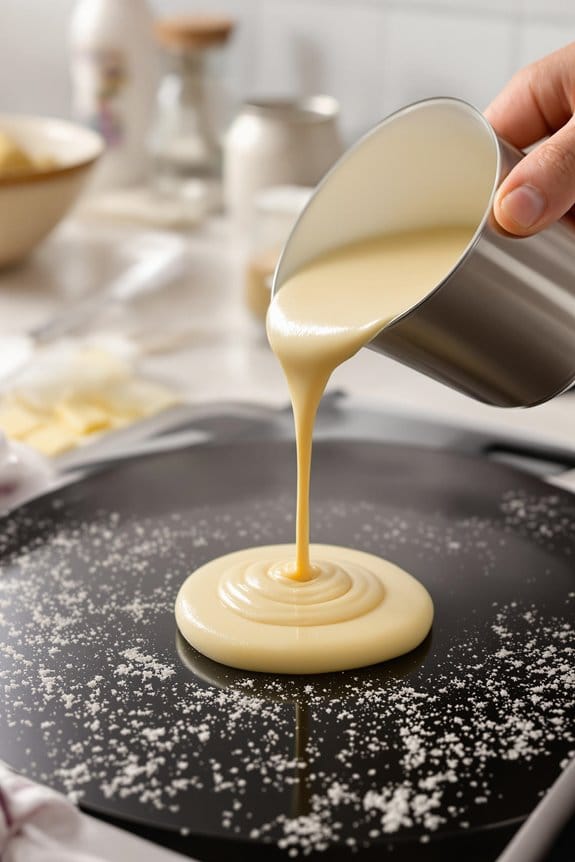
Pour a quarter-sized dollop of pancake batter onto your heated griddle for each mini pancake, spacing them about two inches apart to allow room for spreading.
Make certain your griddle is already warm enough—you’re looking for a temperature that’s just right to cook through without burning. A medium-low setting usually does the trick perfectly. This step guarantees that each mini pancake cooks evenly and ends up with those lovely, light golden edges that are slightly crispy, making a delicious contrast to the soft center.
As you dollop out your batter, be consistent with the size to ensure that all your mini pancakes cook at the same rate.
This uniformity isn’t only visually appealing when you assemble them on skewers, but it also helps in gauging the cooking time more accurately.

Step 4. Flip Pancakes When Bubbly
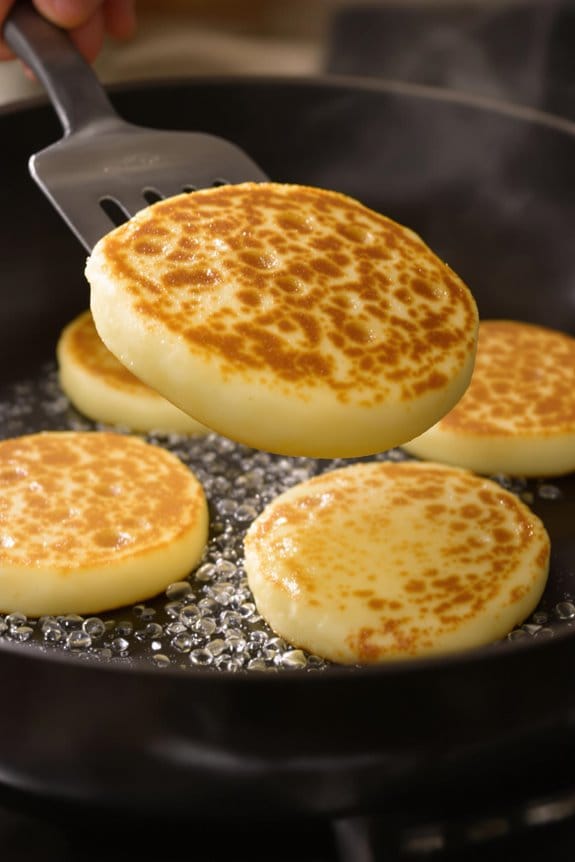
Once your mini pancakes bubble on the surface, it’s time to give them a flip. This is the vital moment when you determine the perfect golden brown appearance and texture of your pancakes. Don’t hesitate; using a thin, flat spatula, gently slide it under each pancake and flip it with confidence.
Here’s what to keep in mind:
- Watch for the Signs: The edges should look set, and bubbles will form and pop, leaving little craters on the surface.
- Use the Right Tools: A non-stick skillet and a flexible silicone spatula are your best friends for easy flipping without tearing.
- Timeliness is Key: Flip them quickly after the bubbles appear. Waiting too long can lead to overcooking the bottom.
After flipping, let the pancakes cook for another minute or so, till they’re lightly browned on the underside.
This brief cooking time after flipping guarantees that the inside is fully cooked through without burning the exterior. You’ll want the final product to be fluffy and light—ready to be layered with your favorite fruits and enhancements.
Be attentive to each batch, adjusting the heat if necessary to guarantee even cooking.
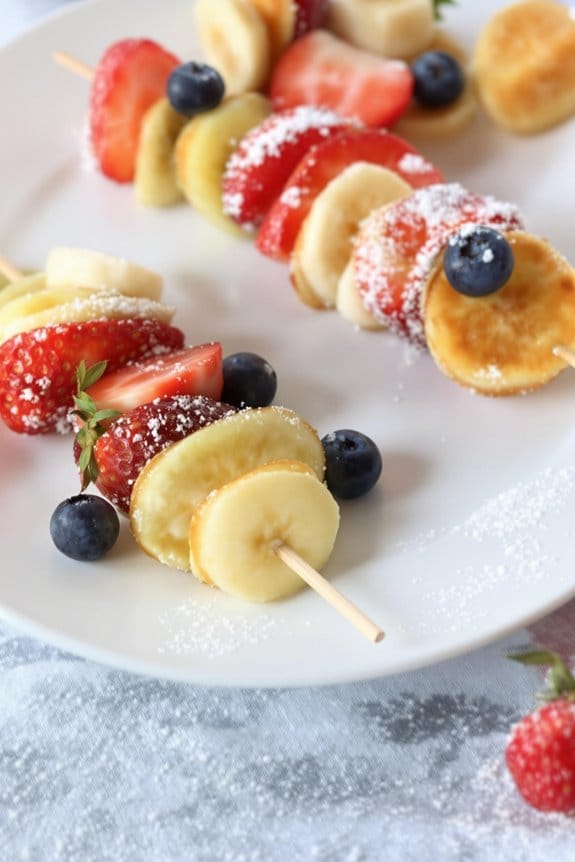
Step 5. Assemble Pancakes on Skewers
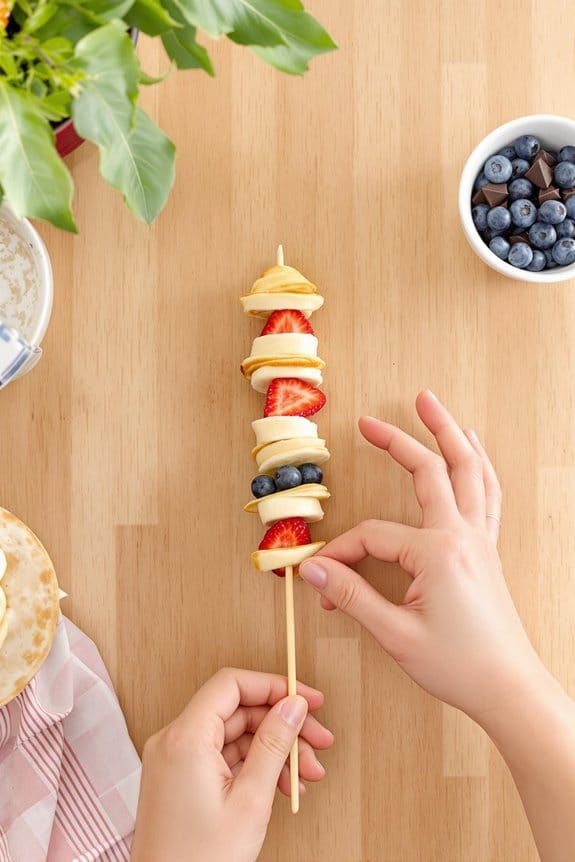
Now that your mini pancakes are ready, it’s time to assemble them on skewers for a delightful presentation and easy eating.
Start by gathering your skewers and a variety of fresh fruits—like strawberries, bananas, and blueberries—which you’ve probably already washed and sliced.
Begin by placing a pancake on the skewer, followed by a piece of fruit. Alternate between pancakes and fruits to create a colorful and appetizing stack. Aim for three to four pancakes per skewer, depending on their size.
As you build your skewer, press the ingredients just firm enough onto the stick to guarantee they hold but remain gentle to avoid squishing the fruit or breaking the pancakes.
Consider the order and combination of fruits for a visually appealing pattern that catches the eye and tantalizes the taste buds.
For a final touch, drizzle some honey or maple syrup over the assembled skewers right before serving. This not only enhances their sweetness but also adds a glazy sheen that makes them even more irresistible.
Serve immediately or cover and refrigerate if you’re preparing them ahead for a brunch or party. These skewers are an engaging, portable treat that will delight your guests with every bite.
New Recipe
- Pepperoni and Hot Honey Pizza
 Try the tantalizing twist of pepperoni pizza with hot honey, where sweet meets heat—how will it transform your taste buds?

Cooking Tips
While preparing mini pancake skewers, it’s essential to take into account a few expert cooking tips to guarantee they turn out perfectly fluffy and golden. First, you’ll need to choose the right batter consistency; it shouldn’t be too runny or too thick. Aim for a smooth, pourable consistency that will easily spoon onto your skillet or griddle without spreading too thinly.
Here are three key tips to remember:
- Uniform Cooking: Make sure your skillet or griddle is evenly heated before you start cooking the pancakes. A medium-low heat works best to cook them thoroughly without burning.
- Perfect Size: For skewers, keep your pancakes small, about the size of a silver dollar. This makes them easier to stack and eat.
- Watch the Bubbles: Wait for bubbles to appear on the surface of the pancake before flipping. This is a telltale sign that they’re ready to be turned over.
You’ll want to cook each batch with patience and care to guarantee they all cook evenly.
Remember, the final presentation greatly depends on the care you take during this step, so don’t rush the process.
Grab your favorite fruits and let’s get cooking!
Final Thoughts
As you wrap up your mini pancake skewer project, it’s important to reflect on the joy and creativity involved in this cooking endeavor. Whether you’ve made them for a family brunch or as a playful treat at a kids’ party, these skewers add a touch of whimsy and a dash of nutrition to any gathering.
Remember, the variety of fruits you can use not only adds color and taste but also packs a vitamin-rich punch that’s both delicious and beneficial.
You’ve seen that with some imagination, ordinary breakfast items transform into a delightful feast that entices all ages. It’s not just about the aesthetic appeal; the textures and flavors that mingle on your palate are what truly elevate this simple concept to a festive culinary creation.
Encourage yourself to turn this into a bonding activity next time, where everyone, kids and adults alike, can pitch in. Crafting these together could be a new weekend tradition that you all look forward to.
Lastly, don’t hesitate to experiment with different pancake batters or fruit combinations. Each variation not only refreshes the menu but also allows you to cater to various dietary preferences and seasonal fruits.
Enjoy your culinary journey!