You’ve likely tasted a range of appetizers, but have you ever tried Cheesy Meatball Sliders? Imagine sinking your teeth into a warm, soft bun, through a layer of melted mozzarella, and into a well-seasoned, juicy meatball. It’s not just about the taste, it’s the simplicity of the recipe that makes these sliders a game-changer. You can prepare them with a handful of ingredients in just about 15 minutes. So, why not explore this culinary delight further? You might find your next favorite dish.
History
Despite the popularity of Cheesy Meatball Sliders, their origin story isn’t as well-known. These tasty delights have a somewhat disputed history. Some say they originated in the US, while others argue they’re an Italian invention, given the use of meatballs and marinara sauce.
You see, meatballs have been around for centuries, with each culture having its own version. Italy, Sweden, Turkey, you name it. But the concept of placing these meatballs on a mini bun and topping it with cheese, that’s a relatively new invention, likely born out of the American love for convenience and finger foods.
Now, the use of marinara sauce and mozzarella does lend some weight to the Italian origin theory. But then again, Italian-American cuisine is notorious for taking traditional Italian dishes and giving them a unique twist. So, it’s possible that Cheesy Meatball Sliders are a product of both worlds.
Recipe Cooking Steps
Cheesy Meatball Sliders are a fun and delicious appetizer that everyone will love. Whether you’re hosting a party, game day, or just want to treat your family to something tasty, these sliders are a fantastic choice. They’re incredibly simple to make, requiring just five ingredients, and are packed with mouthwatering flavors. Each slider is loaded with a juicy meatball, smothered in marinara sauce, topped with melted cheese, and sandwiched between soft slider buns.
The beauty of this recipe lies in its simplicity. Despite requiring just a handful of ingredients, these sliders are incredibly satisfying. The combination of savory meatballs and gooey cheese is truly irresistible. In this recipe, we use pre-cooked meatballs and pre-made marinara sauce to save time, but you’re more than welcome to make your own if you prefer.
Ingredients:
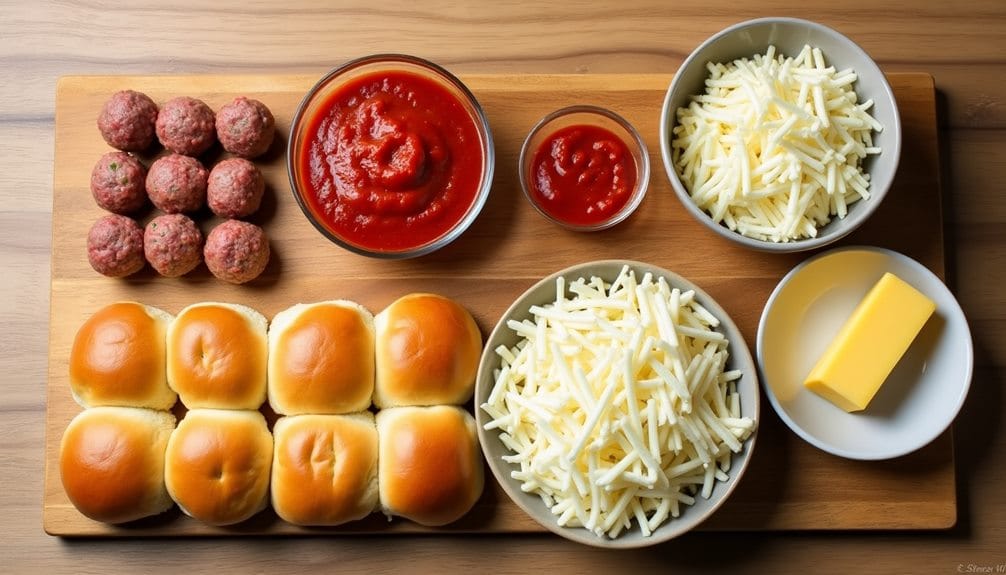
- 12 pre-cooked meatballs
- 1 cup of marinara sauce
- 12 slider buns
- 2 cups of shredded mozzarella cheese
- 1 tablespoon of unsalted butter
To prepare these sliders, begin by preheating your oven to 350°F (175°C). Arrange the bottom halves of the slider buns in a baking tray and place a meatball on each bun. Spoon the marinara sauce over the meatballs and generously sprinkle shredded mozzarella on top. Cover each meatball with the top half of the bun. Melt the butter and brush it over the buns. Bake in the oven for about 15 minutes, or until the cheese has melted and the buns are lightly toasted.
When making these Cheesy Meatball Sliders, it’s important to avoid overcooking them. The meatballs are already cooked, so you’re fundamentally just warming everything up and melting the cheese. Overcooking can result in hard buns. Also, these sliders are best enjoyed immediately after cooking while the cheese is still hot and melted. If you do have any leftovers, they can be reheated in the oven, but they’re definitely best when fresh out of the oven.
Step 1. Preheating and Preparing Buns
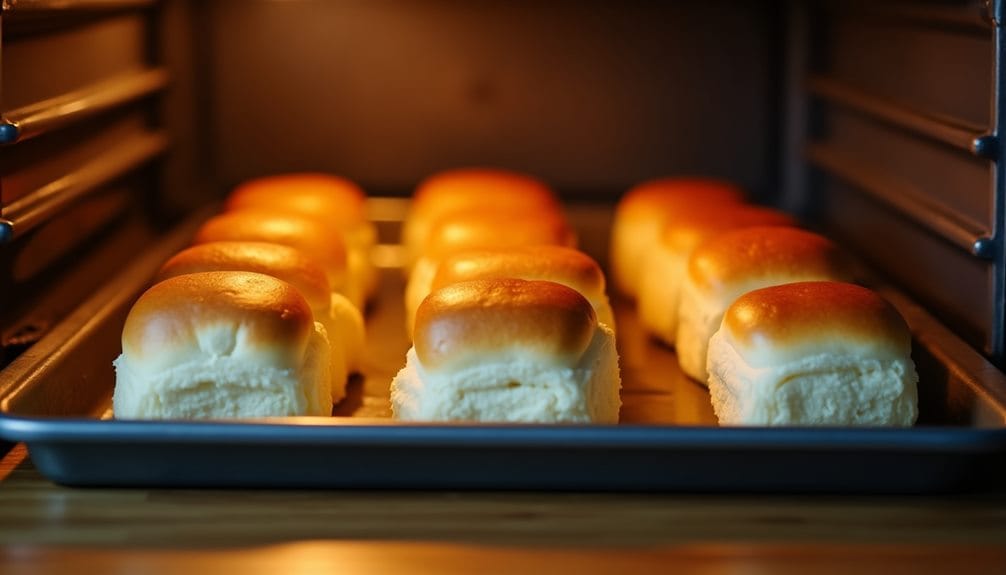
Before you get started on assembling the sliders, preheat your oven to 350°F (175°C). This will guarantee that the sliders are heated evenly and thoroughly. Now, let’s move to preparing the buns. Grab your slider buns and carefully slice each in half. You’ll want a clean cut as these will serve as the base for your delicious cheesy meatball sliders.
After slicing, line the bottom halves of the buns on a baking tray. Make sure they’re arranged evenly to avoid any overlaps. You’re looking for a neat, single layer of buns on the tray. This arrangement guarantees each bun gets an equal share of heat from the oven.
Next, lightly brush the inside of each bun with some melted butter. This gives the buns a nice, toasty finish and adds an extra layer of flavor that complements the meatballs and cheese perfectly. This step is essential for achieving that desirable balance between soft and crispy that makes these sliders so irresistible.
Remember to leave the top halves of the buns aside for now. We’re not quite ready for them yet. In this stage, we’re focusing only on prepping the bottom halves of the slider buns.
Step 2. Adding Meatballs and Sauce
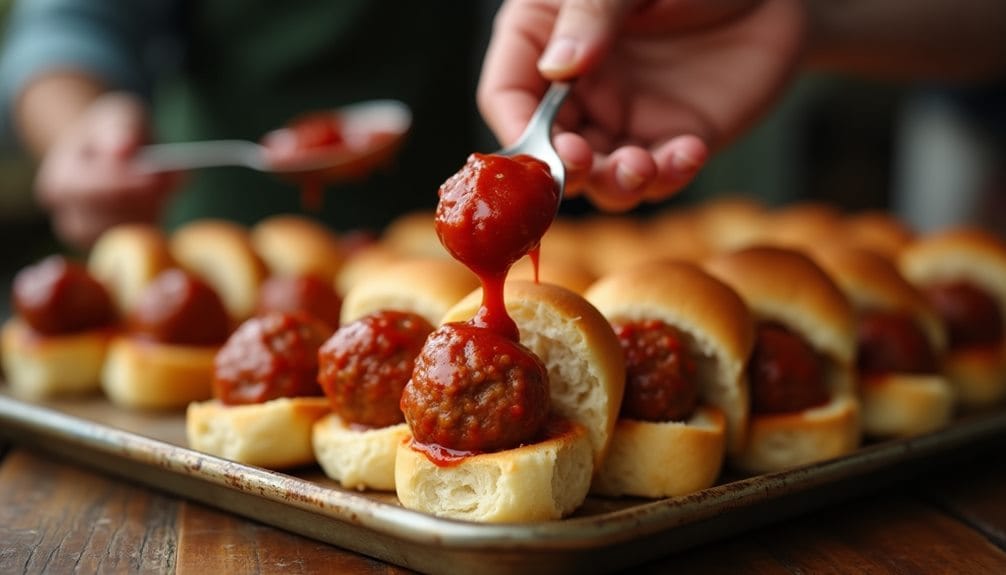
Having prepped your buns, now it’s time for the star of the show – the meatballs. Carefully place a pre-cooked meatball on each bun. These little flavor bombs not only provide a hearty bite but also a burst of savory goodness. Don’t stress about making them from scratch. Store-bought ones work just as fine and save you precious time.
Next up is the sauce – the element that brings everything together. Grab your favorite jar of marinara sauce and generously spoon it over the meatballs. You might wonder why we’re adding sauce at this stage. It’s to guarantee that every bite you take is soaked in that tangy, tomatoey goodness.
At this point, your sliders are coming together beautifully. However, resist the temptation to pop them into the oven just yet. Remember, we’re saving the cheese for the next step. The sauce needs a little time to seep into the meatballs and buns, intensifying the flavors.
Step 3. Cheese Sprinkling and Bun Covering
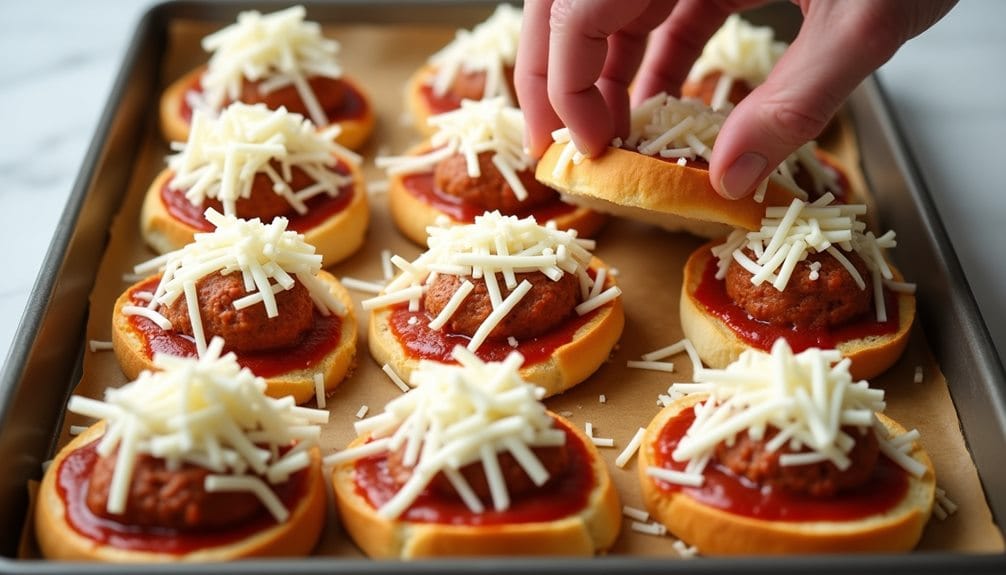
Now that your meatballs are placed in sauce, it’s time to bring on the cheese! Start with a generous amount of shredded mozzarella. Sprinkle it over each meatball, making sure each one is covered in a blanket of cheesy goodness. Don’t be shy here, the more cheese, the better!
The cheese will melt in the oven, creating a delicious and gooey topping for your meatballs. It’s the perfect contrast to the rich and savory sauce, and it adds a wonderful creaminess to the sliders. Plus, who doesn’t love the sight of melted cheese?
Once you’ve smothered your meatballs in cheese, it’s time to cover with the buns. Place the top halves of your slider buns over the meatballs and cheese, creating small sandwiches. Make sure each bun is aligned with its bottom half. This will guarantee your sliders stay together during the next cooking steps.
At this point, your sliders should be looking delicious and ready for the final touches. But remember, we’re not quite done yet! There’s still more flavor to add, so hold your horses! The butter brushing and baking stages are up next.
Step 4. Butter Brushing and Baking
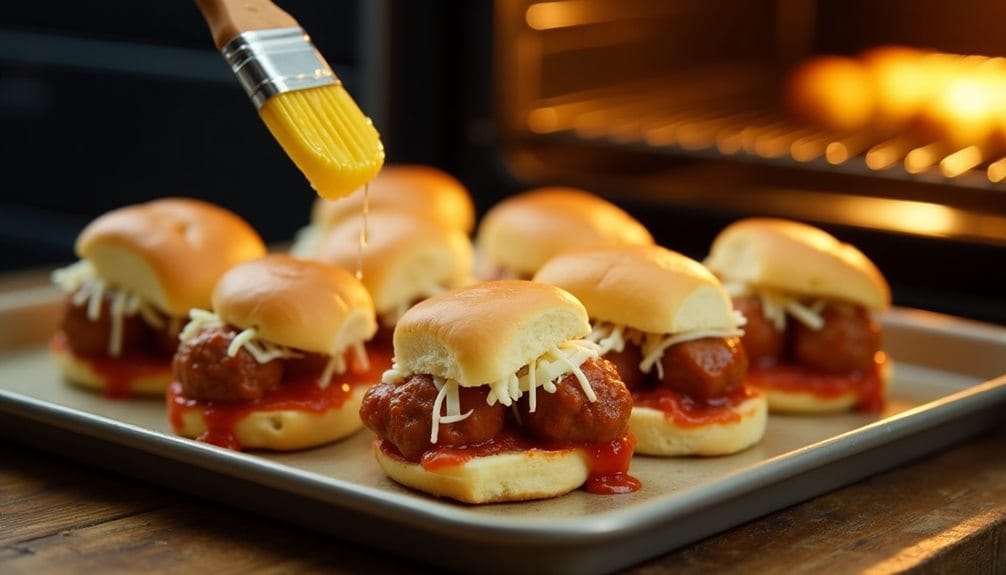
The final touches to your Cheesy Meatball Sliders are about to make them even more irresistible. Now, it’s time to brush on some melted butter and pop them in the oven. This step adds a golden glow and a hint of richness to your sliders. Just melt a tablespoon of unsalted butter and lightly brush it over the top of each slider. The butter gives the buns a fantastic sheen and a slightly crunchy texture that contrasts beautifully with the soft, gooey cheese and tender meatball inside.
Next, it’s time to bake your sliders. You’ve preheated your oven to 350°F, right? Great! Slide your tray into the oven and set a timer for 15 minutes. This will get your cheese nice and melty, and your buns toasty. Be careful not to over-bake; you don’t want your buns turning too hard. Remember, you’re just heating everything through and melting the cheese since the meatballs are already cooked.
Step 5. Post-Baking Slider Serving
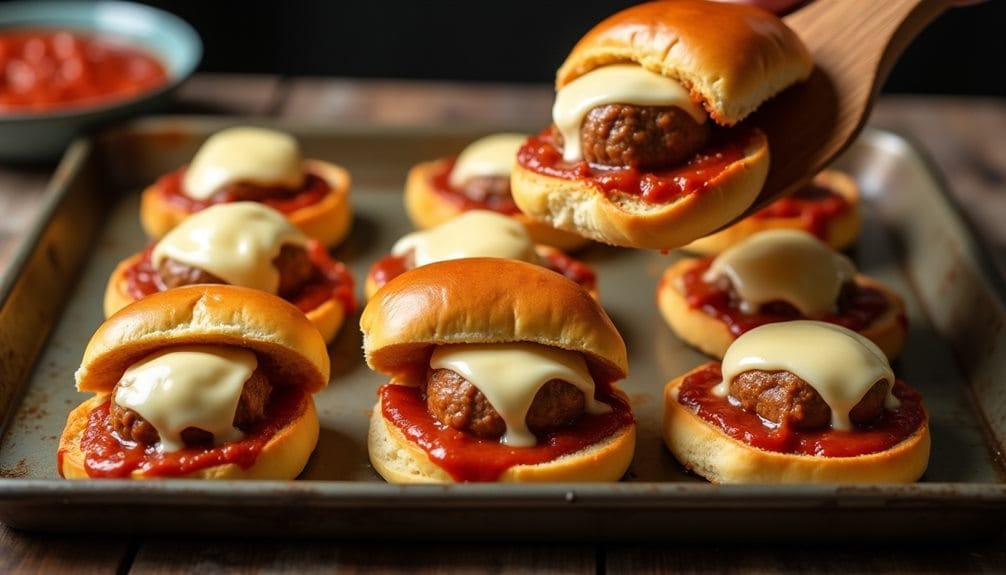
Out of the oven they come, your Cheesy Meatball Sliders, golden, toasty, and oh-so-tempting. You’re just steps away from serving these mouthwatering morsels. Before you can dig in, you’ll need to let them cool slightly. Those meatballs are piping hot!
- Patiently wait for about 2-3 minutes. This allows the cheese to set and the sliders to cool just enough to handle.
- Next, using a spatula, carefully separate the sliders. They may stick together a bit, but a gentle nudge should do the trick.
- Arrange them on a serving platter. You can pile them high in a pyramid or line them up in rows, it’s your show.
- Finally, it’s time to feast! Serve while still warm.
New Recipe
- Pepperoni and Hot Honey PizzaTry the tantalizing twist of pepperoni pizza with hot honey, where sweet meets heat—how will it transform your taste buds?
Final Thoughts
Serving up a batch of Cheesy Meatball Sliders is a surefire way to delight your guests. These little gems are not just tasty but also incredibly easy to make. They’re perfect for game days, parties, or even a simple family dinner. You’ve seen how with just five ingredients and minimal prep time, you can create a mouthwatering snack that’ll leave your guests asking for more.
You’ve also learned some key tips to guarantee your sliders turn out perfect every time. Remember not to overcook them. You’re just warming the ingredients and melting the cheese, so keep an eye on them to prevent the buns from getting too hard. And don’t forget, these sliders are best enjoyed fresh, when the cheese is still beautifully melty and gooey.
These Cheesy Meatball Sliders are a proof of the fact that great flavor often comes in small packages. So the next time you’re looking for a quick, easy, and delicious dish to serve, remember these sliders. They’re sure to be a hit!

