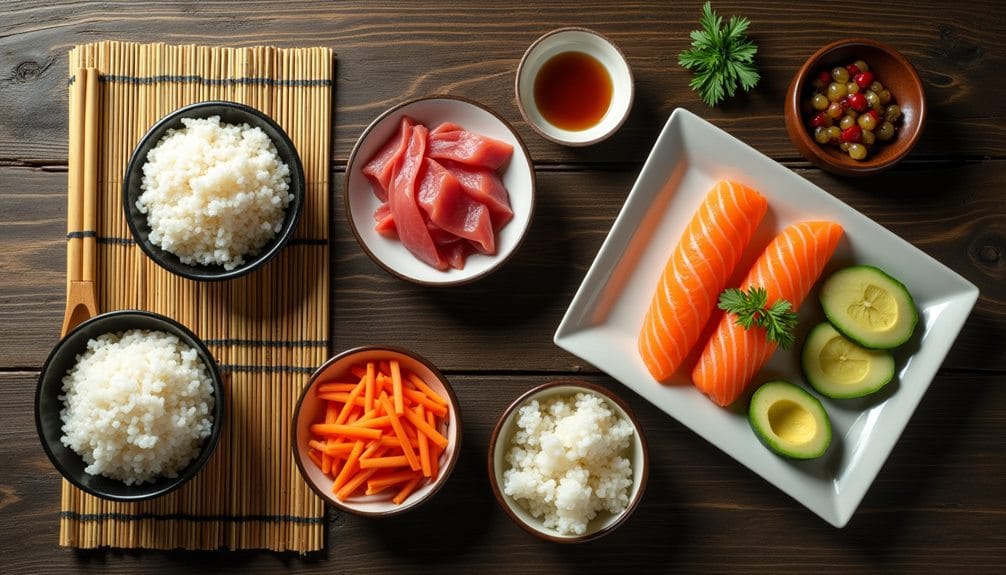
Have you ever thought about turning your kitchen into a mini sushi restaurant for the night? Imagine, you and your family, elbow-deep in sushi rice, crafting your own unique rolls packed with your favorite fillings. You’re not just preparing a meal together; you’re creating lasting memories and learning a new skill to boot. It’s a fun and interactive way to spend an evening, but there’s more to it than that. Why should you consider DIY sushi rolls for your next family night, and what unexpected benefits might this culinary adventure reveal?
History
Delving into the history of sushi, this culinary delight traces its roots back to Southeast Asia. Here, it began as a method of preserving fish in fermented rice, later evolving into the delicate art form we understand today. You see, during the 8th century, sushi made its way to Japan, where it underwent a transformation. The Japanese started to eat the rice along with the fish, and that’s how sushi, as we interpret it, was born.
Sushi was initially sold near temples as a type of fast food. It was not until the Edo Period that sushi began to resemble its modern form. During this period, ‘hayazushi’ or ‘fast sushi’ was developed, where vinegar was used to sour the rice, allowing it to be eaten immediately. This was a significant shift from the traditional method, which required months of fermentation.
Fast-forward to today, sushi has become a beloved dish worldwide. You can find sushi restaurants in nearly every city globally, serving a variety of rolls, from traditional to fusion. The art of sushi making is now a highly respected skill, with chefs spending years perfecting their craft. Now, isn’t that something to roll about?
Recipe Cooking Steps
Making sushi at home can be a fun and rewarding endeavor, especially when shared with family and friends. Not only does this activity offer a chance to get creative with your food, it also provides an opportunity to introduce your loved ones to the traditional art of sushi making. In Japanese cuisine, sushi rolls, also known as Maki, are a staple dish that is both healthy and delicious. Although the process of rolling sushi may seem complex, it’s actually relatively simple once you get the hang of it.
This basic sushi roll recipe is beginner-friendly and requires only five main ingredients. You can experiment with different fillings, but this recipe uses fresh vegetables and fish. Paired with a side of soy sauce for dipping, these homemade sushi rolls make for a delightful meal that the whole family can enjoy.
Ingredients:
- 2 cups of sushi rice
- 10 sheets of nori (seaweed)
- 1 cup of thinly sliced fresh vegetables (such as cucumber, carrot, and avocado)
- 1/2 cup of thinly sliced fresh fish (like salmon or tuna)
- Soy sauce for dipping
Start by preparing your sushi rice according to the instructions on the package. While the rice is cooling, slice your vegetables and fish into thin strips. Place a nori sheet onto your sushi mat, and spread a thin layer of sushi rice onto the nori, leaving about an inch free at the top and bottom. Arrange your chosen fillings in a line down the center of the rice. Using the sushi mat, roll the sushi tightly, applying pressure to guarantee it stays together. Repeat this process with the remaining ingredients. Once all the rolls are complete, use a sharp knife to slice them into bite-sized pieces.
As you begin your sushi making journey, here are a few tips to help you along the way. Invest in a bamboo sushi mat, as it aids in keeping the roll tight. Before handling the sushi rice, wet your hands to prevent the grains from sticking. When slicing your sushi rolls, use a sharp knife and a sawing motion to avoid squashing the roll. And remember, while it may be tempting to overfill your sushi rolls with all your favorite ingredients, doing so can make the rolling process more difficult and may cause the roll to fall apart. Enjoy your homemade sushi rolls and the joy of creating this traditional Japanese dish!
Step 1. Preparing Sushi Rice
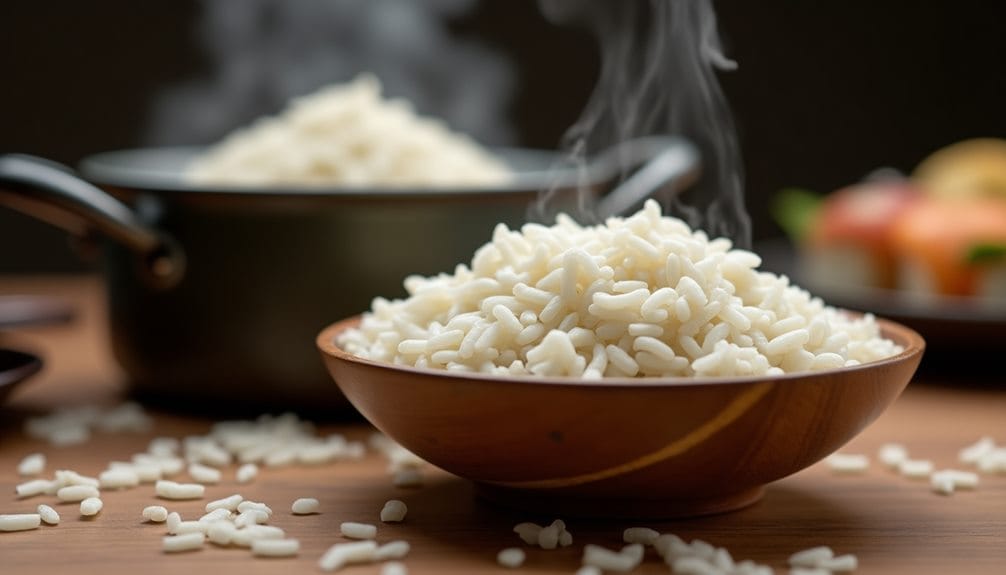
First off, let’s tackle the sushi rice. This is the backbone of any sushi roll, so it’s vital to get it right. You’ll need 2 cups of sushi rice. Rinse it under cold water until the water runs clear. This removes the excess starch and helps the rice stick together better.
Next, cook the rice. Put it in a pot with 2 cups of water. Bring it to a boil, then reduce the heat to low, cover and let it simmer for about 20 minutes. After it’s cooked, let it sit for 10 minutes without uncovering it.
Now comes the vital part: seasoning the rice. You’ll need 1/3 cup of rice vinegar, 2 tablespoons of sugar, and 1 teaspoon of salt. Warm this mixture in a saucepan until the sugar dissolves, then let it cool. Spread the cooked rice in a large dish and gently fold in the vinegar mixture.
Step 2. Slicing Vegetables and Fish

While your sushi rice cools, it’s the perfect time to start slicing your vegetables and fish. Be sure to slice thin, even strips to guarantee everything fits neatly in your sushi roll. For vegetables like cucumbers, carrots, and avocados, use a sharp knife to make clean cuts. Remember, they should be long enough to span the length of the nori sheet.
Now, let’s talk fish. It’s key to use the freshest fish possible for sushi. Salmon and tuna are popular choices. If you’re not comfortable handling raw fish, you can opt for pre-sliced sashimi-grade fish from your local fishmonger. Again, these should be thinly sliced, similar to your veggies.
A few cuts, slices, and voila, you have your sushi fillings ready. This process is an art in itself, so don’t worry if you’re not perfect at first. Practice makes perfect. Remember, the joy of DIY sushi lies not just in the eating, but also in the preparation. So, take your time, enjoy the process, and look forward to the next step – arranging the fillings on the rice layer.
Step 3. Arranging Fillings on Rice Layer
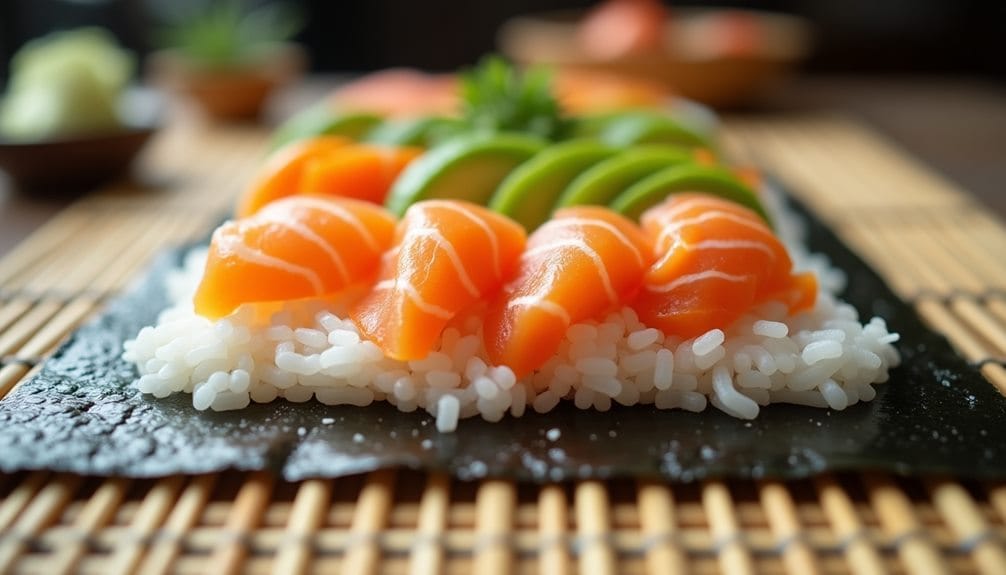
Now comes the exciting part – breathing life into your sushi rolls. You’ve got your sushi rice spread out on your nori sheet, and now it’s time to add the fillings. But don’t just pile them on. You’ve got to be strategic about it.
Start by laying thin slices of your chosen fish down the center of the rice. Keep it neat, and don’t go overboard. You’re aiming for a balance of flavors, not a seafood explosion. Next, add a layer of your sliced vegetables. Stick with just a few pieces of each to guarantee everything fits snugly inside the roll.
Here’s a pro tip for you. If you’re using avocado, place it on top of the fish. The creamy texture pairs beautifully with the fish and helps to hold everything together. Remember, sushi is as much about the texture as the taste.
Step 4. Rolling the Sushi
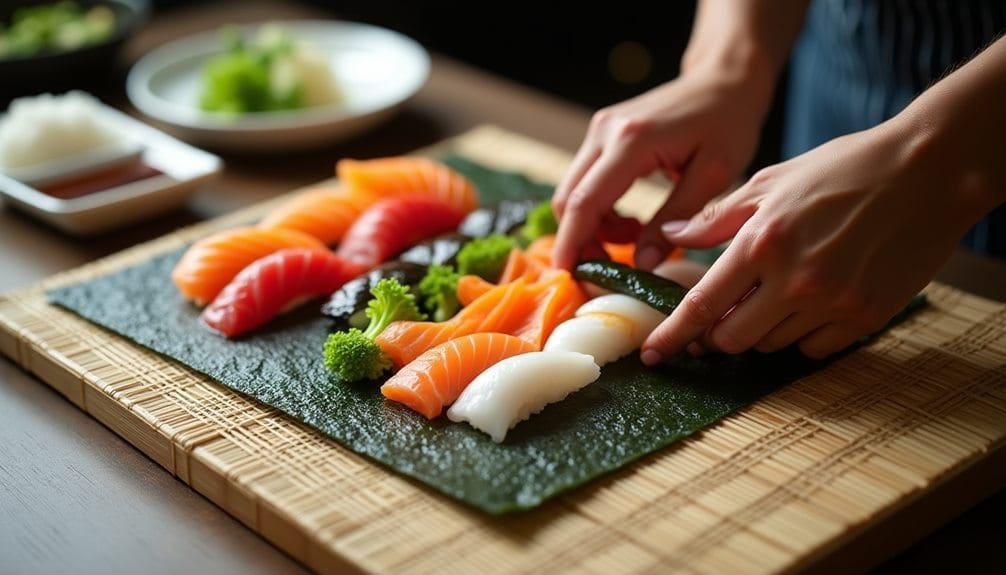
Getting your sushi roll just right might seem like an intimidating task, but with a little practice, you’ll get the hang of it. Start by laying a sheet of nori on your sushi mat. Apply a thin spread of sushi rice on the sheet, leaving about an inch at the top and bottom. Next, arrange your chosen fillings down the middle of the rice.
Now comes the fun part – the roll. Lift the edge of the mat over the filling, tucking the end of the nori to start a roll. Keep a firm grip on the mat as you continue to roll it, pressing down to compact the roll. Continue until you’ve rolled the entire thing.
Don’t worry if it’s not perfect! It takes time to master the art of sushi rolling. But remember, practice makes perfect. And the best part about practicing? You’ve got plenty of delicious sushi to snack on.
Quick tips: Wet your hands before handling sushi rice to prevent from sticking. Use a bamboo mat for a tighter roll, and don’t overfill – it makes rolling harder. Enjoy your sushi rolling adventure!
Step 5. Slicing Sushi Into Pieces
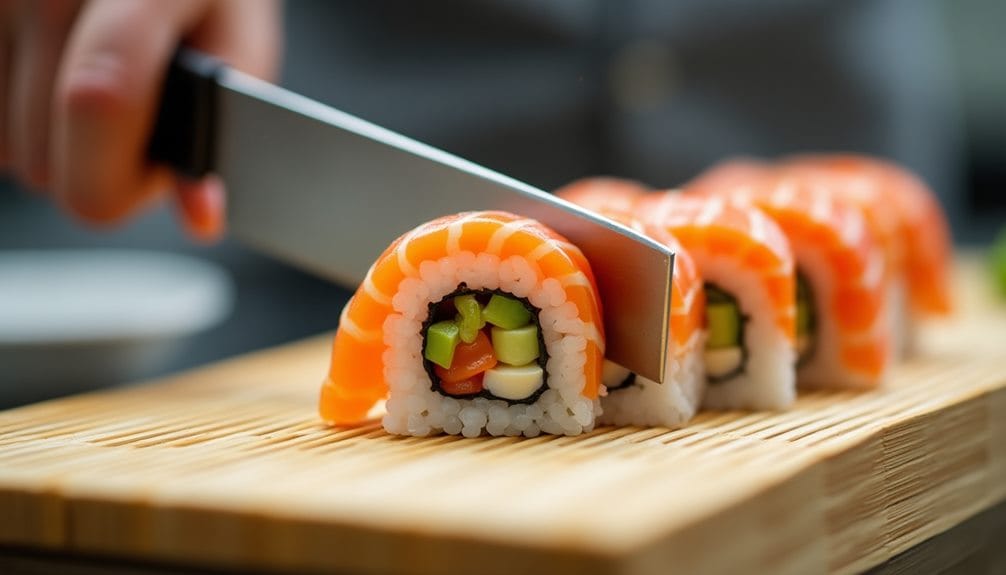
After you’ve rolled your sushi, the next step is to slice it into bite-sized pieces. The cutting process is more than just a final step; it’s an art that requires precision and a bit of practice. But don’t worry, you’ll get the hang of it in no time.
First, wet your sharp knife with a little water or vinegar. This prevents the rice from sticking to the blade.
Next, hold the sushi roll firmly but gently, to prevent it from deforming. Cut the rolls with a swift, back-and-forth motion, not straight down. Start by cutting the roll in half, then cut each half into three or four pieces, depending on your preference.
Here are a few more tips:
- Always use a sharp knife. A dull knife can squish the sushi roll.
- Clean your knife after slicing each roll. This guarantees cleaner cuts and prevents different flavors from mixing.
- Practice makes perfect. Your first few rolls might not look perfect, but don’t get discouraged.
With a bit of patience and practice, you’ll be slicing sushi like a pro in no time. Enjoy your homemade sushi rolls!
New Recipe
- Pepperoni and Hot Honey PizzaTry the tantalizing twist of pepperoni pizza with hot honey, where sweet meets heat—how will it transform your taste buds?
Final Thoughts
If you’ve followed these steps, you’ve likely created your very own sushi rolls by now! You’ve had fun, bonded with your family, and even learnt a new skill. Isn’t that a fantastic use of your time? But remember, mastering sushi making takes practice, so don’t worry if your rolls weren’t perfect. You’ll get better with each roll you make.
The beauty of homemade sushi is the versatility it offers. You can experiment with different fillings and flavors. How about a spicy tuna roll next time? Or maybe a vegetarian roll with pickled radish, cucumber, and avocado? The options are endless.
Keep in mind the helpful tips you’ve learnt here. Remember to wet your hands when handling sushi rice, use a sharp knife when slicing your rolls, and most importantly, don’t overfill your sushi.
Sushi making can be a wonderful tradition for family nights. It’s a great way to spend time together, learn new skills, and enjoy a delicious meal. So, keep rolling, experimenting, and most importantly, enjoying the process. After all, the journey is just as important as the destination. Here’s to many more sushi nights!

