Imagine coming home after a long day at work and not having to worry about what’s for dinner. You’ve got a stash of freezer-friendly chicken enchiladas waiting for you. You’ve prepared them in advance, layered with succulent shredded chicken, smothered in a flavorful enchilada sauce, and topped with a generous sprinkle of cheese. They’re not just practical and time-saving, but also customizable to suit any palate. Wondering how to prepare, freeze, and reheat these enchiladas to perfection? Let’s explore this together.
History
Enchiladas have a rich history that dates back to ancient times. Originating from Mexico, they were first recorded in Mayan writings, where people were depicted eating corn tortillas rolled around small fish. Over time, they’ve evolved and become a staple in Mexican cuisine.
In the early days, enchiladas were simply corn tortillas dipped in chili sauce. As time went on, various regions began to add their own spin to the traditional dish, filling them with different meats, cheeses, beans, and even seafood. Eventually, these regional variations made their way to the United States, where they were further adapted to suit local tastes.
Today, enchiladas are beloved worldwide and come in endless variations, including your freezer-friendly chicken enchiladas. They’re a symbol of the rich, diverse history of Mexican cuisine, from the ancient Mayans to modern home cooks like yourself. Whether you’re preparing them for a quick weeknight dinner or a large family gathering, you’re participating in a centuries-old tradition every time you roll up a tortilla. So, enjoy the process and savor the flavors – you’re part of culinary history!
Recipe Cooking Steps
When time is tight and you’re craving a comforting, homemade meal, these Freezer-Friendly Chicken Enchiladas are the perfect solution. Each enchilada is packed with shredded chicken, smothered in a rich enchilada sauce, and topped with a generous layer of cheese, all wrapped up in a tender tortilla. Simply prepare a batch of these in your spare time, freeze them, and you’ll always have a delicious, home-cooked meal ready to go.
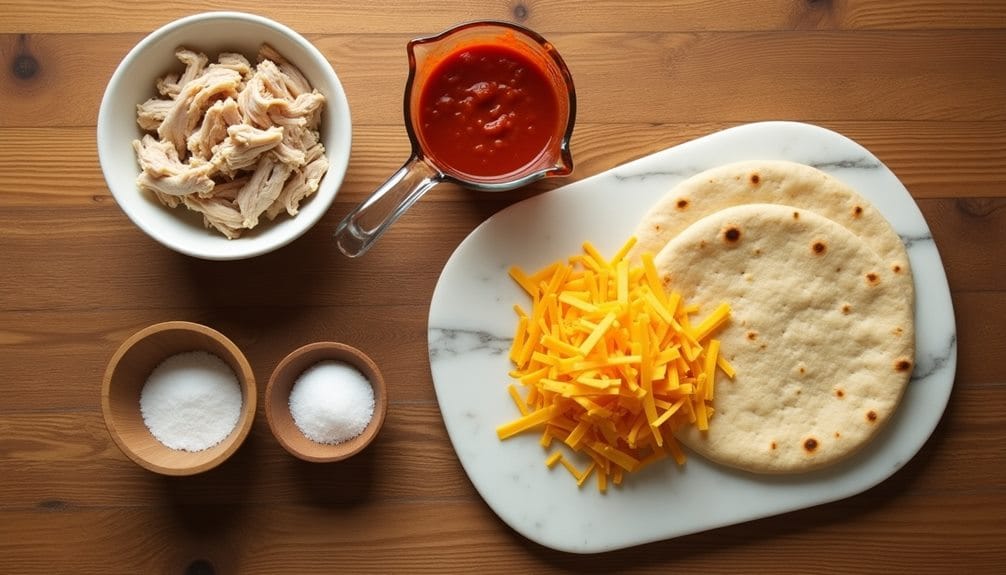
These enchiladas require just five simple ingredients, making them a breeze to prepare. The shredded chicken provides a filling, protein-packed base, while the enchilada sauce and cheese create a mouthwatering savory flavor. Each tortilla wraps up the filling perfectly and a dash of salt enhances the overall taste. You’ll love how satisfying and convenient this meal is.
Ingredients:
- 2 cups of shredded chicken
- 1 cup of enchilada sauce
- 2 cups of shredded cheese
- 10 small tortillas
- Salt to taste
To make these enchiladas, begin by preheating your oven to 375 degrees Fahrenheit. In a bowl, mix the shredded chicken, half the cheese, and a portion of the enchilada sauce. Spread the chicken mixture evenly onto the tortillas, roll them up, and arrange them in a baking dish. Pour the remaining enchilada sauce over the top and sprinkle with the rest of the cheese. Bake for 25 to 30 minutes, until the cheese is melted and bubbly.
When preparing these enchiladas for the freezer, be sure to store them in a freezer-safe container or cover them well with freezer-safe foil to avoid freezer burn. If cooking from frozen, remember that the cooking time may need to be increased and it’s always best to thaw them in the fridge overnight before heating. Don’t be afraid to put your own twist on this recipe by incorporating other ingredients like beans, corn, or diced peppers to add extra flavor and texture. Enjoy this convenient and hearty meal any day of the week.
Step 1. Oven Preheating Stage
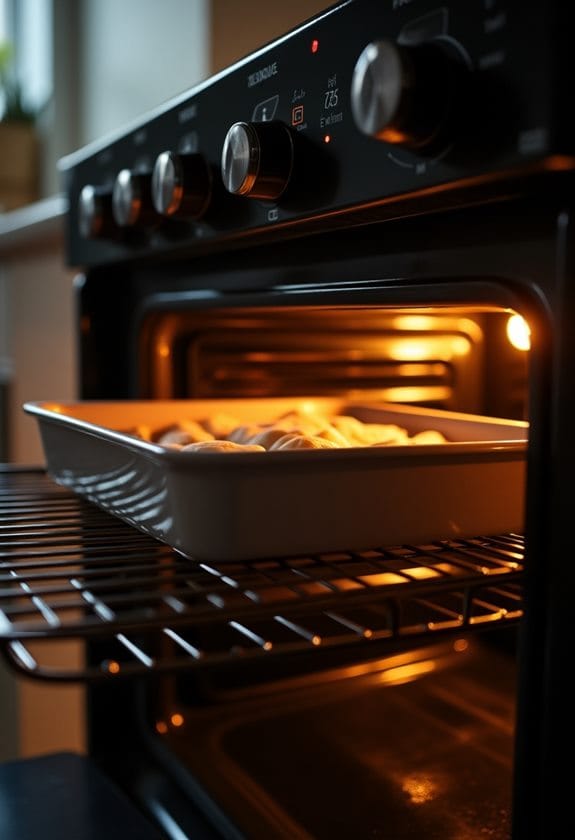
Before you even consider arranging the enchiladas, you’ll want to kickstart the oven. This initial step is essential as it guarantees your enchiladas will bake evenly and thoroughly. So, let’s get that oven fired up.
Most ovens take about 15 minutes to reach the desired temperature. It may vary slightly depending on the model of your oven. But generally, preheating to 375 degrees Fahrenheit is the sweet spot for these enchiladas. Here’s what you should keep in mind:
- Always preheat your oven before baking.
- Check your oven’s manual for specific preheating instructions.
- Confirm the oven rack is in the middle position.
- Avoid opening the oven door during preheating.
- Use an oven thermometer for accurate temperature reading.
This simple stage sets the stage for the deliciousness to come. It’s like warming up before a workout – necessary and beneficial. Plus, it’s the perfect amount of time to clean up your kitchen or prepare your baking dish while you wait. Remember, every great dish begins with a preheated oven. Now, let’s move on to the next step: the chicken mixture.
Step 2. Chicken Mixture Preparation Stage
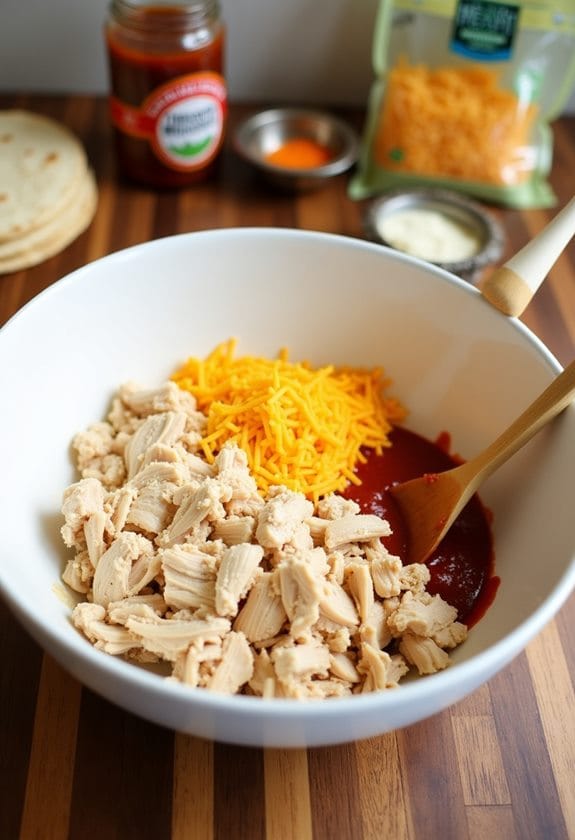
Now, onto the heart of our enchiladas – the chicken mixture. This is where the magic really happens. You’ll kick off by combining 2 cups of shredded chicken with a cup of your favorite enchilada sauce. Mix them up until every shred of chicken is coated with that tangy, spicy sauce. Next, grab half of your shredded cheese – about a cup – and stir it into the chicken and sauce mix. This adds a creamy, gooey element that’s absolutely irresistible in the finished enchiladas.
While you’re doing this, don’t forget to season with a pinch of salt. It may seem minor, but salt is key in bringing out the flavors of the chicken, sauce, and cheese. Plus, it ties all these ingredients together, making your chicken mixture a cohesive, flavorful base for your enchiladas.
Remember to give everything a good mix. You want the flavors to really meld together, creating a chicken mixture that’s evenly flavored and ready to be rolled up into your tortillas. And there you have it – a mouthwatering chicken mixture that’s the heart of your enchiladas.
Step 3. Enchilada Assembly Process
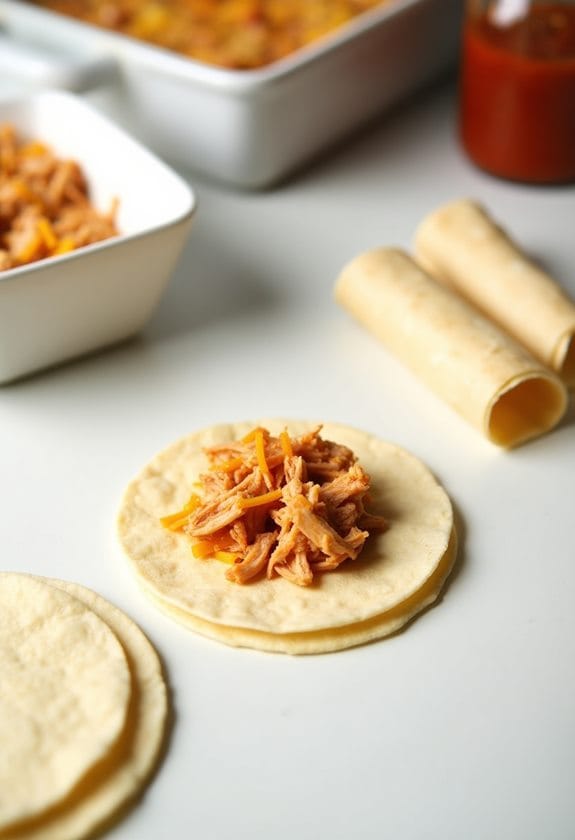
Let’s get those enchiladas assembled! It’s a breeze once you know how to do it.
Here’s your game plan:
- You’ll need 10 small tortillas.
- Take 2 cups of shredded chicken.
- Gather 1 cup of enchilada sauce.
- Don’t forget 2 cups of shredded cheese.
- A dash of salt to taste.
Start by spreading a bit of enchilada sauce on each tortilla. This helps lock in the flavor. Then, load ’em up with the shredded chicken, and sprinkle half of the cheese. Roll each tortilla up tightly. Line them up in your baking dish and drizzle the remaining enchilada sauce all over. Top it off with the rest of the cheese.
Now, if you’re not ready to bake them just yet, cover your dish with some aluminum foil and pop it in the freezer. When you’re ready to enjoy, just remember to thaw them in the fridge overnight before baking. You’re all set! Enjoy your delicious, homemade, freezer-friendly chicken enchiladas.
Step 4. Enchilada Baking Stage
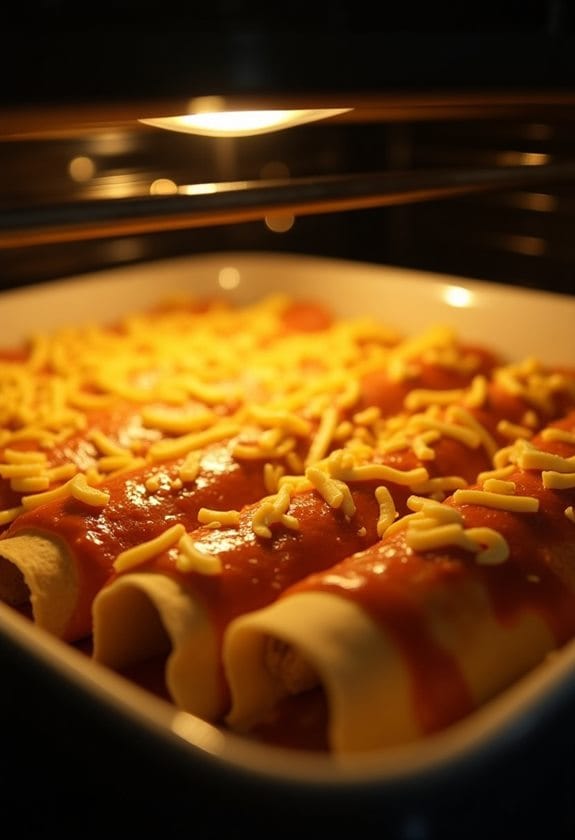
After assembling your enchiladas, the next step is getting them perfectly baked for a delicious finish. Preheat your oven to 375 degrees Fahrenheit. Place the prepped enchiladas in a baking dish, and pour the remaining enchilada sauce over them. Sprinkle the rest of the cheese on top. This will create a beautifully golden, stringy cheese topping.
Pop the dish in the oven and bake for about 25 to 30 minutes. You’re looking for the cheese to be melted and bubbly, and the enchiladas to be heated through. To guarantee even cooking, rotate your dish halfway through the baking time.
Once finished, allow your enchiladas to cool for a few minutes before serving. This will make them easier to handle and the flavors more developed. If desired, garnish with fresh cilantro or dollops of sour cream.
Step 5. Freezing and Reheating Instructions
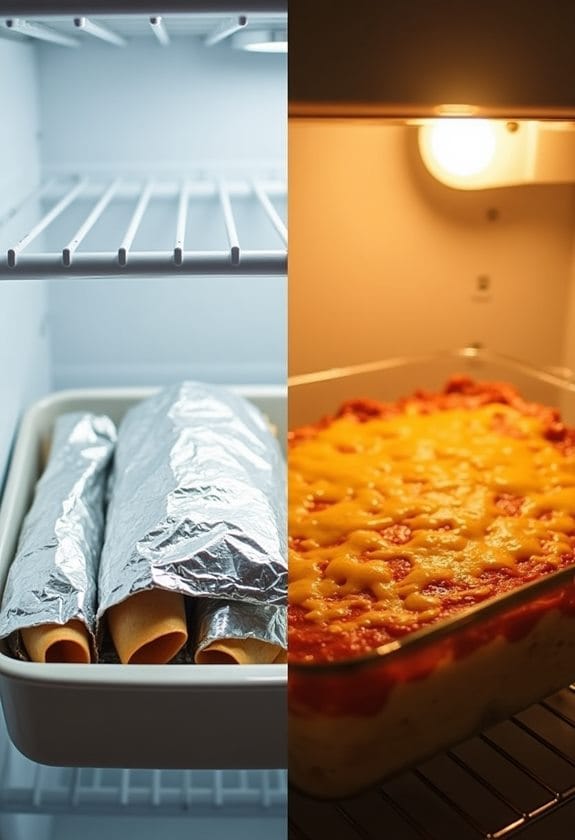
Storing your chicken enchiladas in the freezer couldn’t be easier. After allowing them to cool completely, use freezer-safe foil to wrap each enchilada individually. Store them together in a large freezer bag or freezer-safe container. This way, you’re able to pull out and reheat only as many as you need, avoiding unnecessary waste.
Here’s a quick guide to freezing and reheating your enchiladas:
- Allow the enchiladas to cool completely before freezing.
- Wrap each enchilada individually in freezer-safe foil.
- Store them in a large freezer bag or freezer-safe container.
- To reheat, first thaw in the fridge overnight.
- Bake at 375°F for 15-20 minutes, or until fully heated.
This method not only retains the flavor and texture of your enchiladas, but it’s also incredibly convenient. On those nights when you’re too tired to cook, or when unexpected guests drop by, you’ll appreciate having these ready-made meals at your disposal. And remember, a little planning and preparation can go a long way in making your life easier and your meals tastier.
New Recipe
- Pepperoni and Hot Honey PizzaTry the tantalizing twist of pepperoni pizza with hot honey, where sweet meets heat—how will it transform your taste buds?
Final Thoughts
In just one afternoon, you can prepare several batches of these freezer-friendly chicken enchiladas. Imagine having a satisfying meal ready to go on those busy weeknights or when unexpected guests drop by. Storing them in the freezer means you’ll have a homemade dinner at your fingertips, no last-minute grocery store trips required.
What’s brilliant about this recipe is its simplicity and versatility. You’re not limited to chicken – why not try beef or a mix of beans for a vegetarian version? The choices are endless, and that’s part of the fun. Plus, the enchiladas can be frozen individually or as a full batch, giving you the flexibility to cater to different family members’ preferences or dietary needs.

