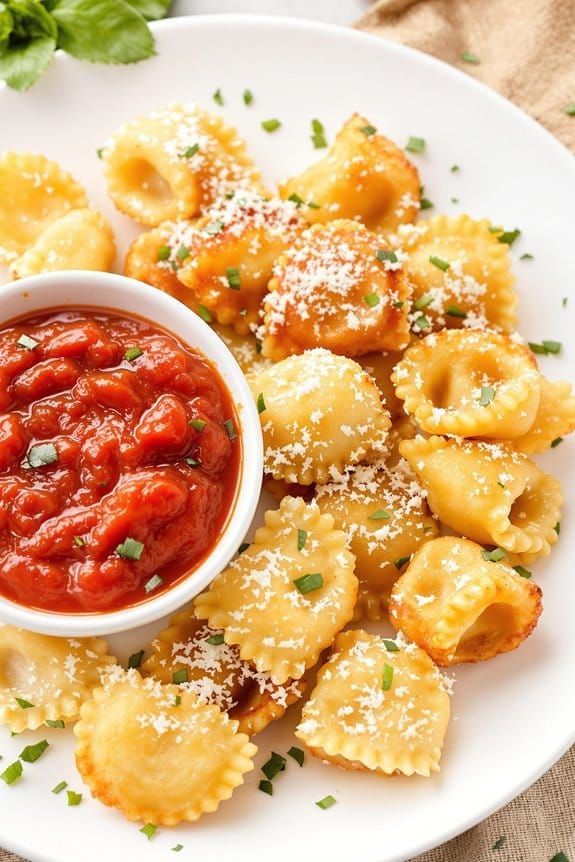
Have you ever tried transforming classic tortellini into a enchanting appetizer? Imagine biting into crispy tortellini bites, where each piece offers a crunch that gives way to a burst of creamy, savory filling, perfectly complemented by a dip into smooth, tangy marinara sauce. This dish not only elevates your snack time but also sparks a conversation about the fusion of traditional Italian cuisine with modern culinary trends. Now, consider the possibilities if you were to tweak the spices or try different fillings. What unique variations could you create to impress at your next gathering?
History
Though the exact origins of tortellini are shrouded in mystery, this beloved pasta has certainly been a central part of Italian cuisine for centuries.
You’d be surprised to learn that many cities in Italy, including Bologna and Modena, fiercely claim the invention of tortellini, each presenting their own enchanting legends about how this delectable dish came to be.
Stories aside, what’s clear is that these ring-shaped pastas have been referenced in Italian texts dating back to the 12th century, suggesting an even earlier genesis.
As a symbol of Italian culinary tradition, tortellini have evolved but always retain their essence, encapsulating rich fillings that vary by region, satisfying the palates of locals and travelers alike.
Their timeless appeal continues to thrive in countless Italian kitchens and restaurants.
Recipe
Crispy tortellini bites are a delightful and easy appetizer that combine the comforting flavors of pasta with a satisfying crunch. Perfect for parties or as a fun side dish during family dinners, these bites are sure to be a hit with both kids and adults alike. The exterior is seasoned for taste and fried to golden perfection, lending a crispy texture that contrasts wonderfully with the soft, cheesy inside of the tortellini.
This recipe calls for store-bought or homemade tortellini and a handful of simple ingredients for a quick breadcrumb coating. You can choose between cheese or spinach-filled tortellini depending on your preference or what you have on hand. Using prepared tortellini not only saves time but also guarantees each bite is uniformly perfect. Serve these tasty morsels with marinara sauce or a creamy dip for the ultimate snack experience.
Ingredients:
- 1 package (about 19 oz) tortellini (cheese or spinach filled)
- 2 large eggs
- 1 cup all-purpose flour
- 1 cup breadcrumbs
- 1 teaspoon garlic powder
- 1 teaspoon Italian seasoning
- 1/2 teaspoon salt
- 1/2 teaspoon black pepper
- Vegetable oil, for frying
- Marinara sauce, for serving
Begin by boiling the tortellini according to package instructions until they’re al dente. Drain and set aside to cool slightly.
Meanwhile, set up a dredging station: in one shallow dish, place the flour; in a second dish, beat the eggs; in a third dish, mix together breadcrumbs, garlic powder, Italian seasoning, salt, and pepper.
Dip each tortellini first in the flour, shaking off excess, then in the egg, and finally coat well with the breadcrumb mixture. Heat a generous amount of vegetable oil in a skillet over medium heat. Fry the tortellini in batches, turning occasionally, until they’re golden and crispy, about 2–3 minutes. Remove with a slotted spoon and drain on paper towels.
To achieve the best results, verify the oil is hot enough before starting to fry; this will help to keep the tortellini from absorbing too much oil and becoming greasy.
Serve hot with a side of marinara sauce or your favorite creamy dip. If you prefer an extra touch of flavor, sprinkle with grated Parmesan cheese or fresh herbs like basil or parsley right after frying.
Making these in advance? Reheat them in the oven on a wire rack to maintain maximum crispiness.
Step 1. Prepare Tortellini for Frying
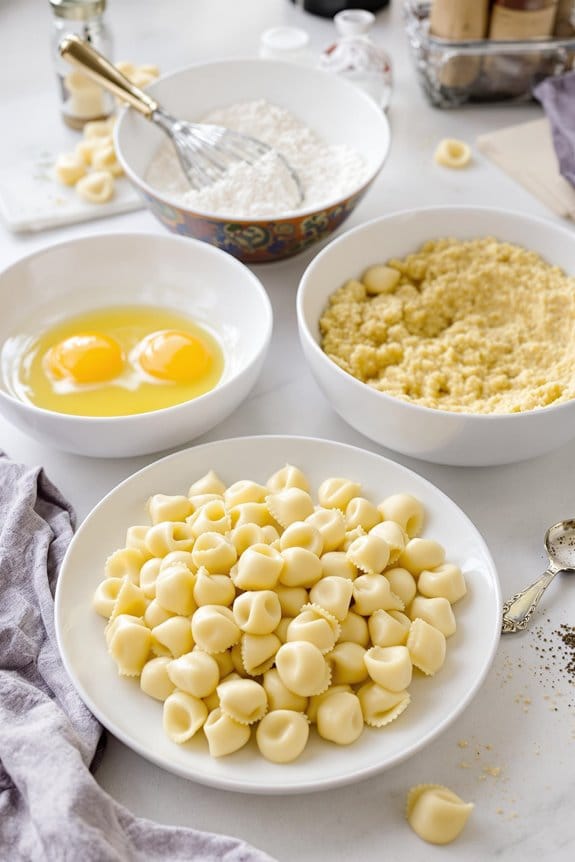
To begin preparing your tortellini for frying, first select a package of high-quality cheese-stuffed tortellini.
You’ll want to guarantee they’re thawed if frozen, and give them a gentle pat down to dry off any excess moisture. This helps the coating stick better and prevents sputtering during frying.
Here’s what you need to do next:
- Boil the Tortellini: Briefly cook your tortellini in salted boiling water until they’re just al dente. Avoid overcooking as they’ll fry later.
- Drain and Cool: After boiling, drain the tortellini and spread them out on a tray to cool down.
- Coat Evenly: Toss the cooled tortellini in a light dusting of flour, followed by a dip in beaten eggs.
- Crumble Breadcrumbs: Finally, roll them in breadcrumbs mixed with Italian seasoning for that extra flavor.
Step 2. Heat Cooking Oil
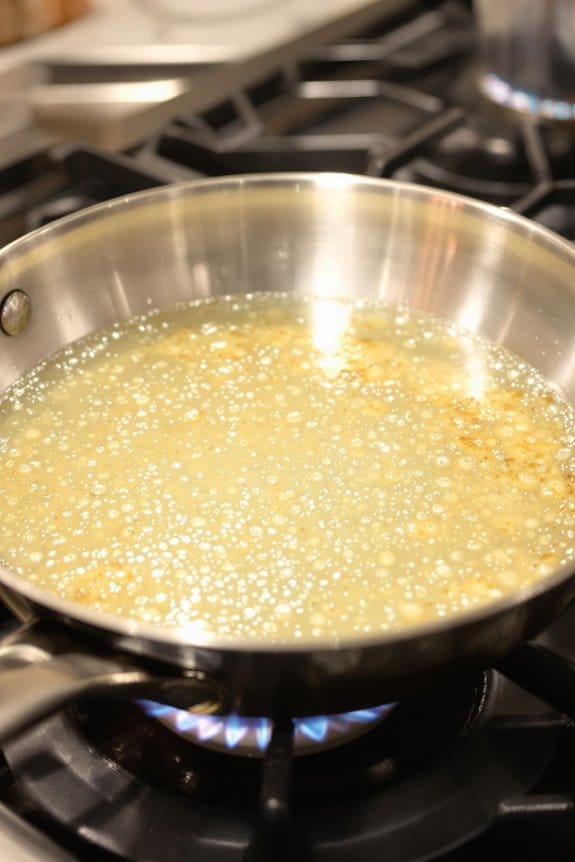
Once you’ve prepared the tortellini, pour enough oil into a large, heavy-bottomed skillet to reach a depth of about two inches.
Heating the oil to the right temperature is vital for achieving that perfect golden crispiness without burning. Use a medium-high setting and let the oil warm steadily. You’ll know it’s ready for frying when a small piece of tortellini sizzles upon contact.
If you have a kitchen thermometer, aim for an oil temperature of 350°F to 375°F. This range guarantees that your tortellini cooks evenly, turning wonderfully crispy without absorbing too much oil.
Always handle hot oil with care to avoid splatters, keeping a lid nearby to manage any unexpected oil pops.
Step 3. Fry Until Golden Brown
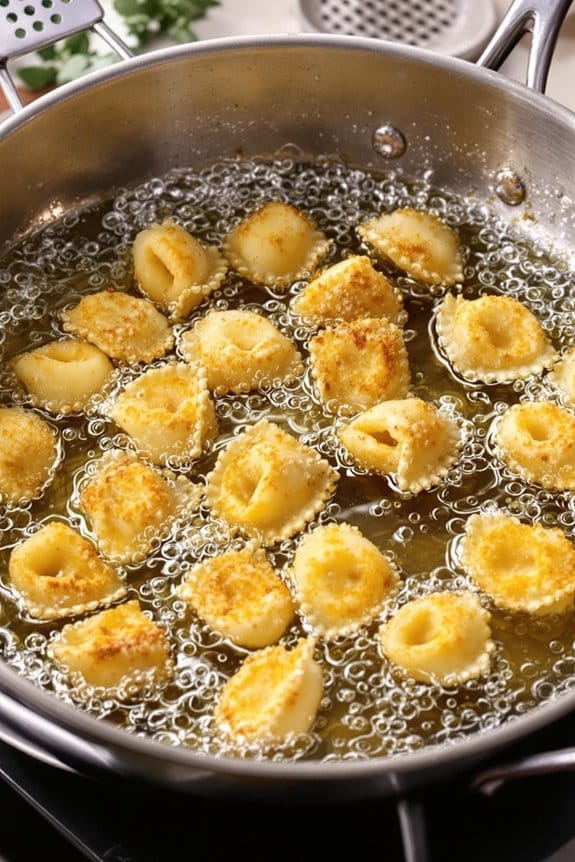
Now that your oil is hot, carefully add the prepared tortellini in batches to avoid crowding the pan.
You’ll want to fry them until they turn a delicious golden brown, guaranteeing each piece is evenly cooked.
Keep a close eye on the heat – you’re aiming for a steady medium-high temperature to achieve that perfect crispiness without burning them.
- Manage Heat: Adjust the heat as needed to maintain a gentle bubbling around the tortellini.
- Stir Gently: Occasionally stir to prevent sticking and guarantee even browning.
- Batch Size: Don’t overload; cook in small batches to keep the oil temperature stable.
- Frying Time: It typically takes about 2-3 minutes per batch to reach golden perfection.
Enjoy watching them turn perfectly crispy!
Step 4. Drain on Paper Towels
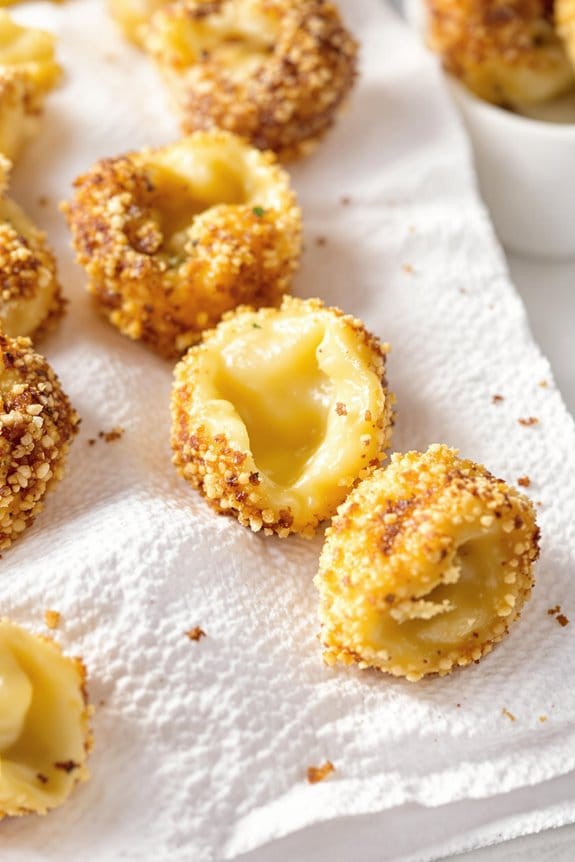
After frying, immediately transfer the tortellini to a plate lined with paper towels. This step is essential as it helps to remove excess oil from the tortellini, ensuring they aren’t greasy, but remain crispy and delightful.
Gently pat them with another paper towel on top to absorb additional oil. You’ll notice that this method doesn’t just prevent an oily mouthfeel but also enhances the overall texture of your tortellini bites.
Make sure the tortellini don’t overlap on the towel to avoid them steaming each other and getting soggy. It’s all about maintaining that irresistible crunch that makes them so appealing.
Let them rest for a minute or so, this brief waiting period allows any remaining oil to drain off, perfecting their crispiness before you move on to serving.
Step 5. Serve With Warm Marinara Sauce
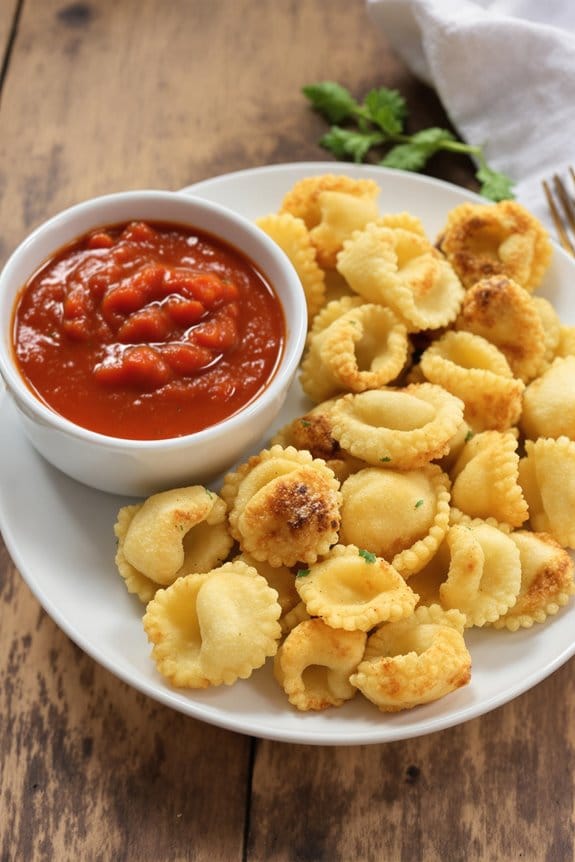
Serve your crispy tortellini bites with a side of warm marinara sauce to enhance their flavor. Heating the sauce will release its aromatic qualities and rich flavors, which complement the golden-brown crust of the tortellini perfectly.
As you plunge into this savory dish, you’ll appreciate the way the smoothness of the sauce contrasts with the crunchy exterior of the pasta.
- Texture Contrast: The sauce’s silky texture contrasts delightfully with the crispness of the fried pasta.
- Flavor Enhancement: Warm sauce brings out the herbs and spices in the marinara, intensifying the overall taste.
- Visual Appeal: A vibrant red sauce adds a pop of color to your plate, making the dish more appealing.
- Heat Balance: Warm sauce pairs well with the hot tortellini, providing a satisfying temperature consistency.
New Recipe
- Pepperoni and Hot Honey PizzaTry the tantalizing twist of pepperoni pizza with hot honey, where sweet meets heat—how will it transform your taste buds?
Cooking Tips
To guarantee your tortellini bites turn out delightfully crispy, always preheat your oven before getting started.
It’s critical to spread the tortellini evenly on a baking sheet lined with parchment; this guarantees they don’t stick and heat is distributed uniformly.
Don’t skimp on the cooking spray or a light brush of olive oil, which gives that golden-brown finish.
Rotate the tray halfway through baking for consistent crispiness all around.
If you’re adding any spices or herbs for extra flavor, mix them with the breadcrumbs before coating your pasta. This integration helps every bite pack a punch of flavor.
Final Thoughts
Following these tips will help guarantee your tortellini bites come out perfectly crispy and delicious.
Once you’ve mastered cooking them, don’t be afraid to experiment with different fillings and dipping sauces. Here are a few ideas to enhance your next batch:
- Experiment with Fillings: Try cheese, meat, or even a spinach and ricotta mix.
- Diverse Dipping Sauces: Beyond classic marinara, consider pesto or Alfredo.
- Serving Suggestions: Pair them with a crisp salad or garlic bread for a full meal.
- Make Ahead: Prepare in advance and reheat for quick entertaining.
You’ll find these bites aren’t just a snack but a conversation starter at any gathering.
Enjoy exploring the endless variations!

