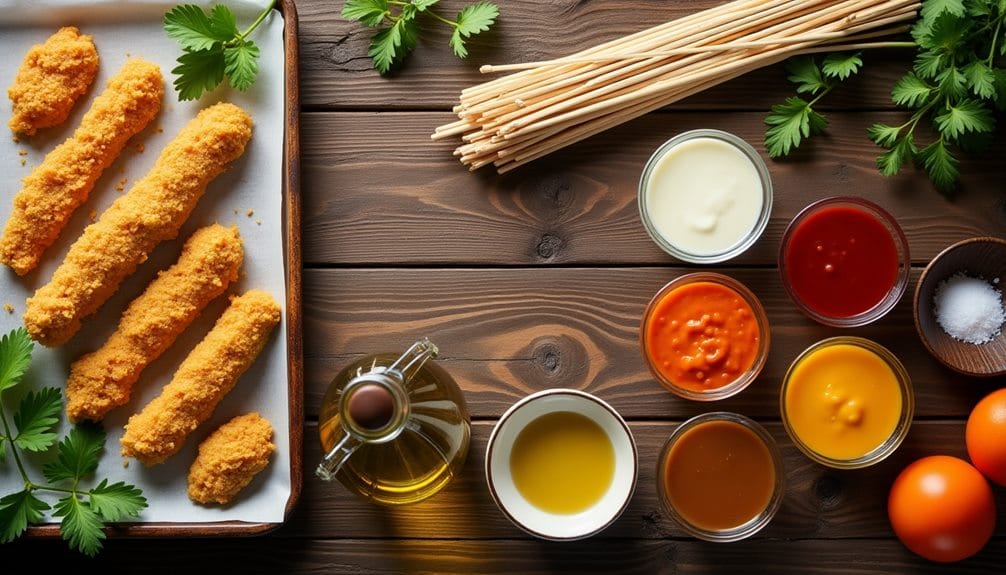
“Turning our attention to a culinary twist on a crowd-pleaser, consider the charm of baked chicken nugget skewers paired with a selection of tantalizing dipping sauces. You’ll appreciate the simplicity of this dish, its versatility and how it effortlessly caters to different taste preferences. Imagine presenting these golden, crispy bites threaded on skewers, accompanied by a rainbow of sauces, offering a feast not just for the palate but also the eyes. Curious about how to bring this to your next gathering? Stay with us as we explore this delightful ensemble further.”
History
The history of chicken nuggets is quite fascinating. You’d be surprised to know that chicken nuggets were not always the fast-food staple they are today. In fact, they were first introduced to the public by a food scientist at Cornell University in the 1950s. He was trying to create a way to make the poultry industry more profitable, and consequently, the chicken nugget was born.
Over the years, chicken nuggets have evolved from a simple breaded, deep-fried piece of chicken to an array of variations, including your soon-to-be favorite baked chicken nugget skewers. The introduction of skewers into the mix adds a fun and convenient twist to the traditional nugget. It makes the dish more versatile, suitable for various occasions from a casual hangout to an elegant party.
It’s interesting to see how a simple innovation can revolutionize an industry and become a beloved staple in many households worldwide. So, the next time you munch on those delicious baked chicken nugget skewers, remember the fascinating journey they’ve been on. It’s more than just a tasty snack; it’s a piece of culinary history.
Recipe Cooking Steps
Baked Chicken Nugget Skewers with Dipping Sauces are a fun and flavorful dish that is guaranteed to be a hit at your next gathering. They’re not only a crowd pleaser, but they are also straightforward to prepare and serve, making them ideal for any occasion. This dish combines the juicy, crispy goodness of chicken nuggets with the convenience of skewers, creating an appetizing finger food that can be enjoyed with a variety of dipping sauces.
The secret to this dish’s success lies in the quality of the chicken nuggets and the baking method employed. The nuggets are seasoned simply and baked until they are golden brown and crispy. They are then skewered for easy consumption. The skewers can be served with a variety of dipping sauces, allowing everyone to customize their flavor experience. Whether you’re planning a party, picnic, or just a family dinner, these Baked Chicken Nugget Skewers with Dipping Sauces are sure to delight.
- Ready-made chicken nuggets
- Wooden skewers
- Olive oil
- Salt
- Your choice of dipping sauces
To begin, preheat your oven to 425 degrees Fahrenheit. Place the chicken nuggets on a baking sheet, making certain they are evenly spaced. Drizzle them with olive oil and sprinkle them with salt. Bake the nuggets for approximately 20 minutes, or until they have turned a golden brown color and are crispy. Once baked, allow them to cool slightly before carefully skewering them. Serve the skewers with your choice of dipping sauces.
While this recipe is quite straightforward, there are a few tips to enhance your culinary experience. First, avoid overcrowding the chicken nuggets on the baking sheet. This will guarantee that they bake evenly and achieve the desired crispiness. When skewering the nuggets, be gentle to avoid breaking them. Finally, serve the skewers promptly after baking to make sure they retain their crispiness. These tips will help you create perfect Baked Chicken Nugget Skewers with Dipping Sauces every time. Enjoy your meal!
Step 1. Preheating and Preparing Nuggets
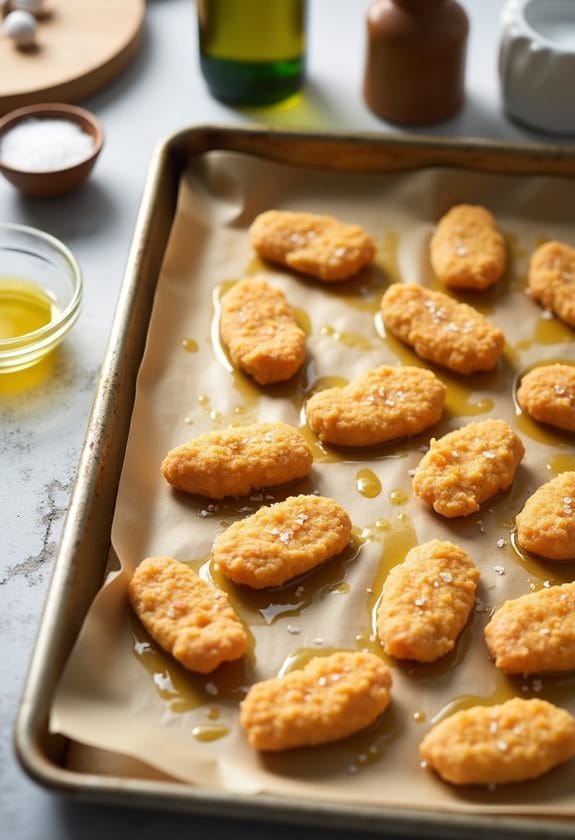
Getting your oven to the right temperature is your first step. Set it to preheat at 425 degrees Fahrenheit. While it’s heating up, start prepping your nuggets. If you’re using store-bought nuggets, you can skip this step. But if you’re making your own nuggets, now’s the time to get them ready. Season them to your liking, but remember, less is more. You don’t want to overpower the natural chicken flavor.
Next, grab a baking sheet and arrange your nuggets on it. Be sure not to overcrowd them; they need space to cook evenly. Once you’ve done that, drizzle a little olive oil over them. It’ll help them crisp up in the oven. Then, sprinkle a bit of salt for that extra flavor kick.
While you’re waiting for your oven to finish preheating, soak your wooden skewers in water. This prevents them from burning in the oven. Once your oven signals it’s ready, pause. Don’t put your nuggets in just yet. That’s a step for later. For now, you have successfully preheated and prepared your nuggets.
Step 2. Baking the Chicken Nuggets
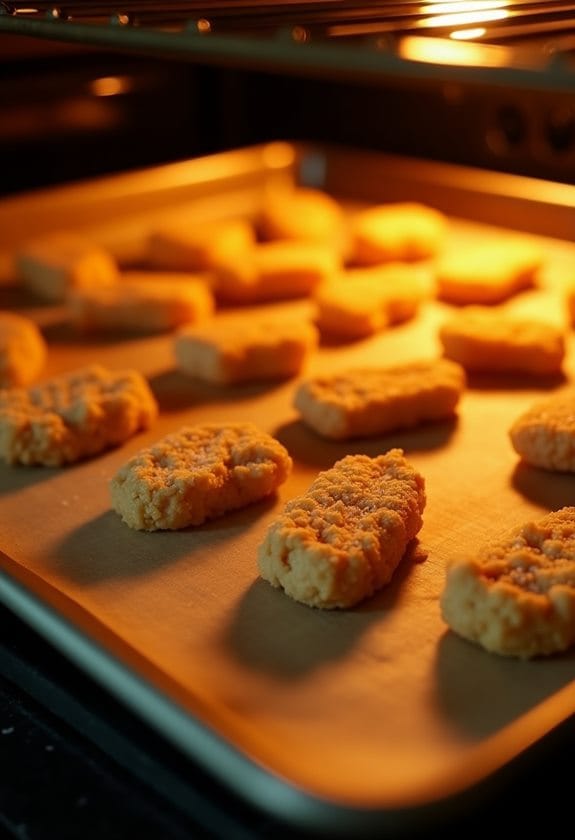
Ready to bake those nuggets to golden perfection? You’ll begin by preheating your oven to a toasty 425 degrees Fahrenheit. While it’s heating up, arrange your chicken nuggets on a baking sheet. Don’t crowd them; you want each one to bake evenly to reach that desired crispy goodness. Once laid out, give them a good drizzle of olive oil – just enough to lightly coat them. Then, add a sprinkle of salt to bring out their flavor.
Now, it’s time to put those nuggets in the oven. Bake them for about 20 minutes, but keep an eye on them. You’re looking for a golden brown color and a crispy texture. Once they’re done, don’t be hasty. Let them cool for a few minutes. This step is important because it makes the skewering process easier and prevents you from burning your fingers. Remember, we’re not discussing skewering just yet, that’s for the next step.
Step 3. Skewering the Baked Nuggets
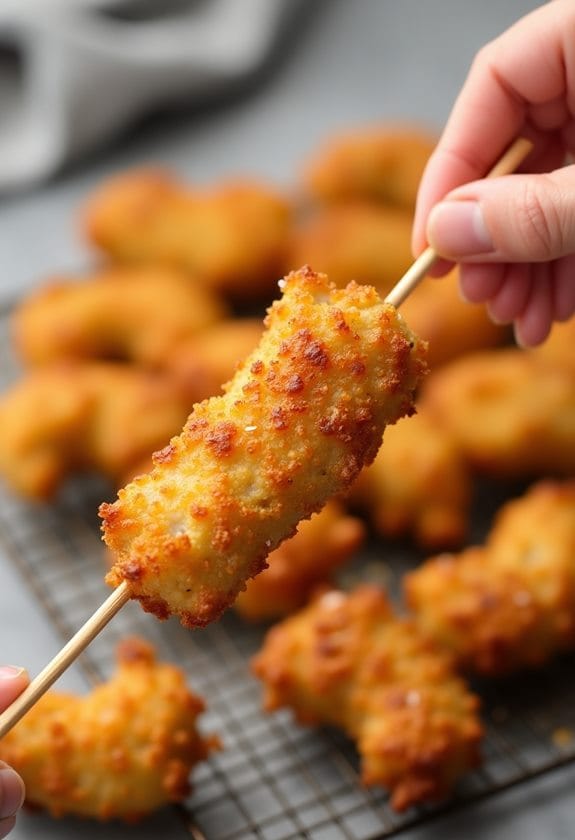
Now that your nuggets have cooled down a bit, you’re all set to start the fun part – skewering them! Gather your sturdy wooden skewers and let’s get started. Carefully, slide each baked nugget onto the skewer, making sure to go slow so you don’t break the crispy coating. You’re going for a neat line of golden nuggets. Depending on the size of your skewer and nuggets, you should be able to fit around 4 to 6 nuggets on each one.
But remember, there’s no strict rule here. You can organize your nuggets however you like. Just remember not to overload the skewers, as the nuggets could slip off. This process is not just about making the nuggets easier to dip and eat, but it’s also about presentation. After all, who wouldn’t be tempted by a skewer loaded with delicious, crispy, golden nuggets?
But here’s a key tip: Serve immediately. The nuggets tend to lose their crispiness over time, and you want your guests to savour the best texture. So, go ahead, start skewering those nuggets and prepare for a chicken feast!
Step 4. Dipping Sauce Selection
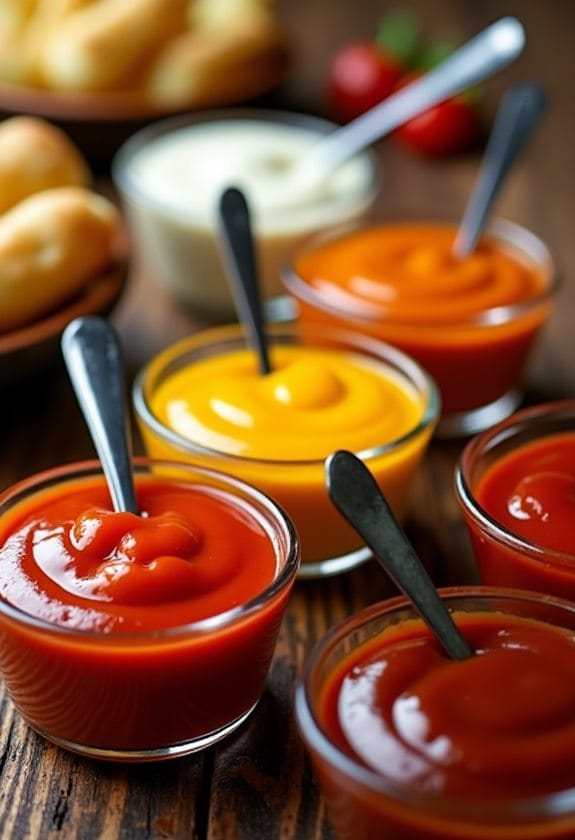
Choosing the right dipping sauces can elevate your chicken nugget skewers from good to great. You can either use store-bought sauces or create your own. Let’s discuss both options.
Store-bought sauces offer convenience and variety. Classic options like barbecue, honey mustard, or sweet and sour sauce are always a hit. For an adventurous twist, try sriracha mayo, hoisin sauce, or a tangy blue cheese dip. Don’t be afraid to mix and match. It’s all about your personal preference.
On the other hand, making your own sauces allows for customization. Start with a simple base like mayonnaise or ketchup, then add your choice of herbs, spices, or other flavor enhancers. For example, a garlic aioli with fresh minced garlic, lemon juice, and finely chopped parsley pairs wonderfully with the chicken nuggets. A spicy ketchup with a dash of hot sauce can also add a kick.
Step 5. Serving the Skewers Immediately

Pulling these baked chicken nugget skewers fresh from the oven, you’ll be tempted to dive right in. But hold on, there’s one final step that’s just as important – serving them immediately. Why’s this vital? To maintain that coveted crispness, of course!
You’ve done the work of baking them to golden perfection, so don’t let them languish and lose their crunch. As soon as they’re cool enough to handle, start skewering. You’ve got to be gentle though – too much pressure and you might find yourself with a handful of crumbled nuggets.
Once skewered, it’s showtime. Get those skewers out to your enthusiastic guests as quickly as you can. If you’re serving up a variety of dipping sauces, arrange them in an enticing display alongside the skewers. The sight of those perfectly baked nuggets, glistening with a hint of olive oil and a sprinkle of salt, accompanied by a colorful array of dips, is sure to get mouths watering.
New Recipe
- Pepperoni and Hot Honey PizzaTry the tantalizing twist of pepperoni pizza with hot honey, where sweet meets heat—how will it transform your taste buds?
Final Thoughts
After you’ve taken the time to prepare and enjoy these Baked Chicken Nugget Skewers, you’ll likely agree that they are a standout dish. They’re fun, flavorful, and easy to make. A great way to mix up the typical chicken nugget meal, these skewers add a playful touch that’s perfect for parties and get-togethers.
Here are four final thoughts to keep in mind:
- Quality matters: Always go for high-quality chicken nuggets. If you’ve got the time and skill, homemade nuggets could add an extra special touch.
- Don’t overcrowd the baking sheet: This helps guarantee every nugget cooks evenly and gets that perfect, crispy texture.
- Skewer with care: Push too hard and you may break a nugget. Patience is key.
- Serve immediately: To maintain the crispiness, dish them out as soon as they’re ready.
No matter the occasion, these Baked Chicken Nugget Skewers are sure to be a hit. Enjoy the process of making them and, more importantly, enjoy the taste! With these final pointers, you’re all set to wow your guests or simply treat yourself.

