Isn’t it a pleasant coincidence that you’re here when we’re about to discuss the mouth-watering topic of cheeseburger sliders? You’re probably familiar with these mini delights – they’re the bite-sized versions of your favorite cheeseburger. Packed with flavor, they’re not only easy to make but also offer endless options for customization. Now, wouldn’t you like to know how to whip up the perfect batch, or maybe discover some unique topping combinations to elevate your next slider experience? Stick around, because we’re just getting started.
History
While you might think that cheeseburger sliders are a recent food trend, their history stretches back further than you’d expect. They originated in the 1920s, when a Kansas diner known as White Castle began selling small, square-shaped burgers. Coined “sliders”, these little burgers quickly gained popularity due to their convenient size and affordability.
Time went by, and the term “slider” expanded to include any small sandwich or burger. The cheeseburger slider, as you know it today, was born. In the 2000s, sliders became a sensation again, popping up in restaurants and fast-food chains across the nation. They became a staple in American cuisine, loved for their versatility and deliciousness.
You’ve probably enjoyed these mini burgers at a party, a sports event, or even as a quick dinner at home. They’re the perfect size for snacking and sharing, and you can customize them to your taste. Whether you prefer them plain or loaded with toppings, they’re always a hit.
Recipe Cooking Steps
Enjoy the taste of a classic American dish in a delightful, bite-sized format with these easy-to-make cheeseburger sliders. Perfect for a fun family meal, a game night with friends, or a children’s party, these sliders are a hit with kids and adults alike. With just five ingredients, this simple recipe delivers big on flavor, proving that sometimes, less really is more.
This recipe cuts down on prep time and complexity, focusing instead on the quality of ingredients and the satisfaction of each bite. You’ll love the combination of savory, seasoned beef, melted American cheese, and soft, toasted slider buns. Top it off with a dollop of ketchup, and you have an irresistible mini burger that’s ready to impress at your next casual get-together.
Ingredients:
- 1 pound of ground beef
- 1 package of slider buns (12 count)
- 12 slices of American cheese
- Salt to taste
- Ketchup
To prepare your sliders, begin by preheating your oven to 350 degrees Fahrenheit. Divide your ground beef into 12 equal portions, forming each into a small patty. Place these patties onto a baking sheet, seasoning each with a pinch of salt. Bake the patties in your preheated oven for approximately 15 minutes, or until they’re fully cooked. Once they’re done, remove your patties from the oven, placing a slice of American cheese atop each one. The residual heat from the patties will melt the cheese slightly. Now, simply slice your slider buns in half, placing a cheese-topped patty on each bottom bun. Add a squirt of ketchup, then top with the remaining half of the bun. Serve your sliders while they’re still hot for the best taste.
When making these sliders, remember that you can always customize them to your liking. Feel free to add extra toppings like pickles, onions, or mustard. However, the beauty of these sliders lies in their simplicity, so try not to overdo it. You can also prepare your patties ahead of time, reheating them in the oven when it’s time to serve. This can help simplify your cooking process, giving you more time to enjoy your meal. Just make sure not to overcook your patties – they should still be juicy and slightly pink in the center for the best flavor. Enjoy your homemade cheeseburger sliders!
Step 1. Preheat Oven and Shape Patties

Getting your oven ready and shaping your patties are the first steps towards these delicious sliders. Start by preheating your oven to 400 degrees Fahrenheit. This temperature is ideal as it cooks the patties evenly without drying them out. While your oven is warming up, you can begin shaping your patties.
Grab your ground beef and divide it into 12 equal parts. It’s critical to keep your portions consistent to guarantee even cooking. Once you’ve divided the beef, it’s time to shape them into patties. Use your hands to form each portion into a small, flat disc. You’re aiming for them to be slightly larger than your slider buns as they’ll shrink a bit during cooking.
Don’t forget to make a small indent in the center of each patty. This little trick prevents the patties from puffing up in the oven. By doing this, you’re assuring a perfectly shaped patty for every slider.
Once you’ve shaped all your patties, arrange them on a baking tray, ready for the oven. And there you have it! You’re now ready to move on to the next steps in your slider-making journey.
Step 2. Bake and Season Patties
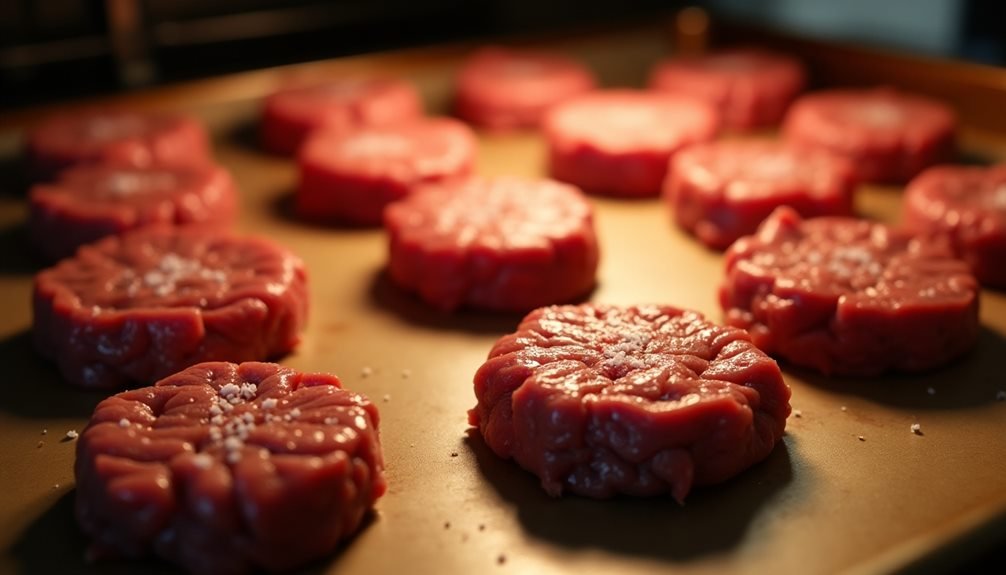
Now onto the essential part – baking and seasoning your patties. After preheating your oven to 350 degrees, place your shaped patties on a baking sheet. Sprinkle each one with a pinch of salt, or to your taste. This will enhance the natural flavor of the beef, and a little goes a long way, so don’t overdo it.
Pop the baking sheet into your preheated oven and let the patties bake for about 15 minutes. It’s essential to keep an eye on them, you don’t want to overbake. They should be browned on the outside but still juicy on the inside. Once they’re done, take them out of the oven but don’t turn it off yet.
While they’re piping hot, give each patty a quick check. If they’re too pink for your liking, put them back in the oven for a couple more minutes. Remember, sliders should be juicy, so avoid overcooking.
Don’t worry about adding cheese just yet, that’s for the next step. For now, let your delicious patties rest for a bit. You’ve done a great job so far, so take a moment to pat yourself on the back.
Step 3. Cheese Placement and Melting
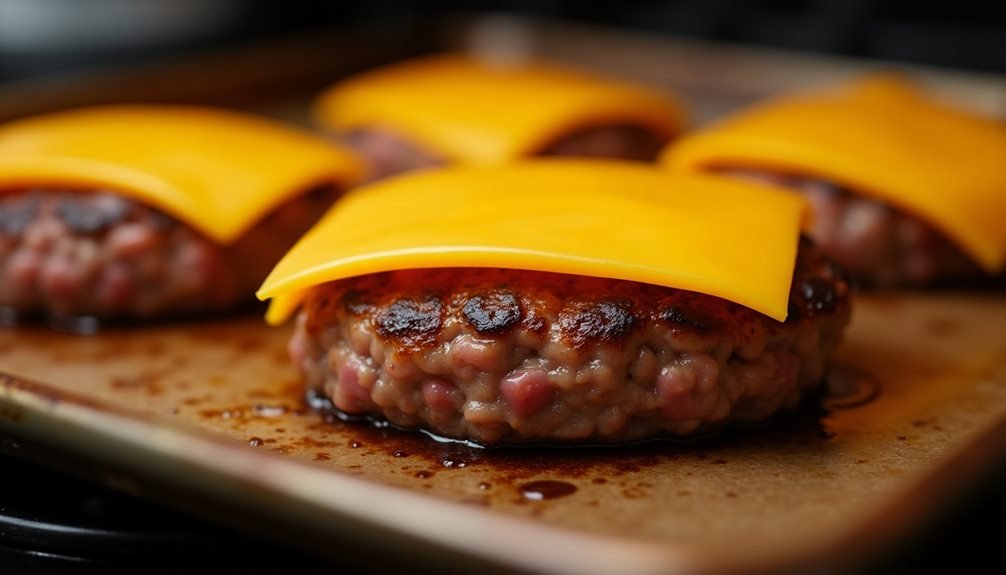
Once your patties are perfectly cooked, it’s time for the best part: the cheese. Lay each cheese slice onto your hot patties. The heat from the cooked patties should start to melt the cheese, enveloping the patties in a creamy, luscious layer. Remember, cheese placement is key. Center the cheese on your patties to guarantee even melting and to avoid any cheese-less bites.
Now, let’s talk about the melting process. You don’t want your cheese just barely melted; you’re aiming for a nice, gooey melt that stretches slightly when you bite into your slider. To achieve this, you can pop your cheese-topped patties back into the oven for a minute or two. But be careful! Don’t leave them in too long. You don’t want the cheese to fully liquify and slide off your patties.
Working quickly, while the cheese is still warm and melty, it’s time to assemble your sliders. But not too fast! The next steps are important and deserve their own spotlight. So stay tuned, because up next we’re diving into adding ketchup and bun assembly.
Step 4. Adding Ketchup and Bun Assembly
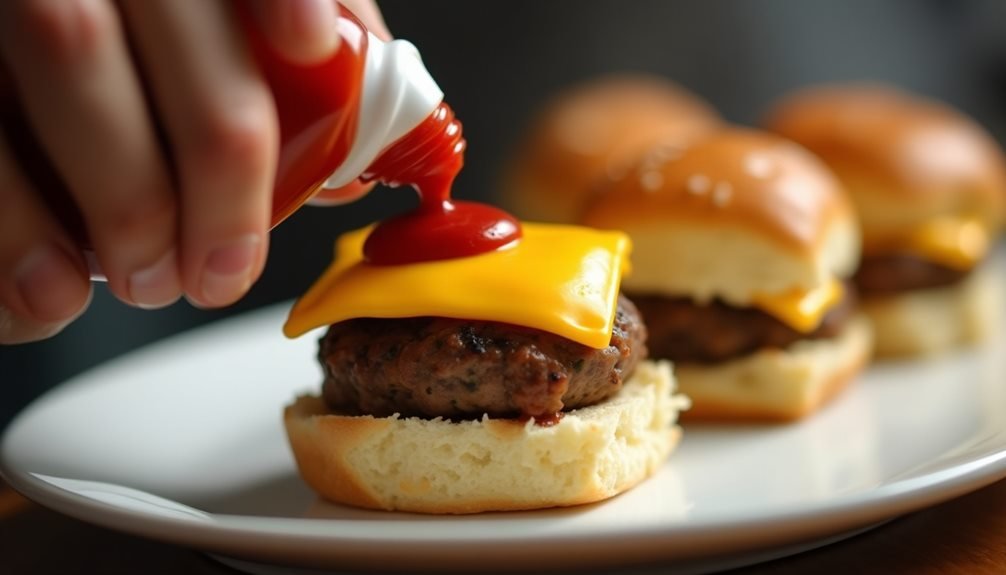
With your patties hot and cheese perfectly melty, it’s time to add a touch of tanginess with some ketchup. Be generous, but not too much. You don’t want the taste of the ketchup to overpower the juicy, cheesy goodness of your slider. Each bite should be a balance of all the flavors.
Next, let’s assemble the buns. Make sure they’re fresh and soft. If you prefer, you can lightly toast them for a bit of crunch. Now, open up those buns and lay the bottom halves on a platter. One by one, place your cheesy, ketchup-topped patties on the bottom halves.
Now, it’s time for the final step. Carefully place the top halves of the buns on the patties. Press down gently, just enough to make everything stick together. Voila! Your cheeseburger sliders are assembled and ready to be served.
Step 5. Slider Serving and Enjoyment
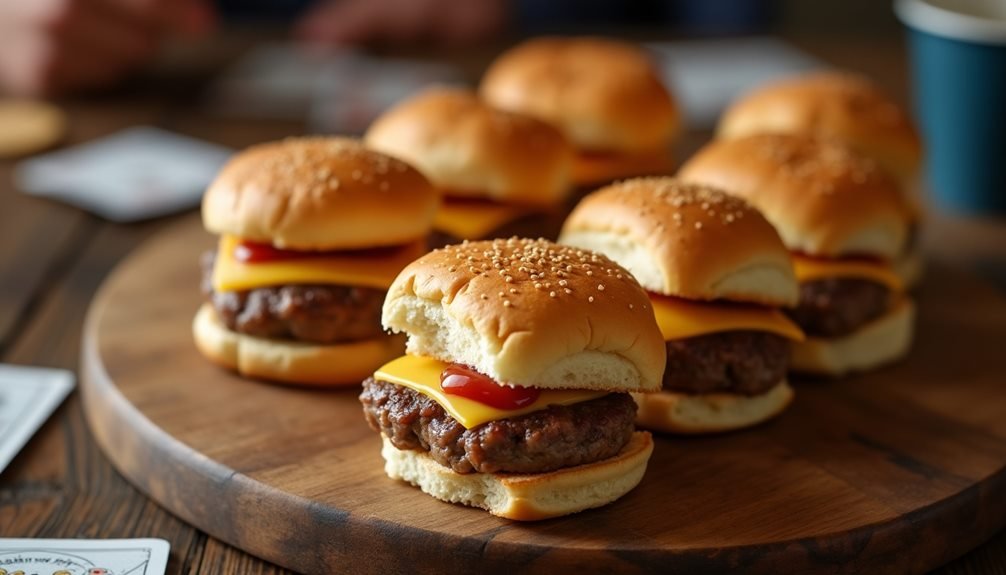
After you’ve assembled your sliders, don’t rush to serve them straight away. Let them rest for a couple of minutes to let the flavors meld together. It’s this little pause that takes your sliders from good to great. And when you do serve them, don’t just slap them on a plate – presentation matters.
Here are some tips to elevate your slider enjoyment:
- Arrange your sliders on a platter, not just any plate. It gives a sense of occasion.
- Add some colorful sides. Coleslaw, pickles, or fries can be great companions.
- Offer a range of condiments. Ketchup, mustard, and mayo allow guests to customize their sliders.
- Don’t forget napkins! Sliders can be messy, but that’s part of the fun.
- Enjoy them while they’re hot. The contrast between the warm patty and the cool toppings is part of the slider’s charm.
New Recipe
- Pepperoni and Hot Honey PizzaTry the tantalizing twist of pepperoni pizza with hot honey, where sweet meets heat—how will it transform your taste buds?
Final Thoughts
In making these cheeseburger sliders, you’ll find that their convenience and irresistible taste make them a hit at any gathering. They’re small enough for one bite, but packed with a flavor that’s sure to leave you wanting more. With minimal ingredients and quick prep time, these sliders are the epitome of a simple yet satisfying meal.
But don’t stop at just cheese and ketchup. Feel free to experiment with other toppings. Maybe some crispy bacon or a dollop of BBQ sauce? The beauty of these sliders is their versatility. They’re a blank canvas waiting for you to add your own personal touch.
One of the best parts about these sliders is that you can make the patties ahead of time. Just pop them in the oven when you’re ready to serve. This not only saves you time but also allows you to enjoy your gathering without being stuck in the kitchen.

