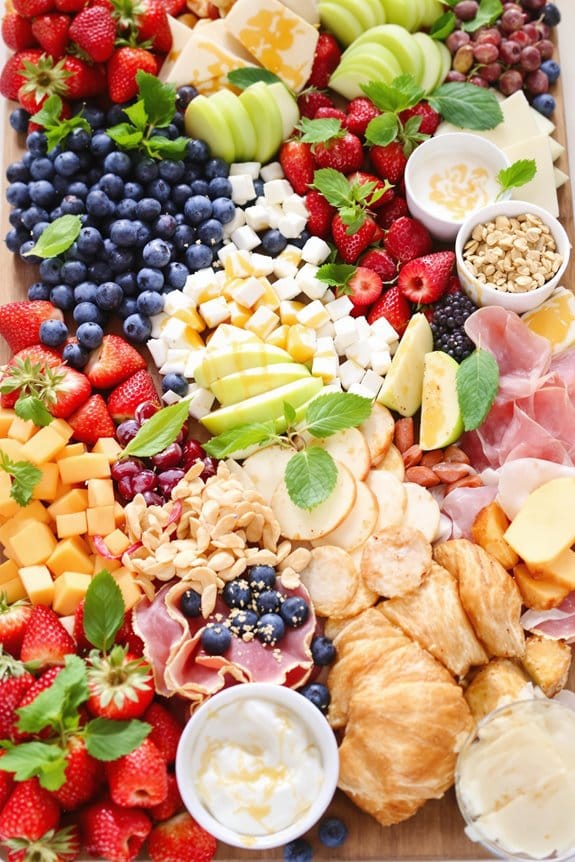
To create an impressive cheese board, you’ll want to balance various cheese types, such as creamy Brie, sharp Cheddar, and tangy blue cheese. Choose accompaniments like sweet fruits, crunchy crackers, and tangy pickles to enhance flavors and textures. Arrange your board artistically, incorporating colorful elements for visual appeal. Don’t forget to include suitable serving utensils, like a cheese knife and small forks. As guests taste, encourage them to discuss aromatic and textural notes, turning the experience into a shared culinary journey. By considering these aspects, you’ll craft a memorable board that delights and surprises everyone involved. There’s even more to explore on this delicious topic ahead.
History
Have you ever wondered how cheese boards became a staple at gatherings? The history of cheese boards dates back to ancient times when people first discovered the art of cheese-making. In Europe, particularly in countries like France and Italy, cheese was often paired with bread and wine during communal meals. These simple pairings laid the groundwork for what we now consider a cheese board.
As trade routes expanded, so did the variety of cheeses available. By the Renaissance, cheese boards evolved into elaborate displays, showcasing local artisans’ finest creations. They became a symbol of hospitality and indulgence, often gracing tables during festive occasions. The tradition carried on through centuries, adapting to different cultures and tastes.
In the 20th century, cheese boards gained popularity in social settings, becoming a favorite at parties and family gatherings. People started experimenting with various cheeses, fruits, nuts, and accompaniments, turning the humble cheese plate into a canvas for creativity.
Today, cheese boards signify not just a meal but an experience, inviting people to gather, share, and savor flavors together. This evolution reflects our appreciation for good food and the joy of connection, making cheese boards timeless favorites.
Recipe Cooking Steps
Creating a cheese board is an art that combines flavor, texture, and presentation to delight the senses. A well-crafted cheese board not only showcases a variety of cheeses but also pairs them beautifully with accompaniments that enhance their unique profiles. The key to a successful cheese board lies in balancing different types of cheeses, such as soft, hard, and blue, with a selection of crackers, fruits, nuts, and spreads. This guide will help you assemble an impressive cheese board that will be the centerpiece of any gathering.
To start, select high-quality cheeses that offer a range of flavors and textures. For example, you might choose a creamy Brie, a sharp aged Cheddar, a crumbly blue cheese, and a tangy goat cheese. Next, think about the accompaniments—fruits like figs and grapes, nuts such as almonds and walnuts, and spreads like honey or fig jam. The goal is to create a visually appealing arrangement that invites guests to explore different combinations of flavors.
Ingredients:
- 1 wheel of Brie cheese
- 1 block of aged Cheddar cheese
- 1 wedge of blue cheese
- 1 log of goat cheese
- Fresh figs
- A handful of grapes
- A small bowl of honey
- A selection of crackers
- A handful of almonds
- A handful of walnuts
- Fresh herbs (optional for garnish)
To assemble your cheese board, start by placing the larger cheese wheels in the center, such as the Brie and Cheddar. Then, arrange the blue cheese and goat cheese nearby. Fill in the gaps with small bowls of honey and jams, and scatter the fresh fruits and nuts around the cheeses. Finally, add an assortment of crackers, arranging them artfully around the board to encourage guests to help themselves.
When creating your cheese board, consider the seasonality of the ingredients for the freshest flavors. Don’t be afraid to mix textures and colors—this won’t only enhance the aesthetic appeal but also invite a variety of taste experiences.
Remember to let the cheeses come to room temperature before serving, as this allows their flavors to fully express themselves. Enjoy the process of assembling your cheese board and feel free to experiment with different pairings to find what delights your palate!
Step 1. Select Your Cheese Types
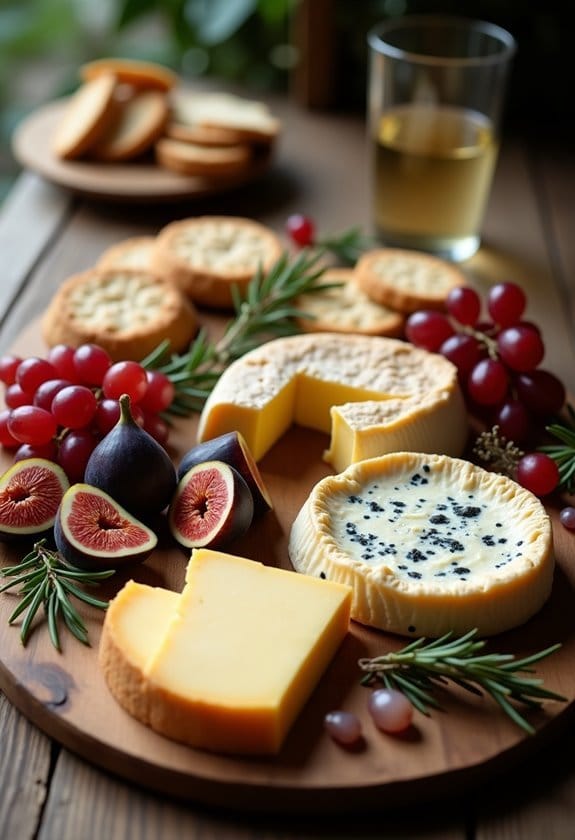
When it comes to selecting cheese types for your board, you’ll want to reflect on a variety of flavors and textures that complement each other.
A well-curated cheese board not only delights the palate but also invites conversation and enjoyment. Here are four cheese types to take into account:
- Soft Cheese: Think brie or camembert. Their creamy texture is perfect for spreading and pairs well with fruits and nuts.
- Hard Cheese: Opt for favorites like aged cheddar or parmesan. These cheeses provide a robust flavor and a satisfying crunch, balancing the softness of the others.
- Blue Cheese: A bold choice, such as gorgonzola or Roquefort, adds a distinctive tang that can elevate your board. Its richness contrasts beautifully with sweeter accompaniments.
- Fresh Cheese: Think about options like mozzarella or goat cheese. Their light, mild flavors serve as a revitalizing counterpoint to stronger cheeses, making them a versatile choice.
Step 2. Choose Accompaniments Wisely
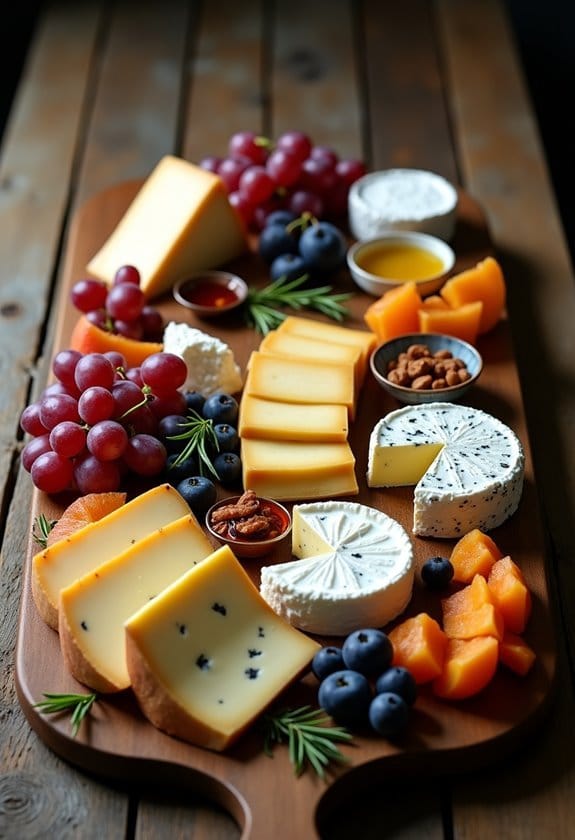
Selecting the right accompaniments can elevate your cheese board from ordinary to extraordinary. Begin by considering flavors that complement your chosen cheeses, balancing rich and mild options. For instance, if you’ve selected a sharp cheddar, pair it with something sweet, like honey or fig jam, to enhance its flavor profile.
Next, think about textures. Crispy crackers or crusty bread can provide a delightful contrast to creamy cheeses, while nuts can add a satisfying crunch. Almonds or walnuts work particularly well and offer a nourishing touch.
Fruits also play an essential role; fresh grapes or sliced apples can add a revitalizing burst, while dried fruits like apricots or dates bring a chewy sweetness that rounds out the experience.
Don’t forget about pickles or olives, which can introduce a tangy element that cuts through the richness of the cheese.
Step 3. Add Visual Appeal

A visually stunning cheese board can captivate your guests and enhance the overall tasting experience. To achieve this, consider the arrangement and presentation of your ingredients.
Here are four tips to help you create an eye-catching display:
- Vary Colors: Incorporate cheeses, fruits, and nuts with different hues to create a vibrant palette. For instance, combine creamy brie, sharp cheddar, juicy strawberries, and deep purple grapes.
- Utilize Heights: Stack or elevate certain items to add dimension. Use cheese domes, small risers, or decorative bowls to create visual interest.
- Create Sections: Designate areas for different types of cheese and accompaniments. This not only organizes the board but also guides your guests through the tasting journey.
- Add Garnishes: Fresh herbs, edible flowers, or sprigs of rosemary can enhance your cheese board’s visual appeal. These finishing touches add a touch of elegance and sophistication.
Step 4. Select Serving Utensils
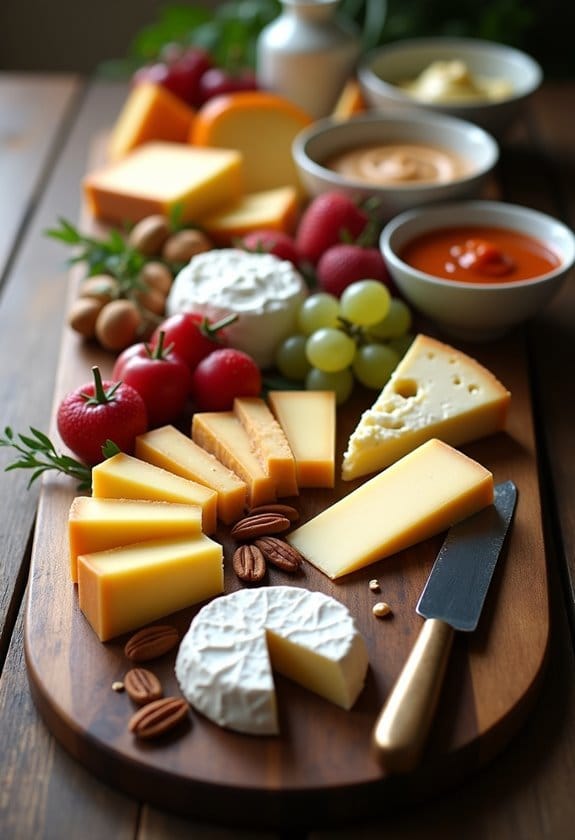
To guarantee your cheese board isn’t only visually appealing but also functional, choosing the right serving utensils is essential.
Start with a cheese knife, designed specifically for slicing through various textures, from soft Brie to hard Parmigiano-Reggiano. A small fork is handy for picking up bite-sized pieces, while a spreader works wonders for soft cheeses like goat cheese or cream cheese.
Consider adding a set of tongs or a cheese scoop for serving items like olives or pickles, ensuring guests can easily help themselves without reaching over the board.
It’s also a good idea to include small spoons for any dips or spreads, which enhances both hygiene and ease of use.
When selecting your utensils, aim for a cohesive look that complements your board’s theme and materials.
Wooden or bamboo utensils can add a rustic touch, while stainless steel offers a modern vibe.
Finally, don’t overlook the importance of size—ensure your utensils fit comfortably in your guests’ hands.
With the right tools at your disposal, you’ll create a seamless serving experience that allows everyone to enjoy your carefully curated cheese board.
Step 5. Include Tasting Notes
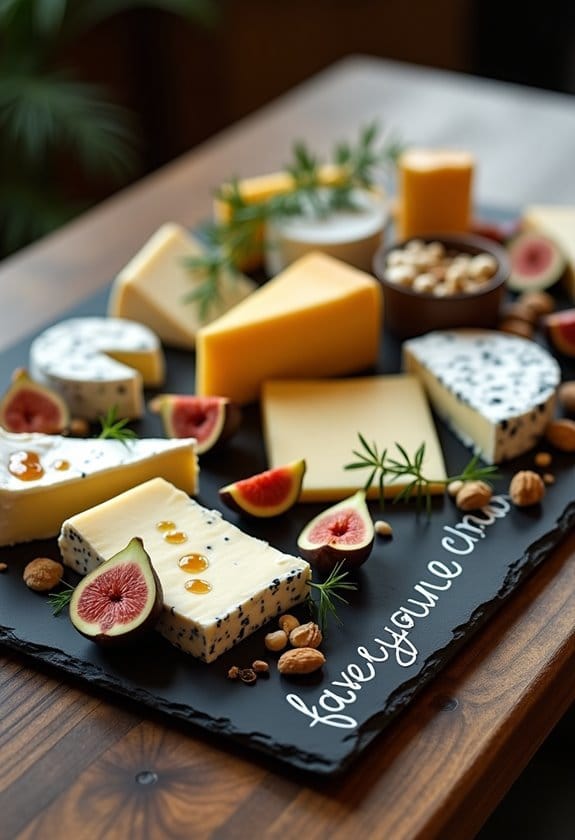
After you’ve set the stage with the right utensils, it’s time to enhance your cheese board with tasting notes that guide your guests through the flavors.
Tasting notes not only elevate the experience but also encourage conversation about the unique characteristics of each cheese. Here’s how to create effective tasting notes:
- Describe the Aroma: Start by noting the cheese’s scent. Is it pungent, earthy, or floral? Aromatic qualities set the stage for what’s to come.
- Highlight the Texture: Next, describe the texture. Is it creamy, crumbly, or firm? Mention how it feels in the mouth, as this greatly influences the overall enjoyment.
- Detail the Flavor Profile: Discuss the primary flavors and any subtle undertones. Is it sharp, sweet, nutty, or tangy? Be specific, as this helps guests appreciate the complexity.
- Suggest Pairings: Finally, recommend complementary pairings. Whether it’s honey, fruits, or specific wines, offering pairing suggestions helps guests explore flavors further.
New Recipe
- Pepperoni and Hot Honey PizzaTry the tantalizing twist of pepperoni pizza with hot honey, where sweet meets heat—how will it transform your taste buds?
Final Thoughts
Crafting the perfect cheese board is an art that combines flavors, textures, and personal preferences. As you put together your board, remember that it’s not just about the cheese; it’s also about the accompaniments.
Think about how different elements, like fruits, nuts, and spreads, can elevate your selection. For instance, pairing a sharp cheddar with sweet fig jam can create a delightful contrast that excites the palate.
Don’t shy away from experimenting. You might discover that a creamy brie pairs surprisingly well with spicy pickles, or that a robust blue cheese is complemented by honey. The key is to balance the bold and subtle flavors while considering the preferences of your guests.
Also, presentation matters. Arrange your cheeses in a way that invites your guests to explore. Use varying heights, colors, and shapes to create visual appeal.
In the end, the best cheese board reflects your personality and tastes, inviting others to share in your culinary journey.
Bottom Line
Creating a cheese board is an art that invites creativity and enjoyment. By thoughtfully selecting your cheese, choosing complementary accompaniments, and presenting everything beautifully, you can elevate any gathering. Remember to include tasting notes to enhance the experience, allowing guests to appreciate the flavors fully. Whether it’s a casual get-together or a formal event, a well-crafted cheese board not only showcases your culinary skills but also fosters connection and conversation among friends and family. Enjoy the process!
