Have you ever heard of “lightening up” your chicken wings? Well, using an air fryer to cook your BBQ chicken wings might just be the ticket. You’ll get all the smoky flavor of BBQ sauce coupled with a satisfying crunch, but without the added guilt of deep frying. Not to mention, the process couldn’t be easier. Now, wouldn’t you like to know the secret behind achieving that restaurant-quality crispiness at home?
History
The history of chicken wings is as flavorful as the dish itself. You see, back in the 1960s, wings were often considered a throwaway part of the chicken, typically used for stock or simply discarded. That all changed in 1964 in the city of Buffalo, New York, where Teressa Bellissimo, co-owner of the Anchor Bar, is credited with inventing the Buffalo wing. It’s said she whipped up the first batch as a late-night snack for her son and his friends, creating a sauce from staple ingredients she had on hand: butter and hot sauce. The wings were a hit, and soon became a regular menu item.
Now, let’s fast forward to today. You’ve probably had wings tossed in a variety of sauces, from traditional Buffalo to honey mustard. But have you tried BBQ wings cooked in an air fryer? This modern twist on the classic wing is a healthier alternative that doesn’t skimp on flavor. The air fryer’s hot circulating air gives the wings a crispy texture, while your favorite BBQ sauce adds that sweet and smoky flavor you crave. It’s a new chapter in the tasty tale of chicken wings.
Recipe Cooking Steps


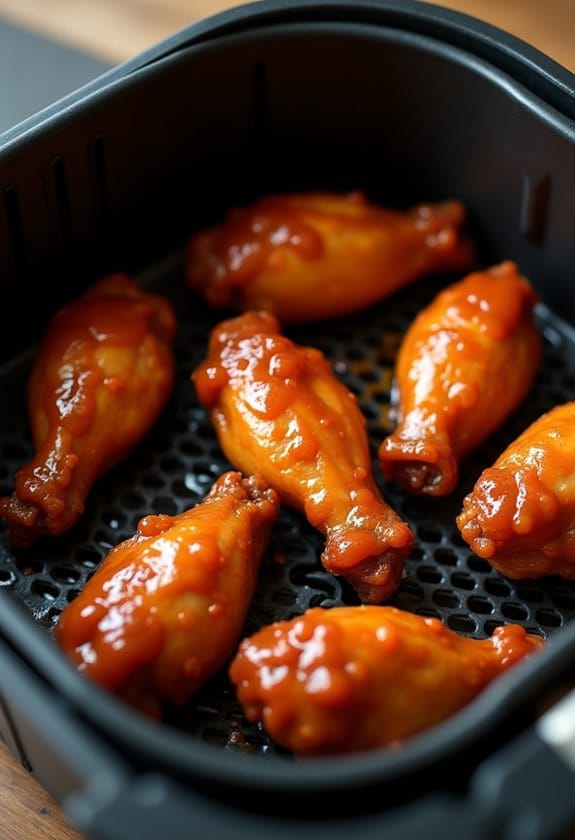
Air Fryer BBQ Chicken Wings are a delicious, healthier alternative to traditional deep-fried wings. Using an air fryer, you can achieve the same crispy, golden exterior and juicy interior that you love, but without all the extra oil and calories. The wings are tossed in a flavorful BBQ sauce that adds a tangy, sweet, and slightly spicy kick. It’s an easy, quick recipe that’s perfect for game day, parties, or even a casual weeknight dinner.
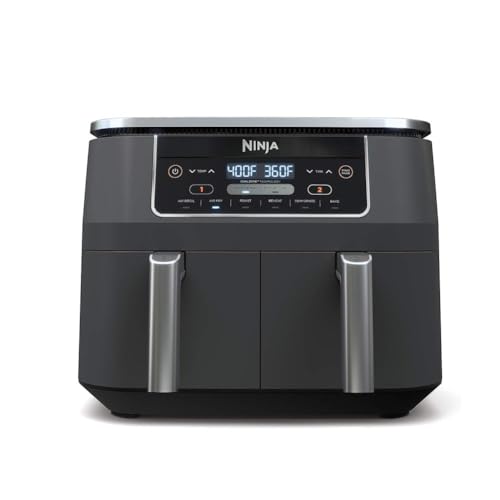
The secret to this recipe is the air fryer. It works by circulating hot air around the wings, which not only cooks them thoroughly but also helps to render out the fat and crisp up the skin. The result is wings that are incredibly crispy on the outside, but still moist and juicy on the inside. After they’re cooked, the wings are tossed in BBQ sauce and returned to the air fryer for a few more minutes, resulting in a sticky, caramelized coating that’s packed with flavor.
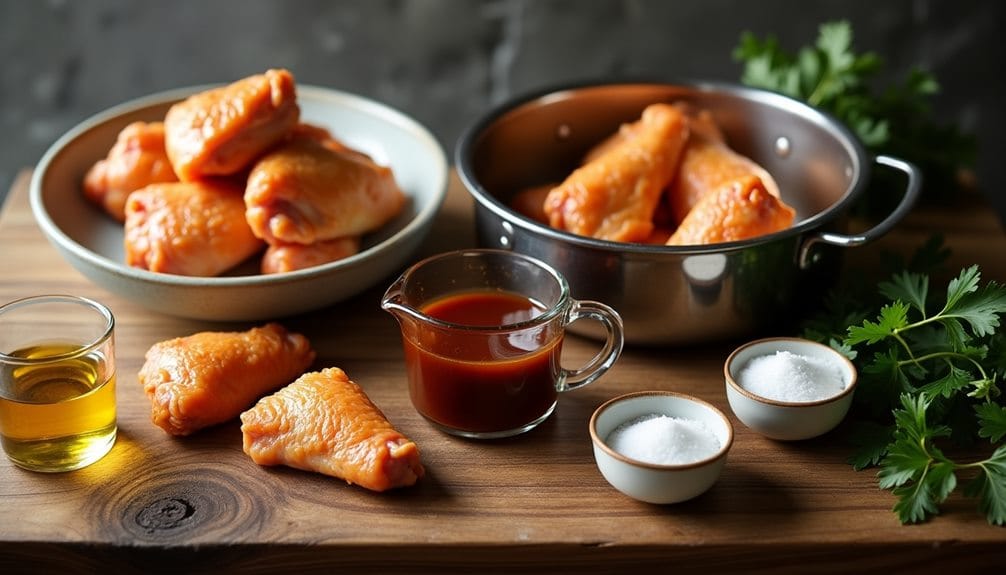
Ingredients:
- 2 lbs of chicken wings
- 1/2 cup of your favorite BBQ sauce
- 1 tablespoon of olive oil
- Salt to taste
- Pepper to taste
To make these wings, start by preheating your air fryer to 375F. Toss the chicken wings in olive oil, salt, and pepper, making sure they are well coated. Arrange the wings in the air fryer basket in a single layer and cook for 15 minutes. After 15 minutes, flip the wings and continue to cook for another 10 minutes. Once they’re cooked, toss the wings in the BBQ sauce until they are fully coated. Return the wings to the air fryer and cook for an additional 5 minutes at 400F, or until the sauce is sticky and slightly caramelized.
When cooking these wings, there are a few tips to keep in mind. Make sure the wings are not overlapping in the air fryer. This guarantees that the hot air can circulate evenly around each wing, cooking them thoroughly and crisping up the skin. Preheating your air fryer is also important, as it helps the wings start cooking immediately and achieve a crispy finish. Finally, flipping the wings halfway through cooking guarantees that they are evenly cooked and crispy on all sides. Enjoy your healthier, yet still delicious, BBQ chicken wings!
Step 1. Preheating and Preparing Wings
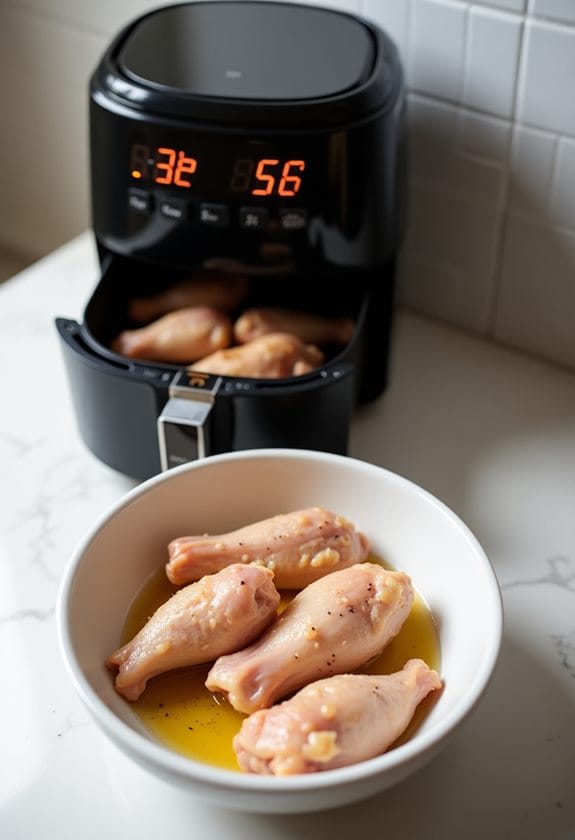
Before you plunge into cooking, you’ll need to preheat your air fryer to 375F. This critical step guarantees your wings start cooking immediately once they hit the basket, helping to achieve that perfect crispy finish.
Next, let’s prepare your wings. Toss your chicken wings in a mix of olive oil, salt, and pepper. Make sure they’re well coated – this simple seasoning will provide a nice base flavor for your BBQ sauce to build upon.
Now, time for a few key points:
- Don’t overcrowd your air fryer. Make sure your wings are placed in a single layer, not overlapping. This allows the hot air to circulate evenly, guaranteeing crispy, perfectly cooked wings.
- Preheating is essential. It may seem like an extra step, but it’s worth it for the ideal cooking environment it creates.
- Flip your wings halfway through cooking. This guarantees that they’re evenly cooked and crispy on all sides.
With your air fryer preheated and your wings prepared, you’re all set to start cooking. Stay tuned for the next step – the initial air fryer cooking phase.

Step 2. Initial Air Fryer Cooking Phase
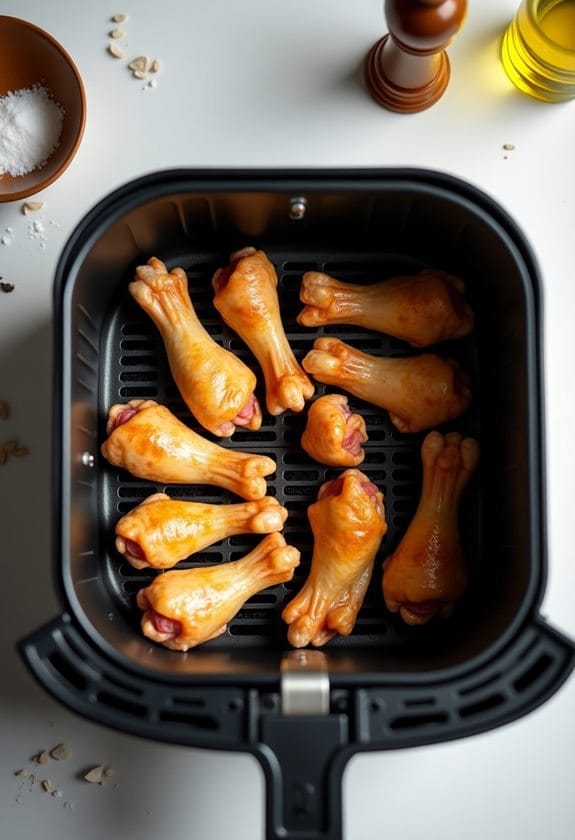
Now that your air fryer is preheated and your wings are seasoned, let’s move on to the initial air frying phase. You’ve done the prep, now it’s time for action. Take your coated wings and carefully place them in the air fryer basket. Make sure they’re laid out in a single layer – this is essential for even cooking and achieving that coveted crispiness.
Set your air fryer to 375F. This temperature is perfect for cooking your wings to perfection. It’s not so high that it burns them but hot enough to render the fat and crisp up the skin. Once set, let your air fryer do its magic for the next 15 minutes.
While waiting, resist the urge to peek or fiddle with the wings. The air fryer needs to maintain a consistent temperature to work efficiently. Interrupting the cycle can lead to uneven cooking. Pour yourself a drink, put your feet up, and let your air fryer work its magic. In no time at all, you’ll be one step closer to biting into those delicious BBQ chicken wings.
Step 3. Flipping Wings for Even Cooking
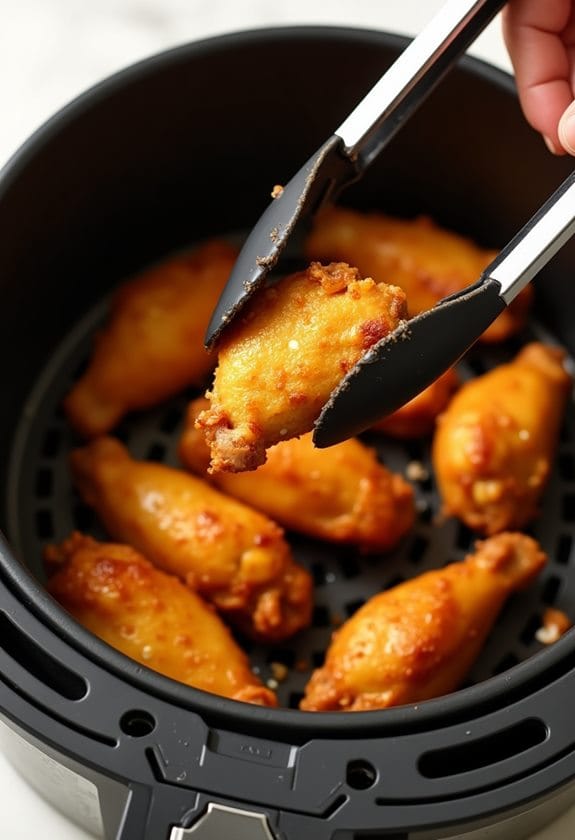
After patiently waiting for 15 minutes, your wings are ready for the next step. It’s time to flip those wings over to guarantee even cooking. Yes, your air fryer is doing a fantastic job at circulating hot air around your wings, but this doesn’t mean you can just set it and forget it.
Your involvement here is significant. Grab those tongs and get ready to flip those wings. It may seem like a simple task, but its importance can’t be overstated. Here’s why:
- Guarantees Even Cooking: Flipping the wings helps them to cook more evenly. This way, you won’t end up with one side crispy and the other side undercooked.
- Promotes Crispiness: Flipping helps to expose all sides of the wings to the hot air, enhancing their overall crispiness.
- Prevents Burning: It minimizes the risk of burning. Even though air fryers are known for their ability to cook food evenly, some hot spots can cause parts of your wings to burn.

Step 4. Saucing and Second Fryer Phase
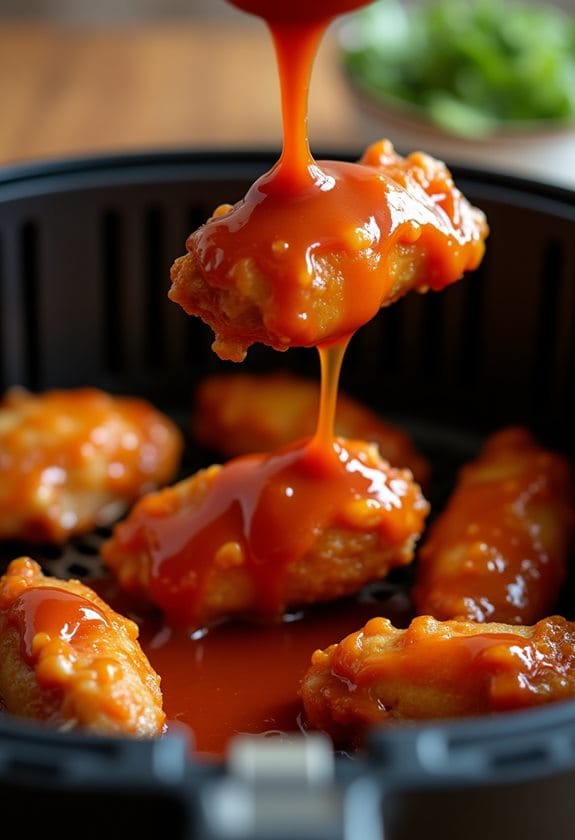
Once your wings are beautifully golden and crispy, it’s time to take them to the next level. This phase is all about saucing and a second round in the fryer. You’ve been patient, now comes the payoff.
Grab your favorite BBQ sauce, it’s time to get those wings saucy. Pour the sauce into a large bowl and toss your wings into it. Give them a good mix, ensuring each wing is coated with that sweet and tangy goodness. Don’t be shy with the sauce, the more the merrier. Your wings should be gleaming with a glossy BBQ sheen when you’re done.
Now, back to the air fryer they go. But this time, you’re not just cooking the wings, you’re caramelizing the sauce onto them. This gives your wings an extra layer of flavor and a deliciously sticky texture. You’ll want to keep an eye on them during this stage. Too long and the sauce might burn, too short and it won’t caramelize properly.
Don’t rush, good things take time. And trust me, these wings are worth every minute. Enjoy the process and look forward to the finger-licking goodness that awaits.
Step 5. Final Air Frying With Sauce
With your wings sauced up and ready to go, it’s the perfect time to move on to the final step of the recipe – the last round of air frying. This phase is where the magic happens. Your air fryer will bake the sauce onto your wings, creating a tantalizingly sticky, caramelized coating that’s bursting with flavor.
To achieve this, crank up your air fryer to 400F. Then, pop your sauced wings back into the basket. Make sure they are evenly spread out for peak air circulation.
Next, you’ll need to air fry your wings for 5 to 10 minutes. Keep a close eye on them during this stage. You want the sauce to caramelize but not burn.
Here’s a quick checklist to remember this final phase:
- Set air fryer to 400F.
- Spread out sauced wings evenly in basket.
- Air fry for 5-10 minutes, monitoring closely.
Congratulations! You’ve made it to the end of the process. Your BBQ chicken wings should now be sticky, crispy, and bursting with flavor. Enjoy your air fryer masterpiece. You’ve earned it!
New Recipe
- Pepperoni and Hot Honey Pizza
 Try the tantalizing twist of pepperoni pizza with hot honey, where sweet meets heat—how will it transform your taste buds?

Final Thoughts
So, ready to try out this game-changing recipe? Cooking BBQ chicken wings in an air fryer is not only simple, it’s a healthier alternative to traditional frying methods. The air fryer’s heat circulation makes the wings crispy, while the BBQ sauce adds an irresistible flavor.
Remember, the key to achieving perfectly cooked wings lies in not overlapping them in the air fryer. This allows for even heat distribution, resulting in uniformly crispy wings. Preheating your air fryer is another important step, ensuring your wings start cooking the moment they’re inside. Flipping them halfway through the cooking process guarantees a crispy finish on all sides.
The beauty of this recipe lies in its simplicity and flexibility. You can experiment with different BBQ sauces until you find your ultimate flavor. Additionally, you’re free to adjust the cooking time for a more well-done or less crispy finish.