Isn’t it a happy coincidence that your new air fryer arrived just in time for homemade pizza night? You’ve likely heard about how air fryers can turn out a pizza with a perfectly crispy crust in a fraction of the time of conventional ovens. Well, it’s not just hype. Once you’ve tasted the delicious results, you’ll understand why this method is making waves in culinary circles. But don’t take my word for it, why not discover this for yourself?
History
Believe it or not, the concept of pizza dates back to ancient times. The Persians, Greeks, and Egyptians all had their own versions of this beloved dish. They’d slap some ingredients on flatbread and call it a meal. However, it was the Italians who transformed pizza into the culinary masterpiece you’re familiar with today.
In the late 18th century, the people of Naples started adding tomato to their flatbread, and the modern pizza was born. This dish was a hit amongst the city’s working class, as it was cheap, easy to eat, and incredibly delicious.
Pizza stayed a local delicacy until the late 19th century, when Italian immigrants brought it to the United States. From there, pizza’s popularity exploded. It went through various transformations – from being a street food to a gourmet dish, from thin crust to deep dish, and from classic Margherita to innovative toppings like pineapple.
Recipe Cooking Steps
Making your own pizza at home is a fun and delicious activity that the whole family can enjoy. The advantage of homemade pizza is that you can customize it with your favorite ingredients and make it as healthy or indulgent as you want. If you’re looking for a lighter version of your favorite pizza, using an air fryer is a great option. The air fryer uses hot air to cook the pizza, resulting in a crispy crust without the need for excess oil. Plus, it’s quick and easy, so you can have a tasty pizza ready in no time.
The secret to a successful air fryer pizza lies in the dough. It should be thin enough to become crispy in the air fryer, but sturdy enough to hold the toppings without getting soggy. This recipe uses a pre-made pizza dough for convenience, but you can certainly make your own if you prefer. For the toppings, we’re going with a classic combination of pizza sauce, shredded mozzarella cheese, and fresh basil leaves. However, feel free to experiment with your favorite toppings.
Ingredients:
- Pre-made pizza dough
- Pizza sauce
- Shredded mozzarella cheese
- Fresh basil leaves
- Olive oil
Start by rolling out the pizza dough to fit your air fryer basket. Spread the pizza sauce evenly over the dough, leaving a small border for the crust. Next, sprinkle the shredded mozzarella cheese over the sauce, before topping with fresh basil leaves. Drizzle a little olive oil over the top, then carefully transfer the pizza to the air fryer basket. Cook at 375°F for about 10-12 minutes, or until the cheese is melted and bubbly and the crust is golden brown.
When making pizza in an air fryer, there are a few tips to keep in mind. First, preheat your air fryer before adding the pizza. This helps the crust get crispy right away. Second, avoid overloading your pizza with toppings, as this can weigh down the dough and prevent it from cooking evenly. Finally, you may need to adjust the cooking time based on your specific air fryer and personal preference for how crispy you want your crust. Don’t be afraid to experiment and make this recipe your own! Happy pizza making!
Step 1. Dough Preparation Stage
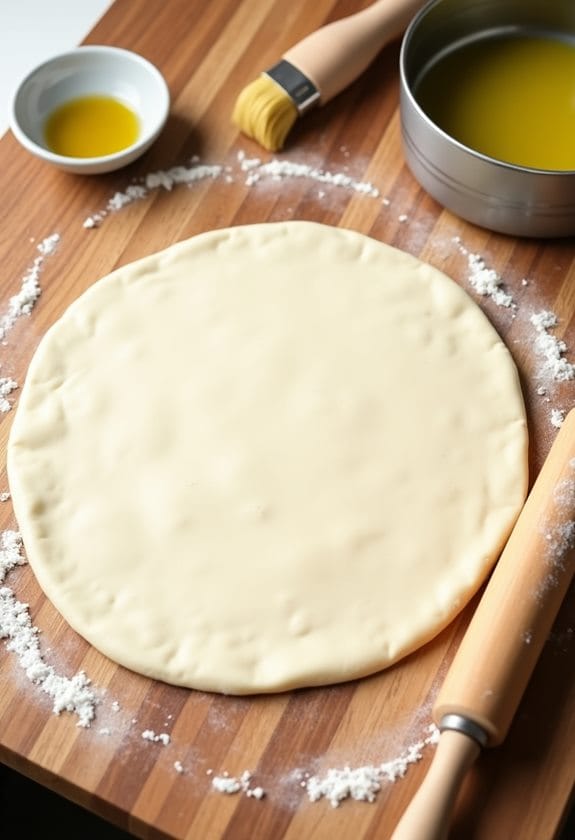
Getting your dough ready is the first step towards a successful air fryer pizza. Start by obtaining pre-made pizza dough from your local store. If you’re feeling adventurous, you can whip up your own batch of dough.
Once you’ve got your dough, it’s time to roll it out. Your aim is to get it thin enough to crisp up nicely in the air fryer but not so thin that it can’t support your choice of toppings. Try to roll it out to fit the size of your air fryer basket.
After you’ve rolled out your dough, it’s time for a little pre-cooking. This step is essential for achieving that perfect, crispy base. Lightly coat your air fryer basket with cooking spray or a touch of olive oil. Then, place the dough in the basket and cook it at 200°C (or 390°F) for about 5 minutes.
Step 2. Sauce Spreading Phase
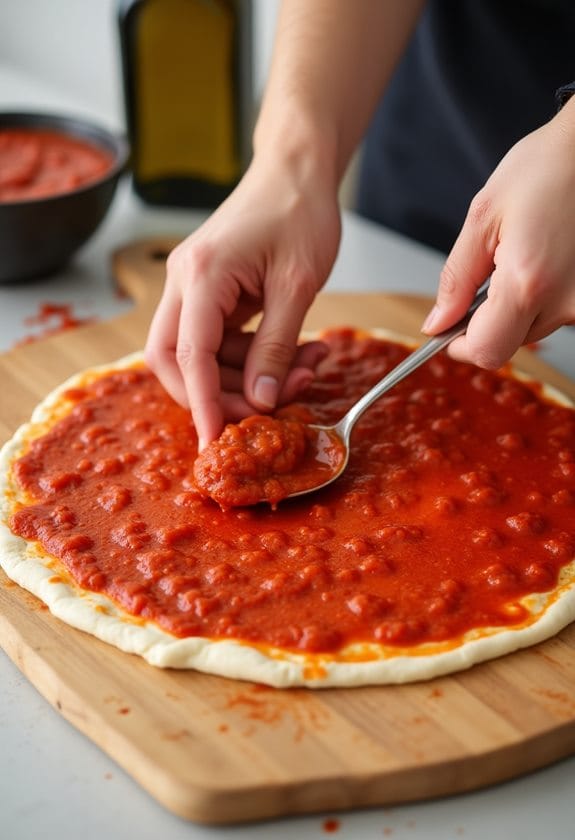
After you’ve pre-cooked your dough, it’s time to add some flavor with your pizza sauce. This stage, known as the sauce spreading phase, is where your pizza starts to take on that iconic taste.
Nab your favorite pizza sauce and a spoon, it’s time to get spreading. Begin by dolloping a generous spoonful of sauce right in the center of your dough. Then, using the back of the spoon, spread the sauce out towards the edges. You’ll want to leave a small border for the crust, so don’t go all the way.
The trick here is to reach a balance, you want enough sauce to cover your pizza, but not so much that it’s swimming. Too much sauce and your pizza may become soggy, too little and it could be dry. It’s a delicate art, but with a bit of practice, you’ll get the knack of it.
Step 3. Cheese Sprinkling Process
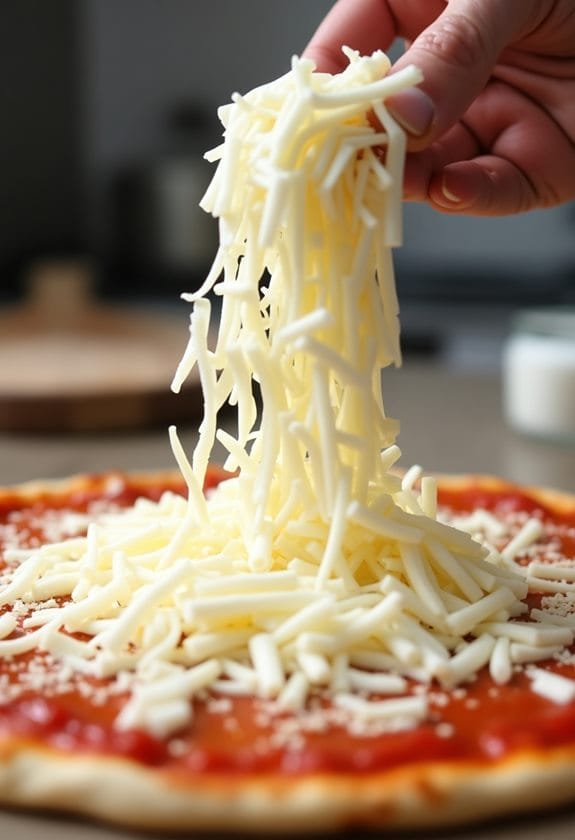
Next up in your pizza-making adventure is the cheese sprinkling process. This step is essential, and it’s all about precision and balance. You’ll want to be generous with your cheese, but don’t go overboard. Too much cheese can cause your pizza to be soggy and undercooked.
Start by grabbing your shredded mozzarella. You’re going to evenly sprinkle it over the sauce you’ve already spread on your dough. Try to spread the cheese evenly across the entire surface, right up to the edges of your sauce. This guarantees every bite is full of cheesy goodness.
Don’t be stingy with the mozzarella; a good layer of cheese is what makes a pizza truly irresistible. However, remember that less is more. You want enough to cover the sauce but not so much that it overwhelms the other flavors.
Now, you might be tempted to pop that pizza right into the air fryer, but hold off. There’s one more topping to add before it’s cooking time. But we’ll save that for the next step. For now, pat yourself on the back. You’ve mastered the cheese sprinkling process. Your homemade air fryer pizza is one step closer to perfection.
Step 4. Basil Topping Addition
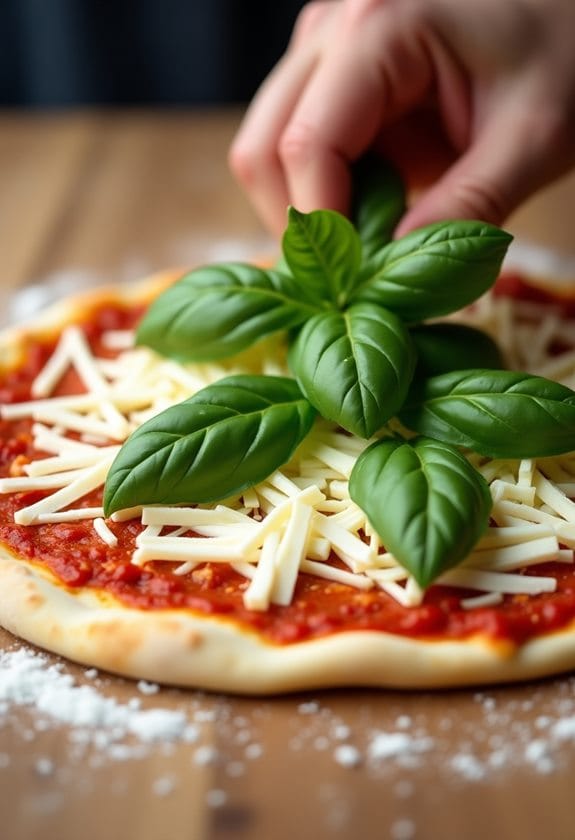
Now that your pizza is generously sprinkled with cheese, it’s time for the final touch – the basil topping. Don’t underestimate the power of this humble herb; its fresh, fragrant notes are the secret to a truly authentic tasting pizza.
First, you’ll want to make sure you’re using fresh basil leaves. Dried basil doesn’t have the same punch of flavor, and its texture can be a bit off-putting. Rinse your basil leaves under cold water and pat them dry. Now, you have a choice to make. Do you want whole leaves, or would you prefer a finer chop? Whole leaves can provide a more robust flavor, while chopped basil disperses more evenly over the pizza.
Whichever you prefer, scatter the basil over the cheese. Don’t be shy – basil’s flavor mellows during cooking, so a generous handful won’t overpower your pizza. Finally, for an extra touch of Italian authenticity, drizzle a little olive oil over the basil. It helps the leaves crisp up nicely in the air fryer and adds a delicious finishing touch. Now, your pizza’s ready for the air fryer!
Step 5. Air Fryer Cooking Stage
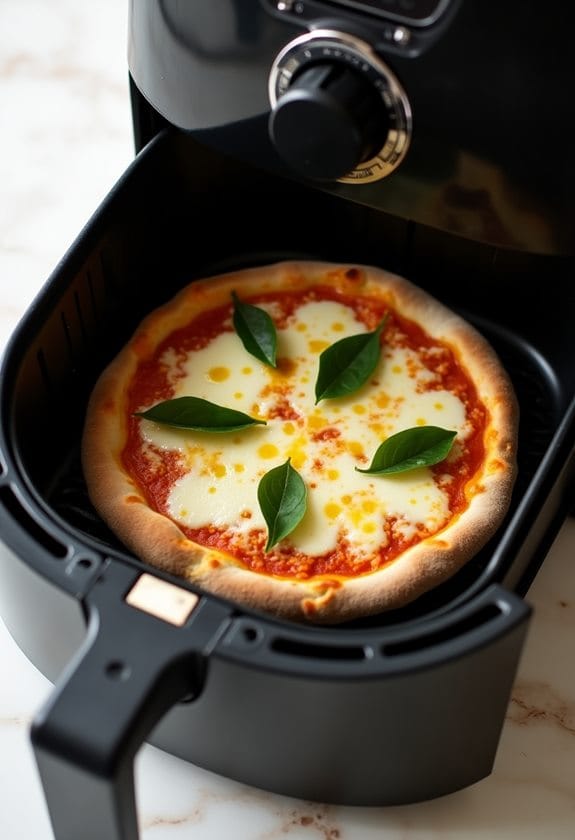
With your pizza prepped and ready, it’s time to utilize the magic of your air fryer. This marvelous machine will make your pizza crispy and delicious without the need for a traditional oven.
Begin by preheating your air fryer to 375°F. While it’s warming, carefully place your prepped pizza in the air fryer basket. Confirm it fits comfortably and isn’t being squashed or distorted. You want it to cook evenly for the best results.
When your air fryer reaches the desired temperature, carefully slide in your pizza. Set the timer for 10-12 minutes. This should be enough time for your crust to reach a beautiful golden brown and the cheese to melt into gooey perfection.
Remember, every air fryer is unique, so it’s essential to keep a close eye on your pizza during the initial cooking stage. If it’s browning too quickly or the cheese isn’t melting enough, feel free to adjust the time and temperature as needed.
When your timer beeps, put on your oven mitts and carefully remove your pizza. Let it cool slightly before cutting into it. Enjoy your homemade air fryer pizza.
New Recipe
- Pepperoni and Hot Honey PizzaTry the tantalizing twist of pepperoni pizza with hot honey, where sweet meets heat—how will it transform your taste buds?
Final Thoughts
Your homemade air fryer pizza journey doesn’t have to end here. This method of cooking pizza opens up a whole world of opportunities to personalize and experiment with your food. You can try different types of dough, various sauces, and an array of toppings to create a pizza that’s uniquely yours.
The air fryer is a game-changer for pizza lovers. It’s quick, easy, and results in a crispy crust that’s hard to beat. Plus, it’s a healthier option compared to traditional oven-baked pizzas. But remember, don’t go overboard with the toppings; your pizza won’t cook evenly if it’s too loaded.
In the end, it’s all about enjoying the process and savoring the results. Each pizza you make is a reflection of your tastes and culinary flair. So, don’t be afraid to experiment and mix things up. After all, the best part of homemade pizza is making it your own. Happy air frying, and here’s to many more pizza nights to come!


