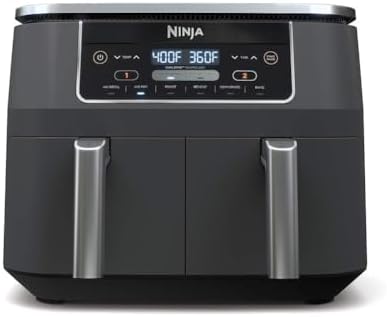
You’ve probably savored a classic grilled cheeseburger, but have you tried an air fryer cheeseburger yet? Imagine biting into a juicy beef patty with melted cheese, but with less guilt about the fat content. You’re using an air fryer, after all, which considerably reduces the amount of oil needed in cooking. It’s a simple process, but the results? They’re far from ordinary. Intriguing, isn’t it? Let’s discover more about this game-changing cooking method for your favorite comfort food.
History
Believe it or not, the concept of the air fryer is relatively new in the world of cooking. It emerged in the early 2010s, when Philips introduced the first home air fryer. Since then, it’s been a game-changer for culinary enthusiasts, especially those looking for healthier alternatives.
But, what’s the link between air fryers and cheeseburgers? Well, traditionally, cheeseburgers are either pan-fried or grilled. However, the rise of air fryers has revolutionized this classic meal. By circulating hot air around the food, the air fryer cooks your burger evenly, giving it a crispy exterior, while keeping the inside juicy and flavorful.
The air fryer cheeseburger isn’t just a trendy dish, it’s a symbol of culinary innovation. It represents a shift towards healthier, yet still delicious, cooking methods. You’re not only enjoying a tasty burger, you’re also partaking in a modern cooking movement.
Recipe Cooking Steps
Air Fryer Cheeseburgers are a delicious and convenient meal that you can whip up in no time. Perfect for busy weeknights or lazy weekends, these burgers are cooked in an air fryer for a unique crispy exterior while keeping the inside juicy and packed full of flavor. This simple recipe requires just a few basic ingredients, making it an easy go-to for any home cook.
The key to a fantastic air fryer cheeseburger lies in the quality of your ingredients. With only a handful of components in this dish, it’s vital that each one is high-quality. Opt for a high-quality ground beef for the patties, pick fresh buns, and choose your favorite type of cheese. Finish off your burger with the condiments of your choice, allowing you to tailor the flavor to your preferences.
Ingredients:
- 1 pound ground beef
- 4 hamburger buns
- 4 slices of cheese (American, cheddar, etc.)
- Salt and pepper to taste
- Your favorite burger condiments (ketchup, mayo, mustard, etc.)
To prepare the air fryer cheeseburgers, begin by shaping the ground beef into 4 equally sized patties. Season each one with salt and pepper according to your preference. Heat your air fryer to 375°F (190°C) and cook the patties for 10 minutes. Post the 10 minute mark, flip the patties, place a slice of cheese on each, and cook for an additional 5 minutes or until the cheese has melted and the patties are cooked to your desired level. Briefly warm the buns in the air fryer for a minute or two, then assemble your burgers with your preferred condiments.
When using an air fryer, it’s important to keep in mind that you should avoid overcrowding the basket. Each burger patty should have enough space around it to guarantee even cooking. If your air fryer is on the smaller side, you might need to cook the burgers in batches. Remember that cooking times can vary based on the thickness of your patties and your specific air fryer model. Therefore, it’s always a smart idea to check on your burgers periodically to confirm they are cooking to your satisfaction. Now, sit back and enjoy your succulent, crispy air fryer cheeseburgers!
Step 1. Forming Beef Into Patties
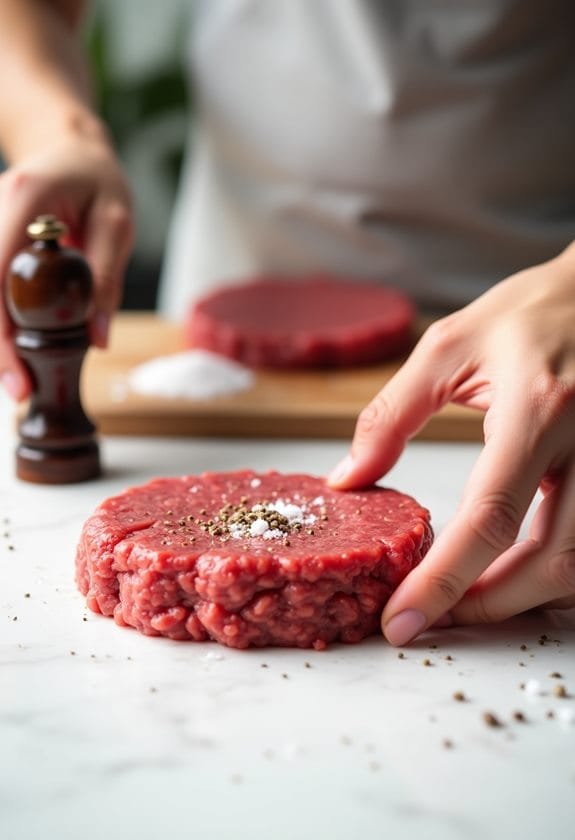
Starting with a pound of quality ground beef, begin by evenly dividing it into four portions. This will guarantee that each of your air fryer cheeseburgers has a substantial, hearty patty.
Now, it’s time to get your hands dirty! Grab a portion of the ground beef and gently shape it into a ball. Don’t press too hard, as compacting the beef can make your patties tough. Once you have a round ball, flatten it into a patty that’s about 1 inch thick. Repeat this process with the remaining beef.
Remember, your patties should be a little larger than your buns because they’ll shrink when they cook. You should also create a dimple in the middle of each patty. This prevents the patty from puffing up in the middle, guaranteeing a more even cook.
Don’t be afraid to get creative with your patties. If you desire, you can stuff them with cheese or other fillings for a fun twist on the classic cheeseburger. But remember, the next step is seasoning and cooking, so hold off on adding any spices just yet.
Step 2. Seasoning and Cooking Patties
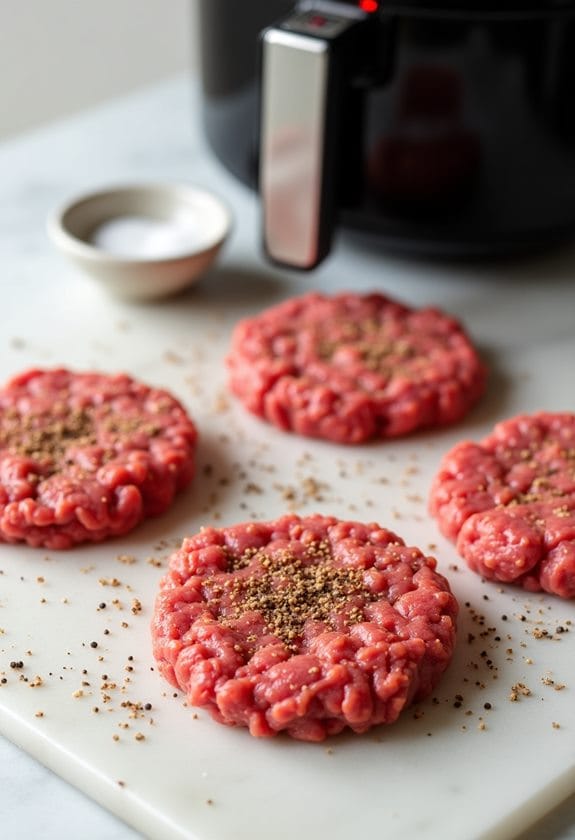
Now that your patties are shaped and ready, it’s time to add some flavor. Proper seasoning not only enhances the beef’s natural taste but also helps to create a delicious crust on the outside during cooking.
To season your patties, follow these steps:
- Sprinkle a generous amount of salt and pepper on both sides of each patty.
- Gently press the seasonings into the meat to guarantee they stick.
- Preheat your air fryer to 375°F.
- Once heated, arrange the patties in the basket of your air fryer.
Remember, don’t overcrowd the air fryer basket. This is essential to achieving that perfect, crispy edge. If necessary, cook your patties in batches to avoid them touching.
Set the timer for 10 minutes. Cooking in an air fryer is a bit different than traditional grilling or frying. The high-speed hot air circulation cooks your patties evenly and quickly, so keep an eye on them. After 10 minutes, your patties should be cooked to a medium-rare finish. If you prefer them more well-done, add a couple more minutes to the cooking time. Happy cooking!
Step 3. Adding Cheese and Flipping Patties
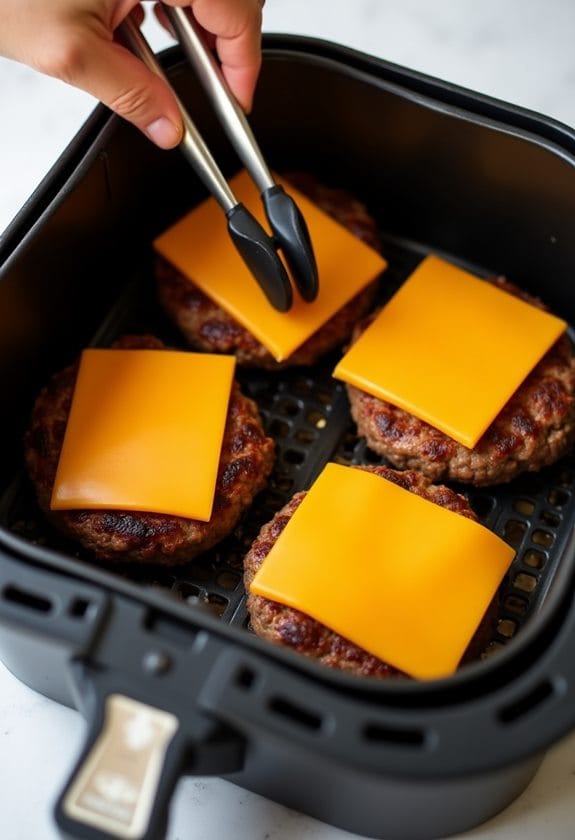
Once your patties have cooked for 10 minutes, it’s time for a flip. This isn’t just about ensuring even cooking; it also creates that irresistible crust. So, use a spatula to gently turn each patty. Be careful: the patties will be hot, and you don’t want to break them apart.
Now comes the cheesy part of our air fryer cheeseburgers. Grab your favorite cheese slices. American, Cheddar, Swiss, Gouda, or Blue, it’s all up to your taste buds. Place a slice on each flipped patty. Don’t worry about the cheese melting and sticking to the fryer; the patty will act as a delicious platform, keeping your air fryer clean.
Then, close the air fryer and let it work its magic for about 5 minutes more. This time allows the cheese to melt over your beautifully cooked patties, infusing them with extra flavor. It’s also sufficient to cook the patties to a medium doneness. If you prefer your burger more well-done, add a couple of minutes. Remember, all air fryers are a bit different, so cooking times can vary. Now you’re ready for the next step: warming the buns.
Step 4. Warming Buns in Air Fryer
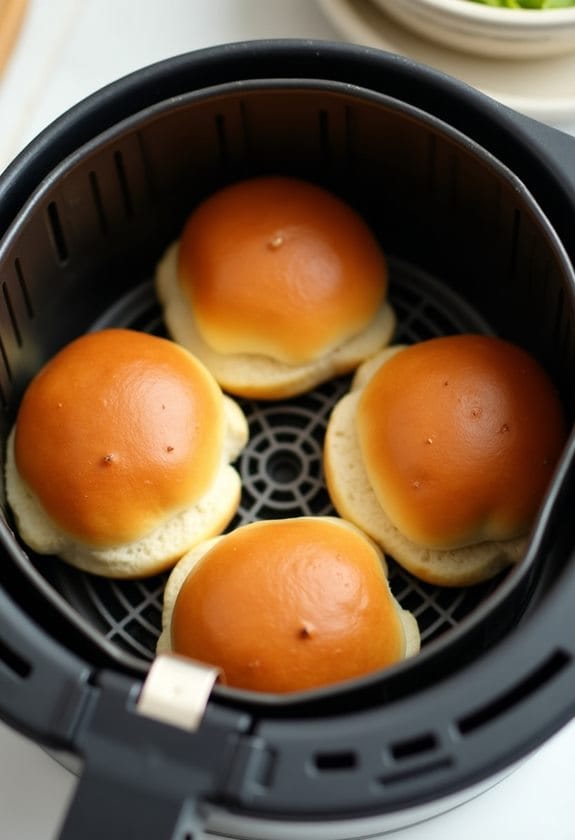
With your patties cooked and cheese melted, it’s time to give your hamburger buns a quick warm-up in the air fryer. This step, though simple, is essential in adding that extra touch of warmth and crispiness to your cheeseburgers. Here’s how you can easily warm your buns:
- Remove your patties from the air fryer and set them aside on a warm plate.
- Place the hamburger buns in the air fryer, cut side up.
- Set the air fryer to 350°F and warm the buns for about 2-3 minutes.
- Carefully remove the buns from the air fryer once done.
Step 5. Burger Assembly and Condiment Addition
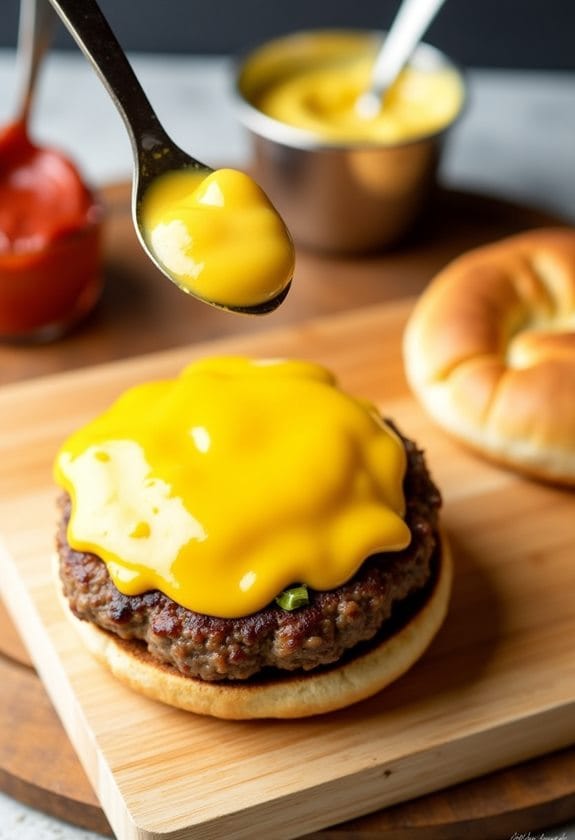
After those buns have had their quick toasting in the air fryer, it’s time for the fun part – assembling your cheeseburgers and adding your favorite condiments. Grab your warm, crispy buns and place a juicy air-fried patty on each one. Don’t you just love how the cheese has melted over the patty, creating a gooey layer of deliciousness? Now, it’s your turn to play chef!
You’re in the driver’s seat when it comes to condiments. Maybe you’re a classic ketchup-and-mustard person. Or perhaps you love a good dollop of barbecue sauce. Lettuce, tomatoes, pickles, onions – pile them on as you please. Remember, this is your cheeseburger, and there’s no right or wrong way to dress it.
Once you’re satisfied with your creation, place the other half of the bun on top. Give it a good press – not too hard, you don’t want to squeeze out all the goodness, just enough to make everything stick together. And there you have it, your very own air fryer cheeseburger. Now, dig in and relish every bite!
New Recipe
- Pepperoni and Hot Honey PizzaTry the tantalizing twist of pepperoni pizza with hot honey, where sweet meets heat—how will it transform your taste buds?
Final Thoughts
So, there you have it. You’re now armed with the knowledge to make incredibly juicy, delectably crispy air fryer cheeseburgers at home. This method is not only quick and easy, but also a healthier alternative to traditional frying, using less oil yet delivering the same satisfying taste.
- Use high-quality ingredients to get the best flavor.
- Don’t overcrowd your air fryer. Confirm each patty has enough room to cook evenly.
- Adjust the cooking time based on your air fryer model and patty thickness.
- Don’t forget to check on your burgers periodically to confirm they’re cooking to your liking.
Remember, the best part about making your own burgers is the freedom to customize. Use your favorite cheese, load on your go-to condiments, or even experiment with unique toppings. The possibilities are endless!
In the end, it’s all about enjoying the process and savoring the result — a perfect, mouthwatering cheeseburger straight from your air fryer. Now, all that’s left to do is to get frying and enjoy your meal!


