Imagine a symphony where flavors dance in harmony; that’s what you experience with One-Pan Garlic Butter Chicken with Veggies. This dish, as simple as it sounds, embodies the essence of hearty, home-cooked meals. You’ll love the ease of preparation and the minimal cleanup it requires, but what will truly captivate you is how the rich butter merges with the subtle bite of garlic, the tender chicken, and the medley of veggies. Each ingredient contributes a unique note, creating a melody of taste that’s both comforting and invigorating. Curious about how this culinary concert comes together? Stick around, the maestro is just getting started.
History
While it’s difficult to pin down the exact origins of One-Pan Garlic Butter Chicken, the concept of one-pan or one-pot cooking has been around for centuries. This cooking method, which utilizes a single pan to prepare a meal, is rooted in practicality and simplicity. It’s likely that the recipe was developed out of necessity, driven by the desire for efficient, time-saving cooking methods.
It’s worth noting that dishes similar to One-Pan Garlic Butter Chicken can be found in various cultures worldwide. From paella in Spain to jambalaya in the Southern United States, many cultures have their own unique take on one-pan meals. These dishes are typically characterized by their hearty, comforting nature and their ability to feed a crowd.
As for the garlic and butter combination, it’s a classic pairing that appears in countless recipes. Garlic provides a robust, aromatic flavor that complements the rich, creamy taste of butter. When combined with chicken, these ingredients create a deeply flavorful, satisfying dish. The addition of vegetables not only adds color and nutrients but also contributes to the overall simplicity of this one-pan meal.
Recipe Cooking Steps
This One-Pan Garlic Butter Chicken with Veggies is a delightful recipe that combines the savory, rich flavors of chicken and garlic with the wholesome goodness of your favorite vegetables. It’s an ideal choice for those weeknights when you’re in need of a quick yet satisfying meal, or for those moments when you’re entertaining guests and want to whip up something that looks and tastes impressive. Best of all, this recipe requires only one pan, which means less time washing dishes and more time enjoying your meal.
The chicken is cooked to perfection in a rich garlic butter sauce, while the veggies, which you can customize based on your preference, add a vibrant, colorful touch to the dish. This recipe is not only easy to make, but it’s also versatile and can be adjusted based on whatever ingredients you have on hand. Now, let’s get started on how to make this delicious one-pan dish.
Ingredients:
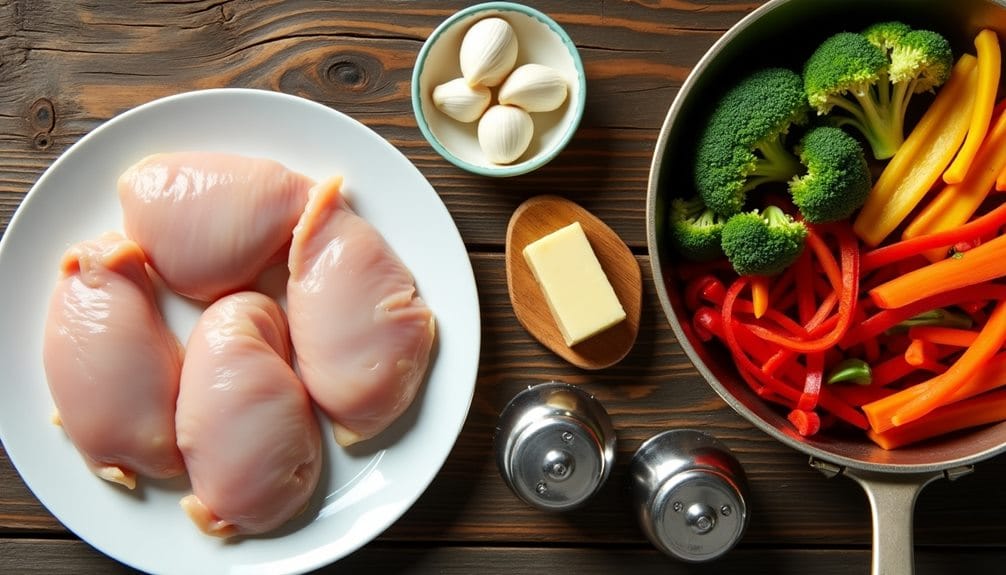
- 4 chicken breasts
- 4 cloves of garlic
- 1 stick of butter
- 1 lb of your favorite veggies (such as broccoli, bell peppers, and carrots)
- Salt and pepper to taste
To start, heat a large pan over medium heat and melt the stick of butter. Once the butter has melted and started to bubble, add in the minced garlic and cook until it turns fragrant and lightly browned. Next, add in the chicken breasts, seasoning them with salt and pepper, and cook until they’re browned on both sides and cooked through. Once the chicken is done, add in the veggies and continue to cook until they’re tender.
When cooking this dish, it’s important to keep a few tips in mind. First, confirm that the veggies are cut into similar sizes so they cook evenly. Additionally, if you’re fond of a little spice, feel free to sprinkle some chili flakes over the chicken before cooking. Remember to use a large enough pan to accommodate all the ingredients without crowding them. If your pan isn’t large enough, simply cook the chicken and veggies in batches. Finally, feel free to experiment with the veggies – use what you have on hand or what you prefer. Happy cooking!
Step 1. Butter Melting and Garlic Browning
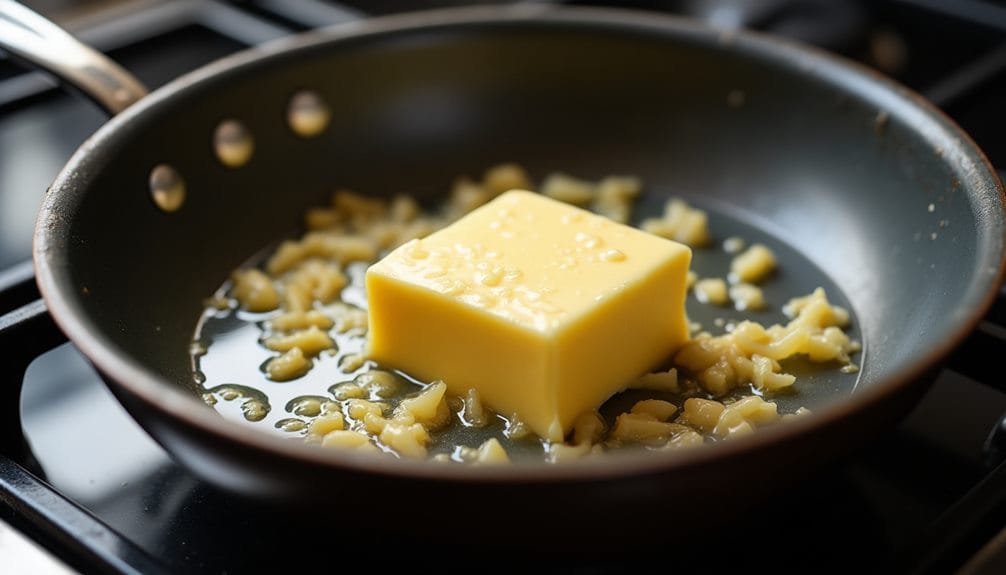
To start the cooking process, get your pan on the stove and turn the heat to medium. Drop in a stick of butter. As it begins to melt, spread it around the pan to coat the surface evenly. The butter not only prevents the chicken from sticking to the pan but also adds a rich, creamy flavor to your dish.
Next, add your finely chopped garlic to the pan. Watch carefully as it dances in the butter. You’re aiming for a lovely golden brown color – this means the garlic is releasing its flavors into the butter. But caution, don’t let it turn too dark or it will taste bitter.
Here are some tips to keep in mind during this process:
- Use fresh garlic. It’s more flavorful than the bottled kind.
- Keep stirring the garlic to prevent it from burning.
- If the butter starts to bubble too much, reduce the heat.
- Watch for the garlic to turn just a shade lighter than you want – it’ll continue to cook a little after you remove it from the heat.
- Smell the aroma; when it’s fragrant, it’s time to proceed to the next step.
Step 2. Adding and Cooking Chicken Breasts
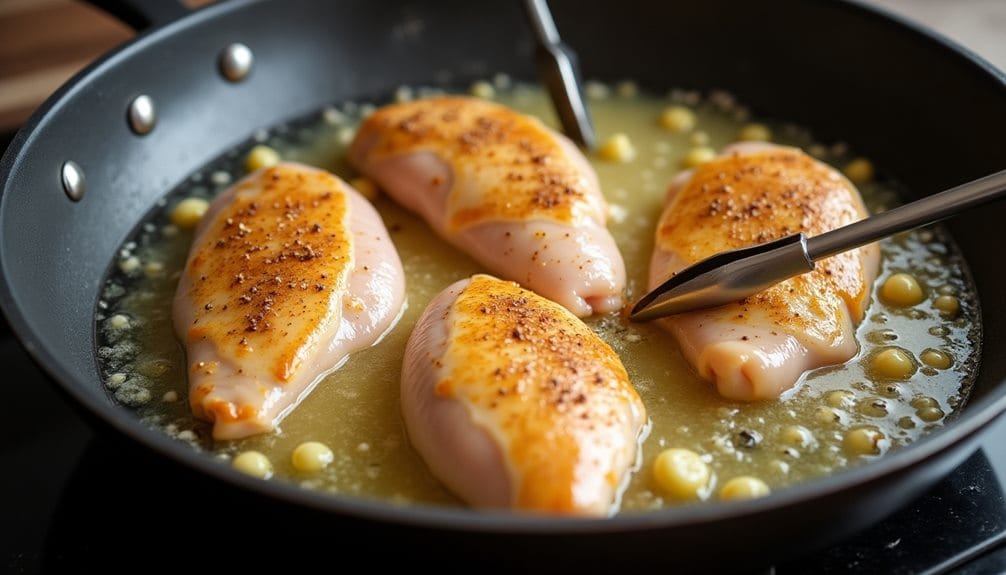
With your garlic perfectly browned and your pan brimming with flavor, it’s time to introduce the star of the dish: the chicken breasts. You’re going to add these beauties to the pan, letting them sizzle and sear in that garlicky goodness. Go ahead and lay them in, making sure not to overcrowd the pan. You want each piece to have its own space to cook evenly.
Now, here’s where your chef skills come into play. Season your chicken breasts with a generous pinch of salt and pepper. Remember, seasoning is key to bringing out the best in your chicken.
Once you’ve seasoned your chicken breasts, let them cook. Allow them to sear on one side until they get a nice, golden-brown color. This should take about 5-7 minutes. Then, flip ’em over and let them cook on the other side. You’re looking for that same beautiful color and a cooked-through center.
While your chicken cooks, resist the urge to move it around too much. Moving the chicken prevents it from getting that good sear. Be patient, your delicious chicken dinner is almost ready!
Step 3. Adding and Cooking Veggies
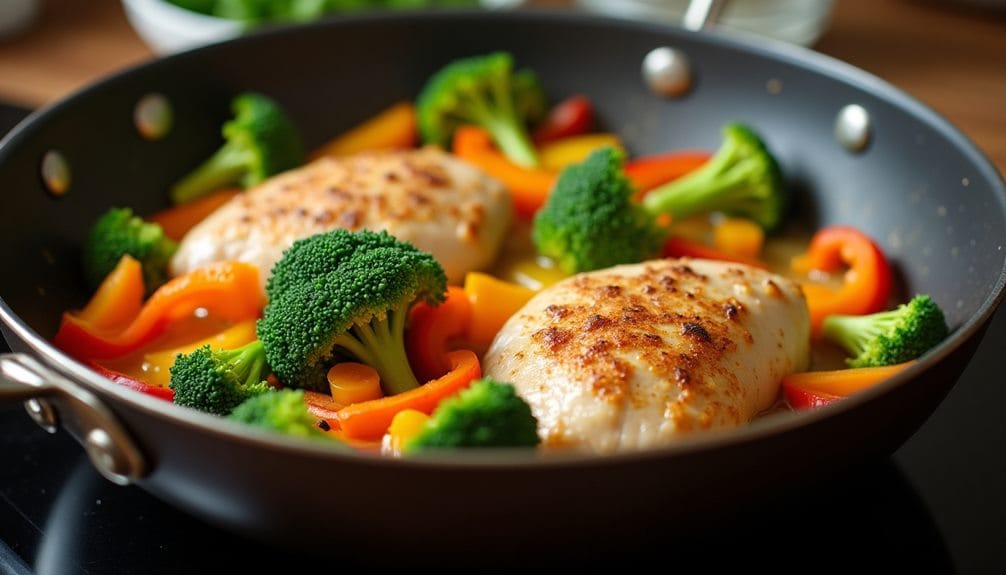
After your chicken breasts are perfectly cooked, it’s time to add a burst of color and nutrition – your favorite veggies. Simply push the chicken to one side of the pan, and scatter your chosen vegetables on the other. You’re not just creating an eye-catching presentation; you’re also ensuring each component cooks to perfection.
While you can use any veggies you fancy, here are some suggestions to get you started:
- Broccoli: These little green trees are not only fun to eat but also pack a serious nutritional punch.
- Bell peppers: Choose a mix of colors for a vibrant dish. They add a sweet crunch to your meal.
- Carrots: A common ingredient in many dishes, they provide a sweet, earthy flavor.
- Zucchini: This summer squash is delicate and won’t overpower your chicken.
- Green beans: These add a nice crunch and pair well with the garlic butter.
Step 4. Stirring Ingredients Together
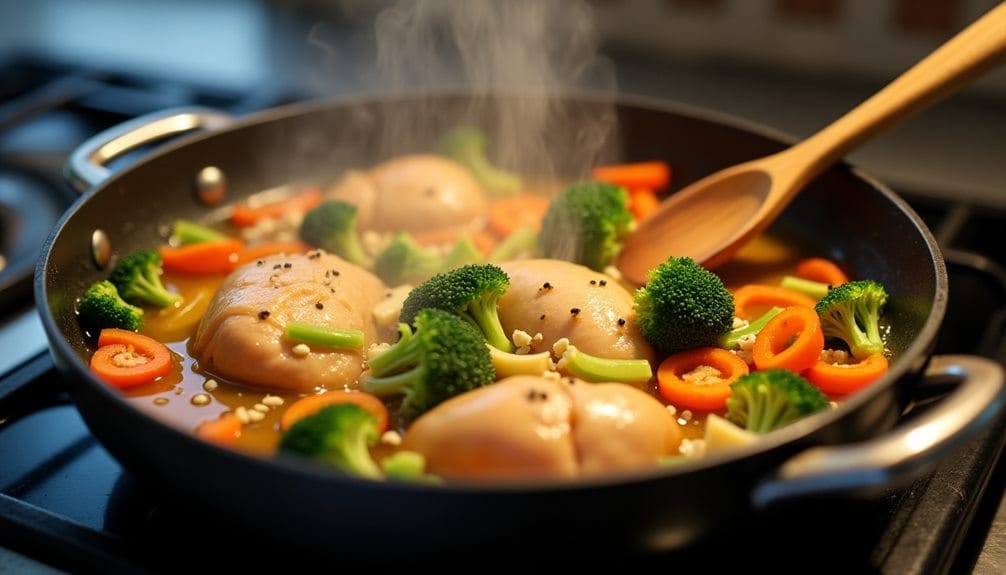
Once your veggies have reached the desired tenderness, it’s time for the stirring step. This step is essential, as it guarantees the flavors of the garlic butter are well distributed through the chicken and veggies. So, using a large spoon or spatula, stir everything together in the pan. As you stir, make sure to scoop up the garlic butter from the bottom and drizzle it over the ingredients. This helps to infuse them with that delicious garlic flavor.
Now, while it might be tempting to stir continuously, it’s important to let the ingredients sit for a bit between stirs. This allows the chicken and veggies to sear slightly, enhancing their flavors. Don’t worry if some bits stick to the pan; those are packed with flavor and will come off when you deglaze the pan later.
Step 5. Final Flavor Integration Step
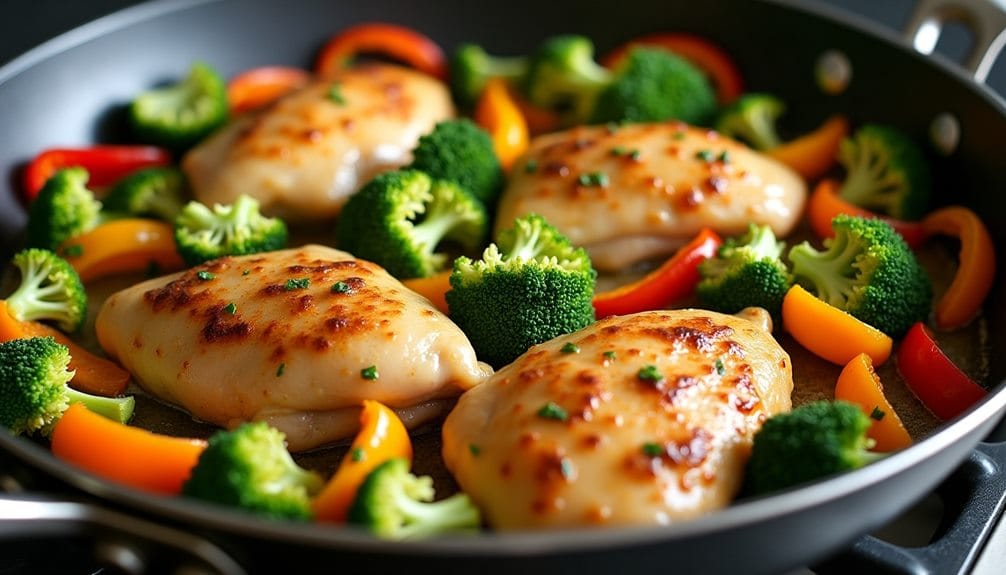
Now we’re onto the final flavor integration step. You’ve done great so far, and this last step will seal the deal on your mouthwatering One-Pan Garlic Butter Chicken with Veggies.
First, verify that the chicken is fully cooked and the garlic is fragrant. Then, introduce your veggies to the pan, mixing everything together. This is when the magic happens, as the flavors from the chicken and garlic butter start mingling with the fresh veggies, creating a delightful melody of flavors.
To guarantee a successful flavor integration, follow these tips:
- Make sure your veggies are cut evenly to ensure uniform cooking.
- Don’t rush the cooking process. Allow the flavors to meld together.
- Stir occasionally to prevent any ingredient from burning and to help distribute the flavors.
- Taste test and adjust the seasoning if needed.
- Remember, you can always add more salt, but you can’t take it away. So, season with caution.
And voila! Your One-Pan Garlic Butter Chicken with Veggies is ready to be served. Enjoy this delicious, hearty meal that was as fun to make as it will be to eat!
New Recipe
- Pepperoni and Hot Honey PizzaTry the tantalizing twist of pepperoni pizza with hot honey, where sweet meets heat—how will it transform your taste buds?
Final Thoughts
Diving into this One-Pan Garlic Butter Chicken recipe, you’ll find it’s not just about its simplicity and taste. It’s an embodiment of comfort food, a delightful mix of savory, buttery chicken and vibrant, crunchy veggies. It’s a recipe that’s easy to follow, quick to prepare, and leaves you with minimal cleanup – a trifecta of factors that make it a perfect choice for weeknight dinners, or even for hosting friends.
Customization is another key aspect of this recipe. You have the freedom to toss in your favorite veggies, making it a versatile dish that can cater to your personal preferences or dietary needs.
Moreover, this recipe is a proof of the fact that cooking doesn’t always have to be complicated or time-consuming. With just a handful of ingredients and a single pan, you can whip up a meal that’s both nutritious and satisfying. So, don’t hesitate, give this recipe a try. You’ll be surprised at how a dish so simple can deliver such a rich and robust flavor. Enjoy your culinary adventure with this One-Pan Garlic Butter Chicken with Veggies!

