Is it not true that the best meals are the ones you can tailor to your own tastes? Picture a Fajita Night where you’re the one in control, deciding on the perfect blend of toppings for your fajita. Be it a dollop of guacamole, a sprinkle of cheese, a splash of salsa, or a dash of sour cream, you’re the master of your meal. Now, wouldn’t you like to know how to make this personalized dining experience a reality in your own kitchen?
History
Diving into the history of fajitas, it’s a journey that takes us back to the ranches of South Texas. You see, back in the 1930s, during cattle roundups, cowboys were often paid with less desirable cuts of beef, like skirt steak. They’d cook this tough meat over an open fire, a simple yet flavorful meal that would later evolve into what you now know as fajitas.
But it wasn’t until the 1960s when the term ‘fajita’ was coined, derived from the Spanish word ‘faja’ for ‘belt’, referencing the belt-like shape of a skirt steak. And it’s really the 1980s when fajitas started gaining nationwide popularity, thanks to a clever restaurant owner in Houston who decided to serve this sizzling dish right at the table, creating a unique dining spectacle.
Now, fajitas are a staple in Tex-Mex cuisine, loved for their versatility and the interactive dining experience they offer. So, when you’re prepping for your next Fajita Night, remember, you’re not just making a meal, you’re partaking in a culinary tradition that’s deeply rooted in cowboy culture and Texan history.
Recipe Cooking Steps
Fajita Night with Build-Your-Own Toppings is an ideal meal for those evenings when you want to bring everyone together at the dining table for a fun, interactive, and delicious dinner. With a simple base of sizzling, seasoned chicken or beef, mixed with a vibrant array of bell peppers, the stage is all set. What truly makes these fajitas shine are the variety of toppings each person can choose from, turning a simple meal into a personalized culinary masterpiece.
What’s great about this recipe is its versatility. It can cater to a wide range of dietary needs. You can easily swap out the meat for portobello mushrooms or a plant-based protein for vegetarians or vegans. For those who are gluten-free, corn tortillas are a great substitution. Now, let’s explore the recipe.
Ingredients:
- 500 grams of boneless chicken or beef strips
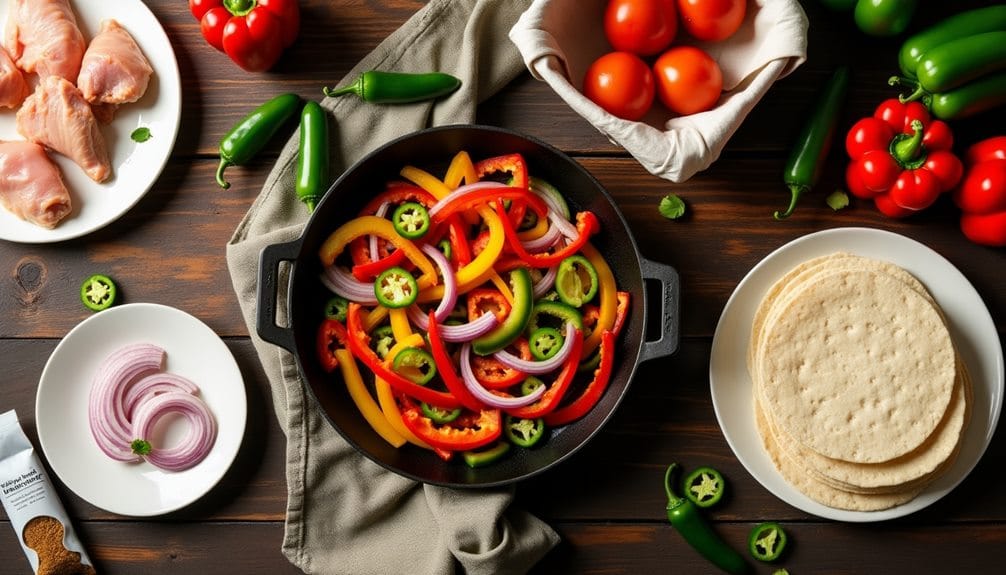
- 2 bell peppers, sliced
- 1 onion, sliced
- 1 packet of fajita seasoning
- Soft flour tortillas
To start, heat a bit of oil in a large skillet over medium heat. Add the chicken or beef and cook until it’s no longer pink. Remove the meat from the skillet and set it aside. In the same skillet, add the bell peppers and onion. Cook until they are soft and begin to caramelize. Return the cooked meat back to the skillet and sprinkle the fajita seasoning over the top. Mix everything together until the ingredients are well coated with the seasoning. Warm up the tortillas in a dry skillet or microwave, then serve them alongside the fajita filling.
Here are a few additional tips to make your Fajita Night even better. Consider using a variety of colored bell peppers for a more visually appealing dish. If you like a bit of heat, sliced jalapenos can be added to the skillet. To keep your tortillas warm throughout the meal, consider investing in a tortilla warmer, or you can simply wrap them in a clean dish towel. Don’t forget to prepare your toppings ahead of time. This way, the process of building your own fajita will be smooth and easy. Enjoy your Fajita Night!
Step 1. Initial Meat Cooking Stage
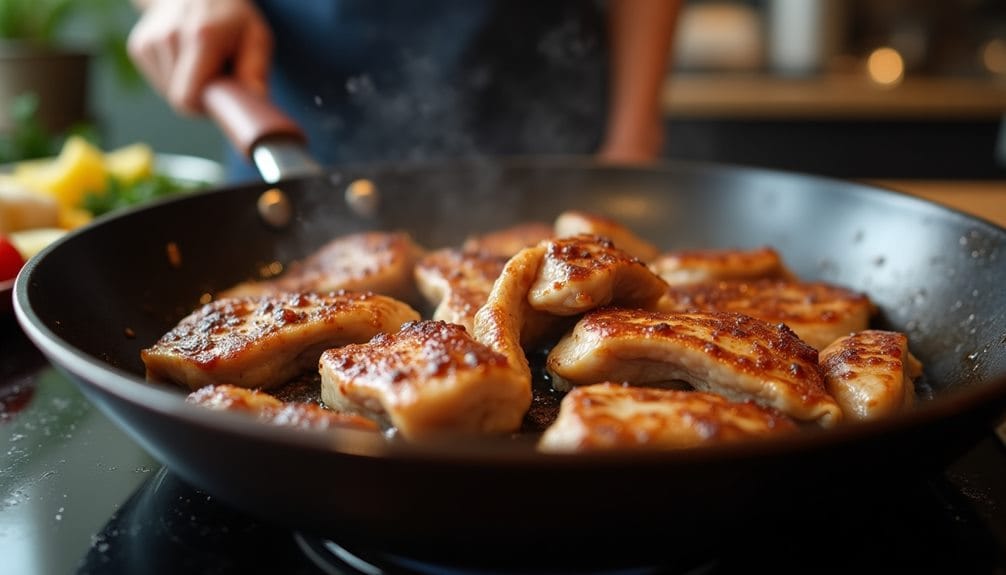
Before you even think about toppings, you’ll need to focus on the heart of the fajita: the meat. Your choice of meat is essential, as it forms the base flavor for your fajita. Whether you’re going for chicken or beef, the initial cooking stage is the same.
Start by heating a splash of oil in a large skillet over medium heat. Once it’s hot, add your sliced chicken or beef. You’re aiming for a nice, even sear on each piece, so don’t crowd the pan. Cook your meat until it’s no longer pink in the middle. This should take about 5-7 minutes, but it’ll depend on the thickness of your slices.
Once it’s cooked, remove the meat from the skillet and set it aside. Don’t worry if there’s a little bit of residue left in the pan – that’s packed with flavor and will bring extra deliciousness to your fajitas.
There you have it! The initial meat cooking stage is done. Now, you’re ready to move on to the next step of your fajita night: the vegetable sauté stage. Enjoy the sizzle and the anticipation of the feast to come.
Step 2. Vegetable Sauté Stage
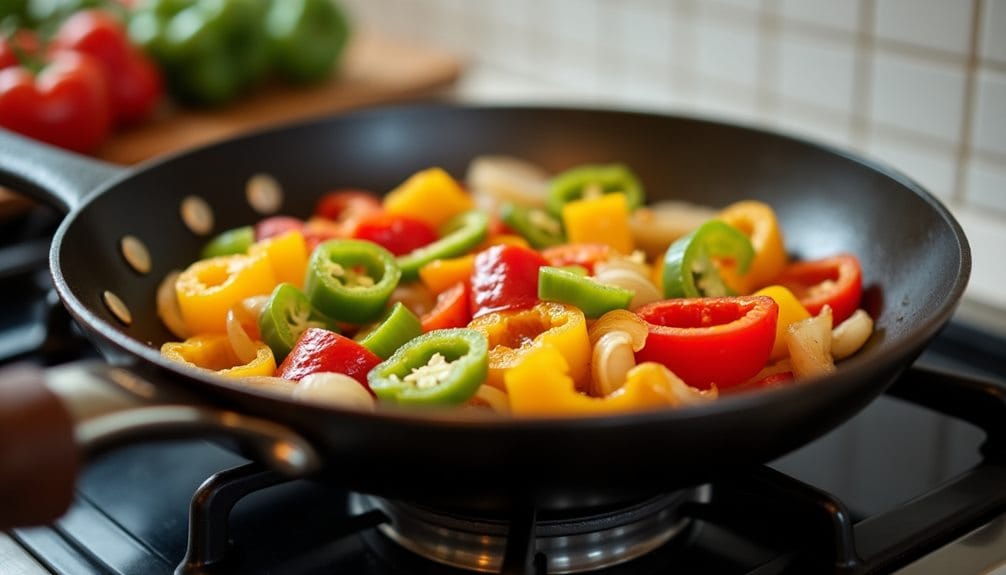
After you’ve cooked your meat, it’s time to sauté the vegetables. Using the same skillet, add a bit more oil if necessary, then toss in your sliced bell peppers and onions. Keep the heat at medium to avoid burning them. You’re aiming for a nice, light caramelization that adds depth of flavor and a touch of sweetness. It should take about 5-7 minutes.
Remember to stir the vegetables occasionally to guarantee they cook evenly. As they soften, they’ll soak up all those delicious juices left behind by the meat. This is where the magic happens – the veggies not only add their own flavors, but also absorb and enhance the meat’s savory goodness.
Once the peppers and onions are tender and slightly charred, reintroduce your cooked meat back into the skillet and combine. Now you’ve completed the vegetable sauté stage, and you’re ready to move on to the next step.
Keep in mind, the key to a successful fajita night is customization. So, if you or your guests prefer other veggies, like zucchini or mushrooms, feel free to toss them into the mix. It’s your fajita night, so make it your own!
Step 3. Seasoning and Mixing Phase
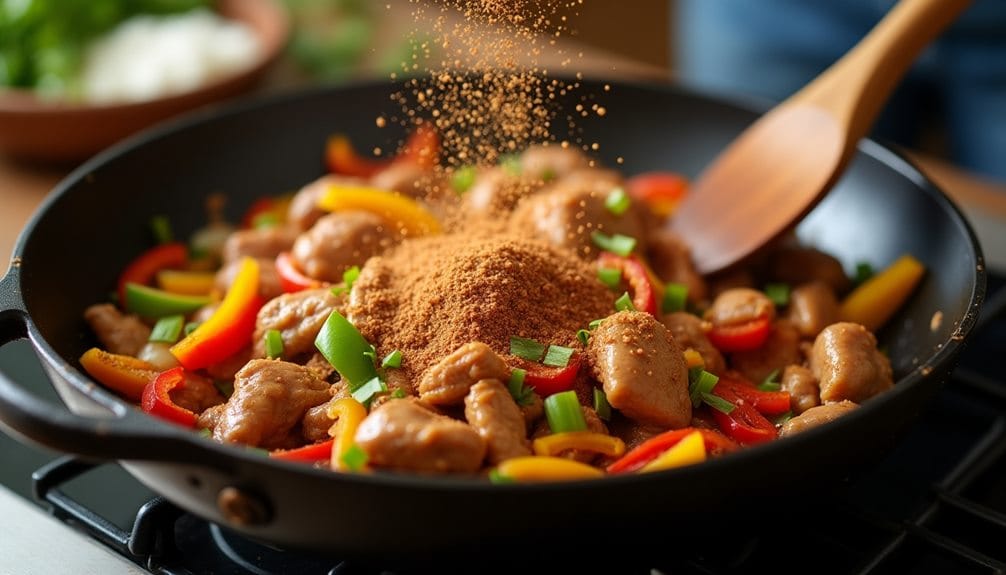
Now, let’s jazz things up a bit. You’ve got your sizzling chicken or beef and your sautéed bell peppers and onions. It’s time to bring these ingredients together and make some fajita magic happen. This is where the seasoning and mixing phase comes into play.
- First, add your cooked meat back into the skillet with the peppers and onions.
- Next, it’s time to add the fajita seasoning. Sprinkle it evenly over the meat and veggies.
- Finally, give everything a good stir, ensuring all the ingredients are well coated with the seasoning.
This is where your fajita filling really comes to life. The seasoning not only adds flavor, but it also helps to bind all the ingredients together. This is the heart of your fajita, the star of the show. Take a moment to appreciate the symphony of aromas wafting from your skillet. But don’t get too lost in the moment; there’s still one more step to complete before you can start building your fajitas. And don’t worry, we won’t be discussing the tortilla warming process just yet. That’s a topic for another time.
Step 4. Tortilla Warming Process
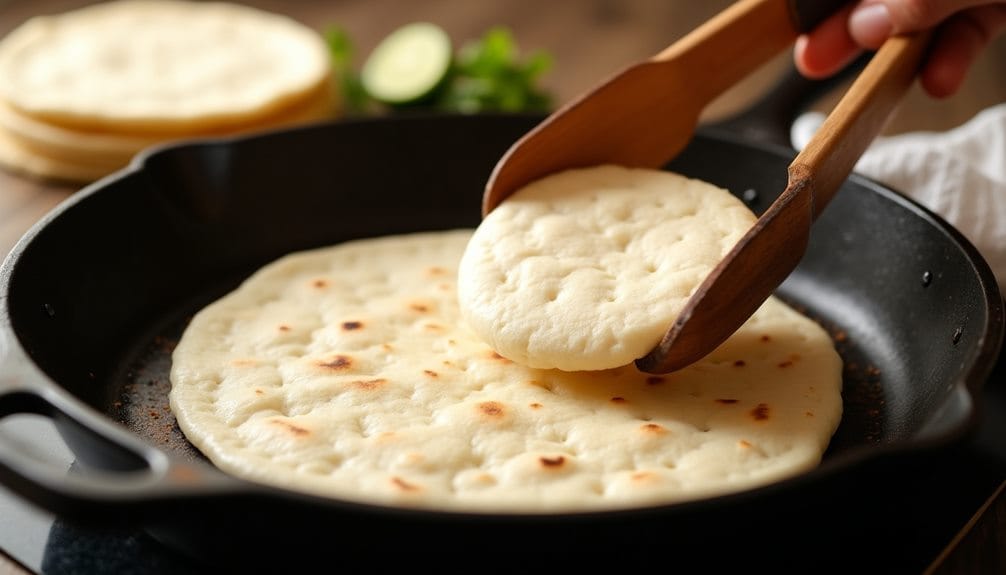
Having seasoned and mixed your fajita filling to perfection, your next step is to warm your tortillas. This process is essential, as warm tortillas are softer, pliable, and they release the subtle flavors that can be masked when they’re cold.
You’ve got a couple of options here. You can go traditional by heating them on a dry skillet or griddle over medium heat. Just place a tortilla on the skillet, let it sit for about 30 seconds until it starts to bubble, flip it and do the same on the other side. Remember, you’re not cooking them, just warming.
If you’re in a pinch for time, the microwave’s your friend. Wrap a stack of tortillas in a slightly damp clean kitchen towel, put them in a microwave-safe dish, and heat on high for about a minute.
When they’re warm, keep them wrapped in the cloth to stay soft and warm while you’re getting everything else ready.
Whichever method you choose, warming your tortillas will enhance the overall fajita experience, promising a soft, enveloping wrap for your tasty, seasoned filling. Enjoy your fajita night!
Step 5. Toppings Preparation Stage
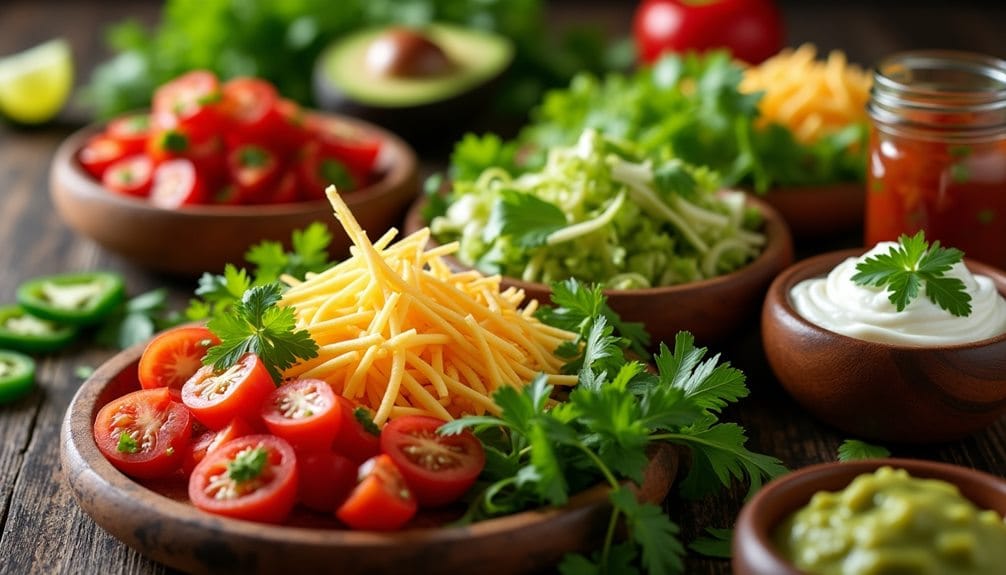
Preparing your toppings is the next exciting stage in your Fajita Night. You’ve warmed your tortillas and cooked up a storm with your chosen proteins and veggies. Now, it’s all about those delicious extras that will elevate your fajitas to the next level.
- First up, your salsa. There’s something satisfying about making your own from scratch. All you’ll need are ripe tomatoes, onions, jalapenos, cilantro, lime juice, and salt. Dice everything up, mix it, and there you have it. Fresh homemade salsa.
- Next, guacamole. You’ll need ripe avocados, lime juice, cilantro, garlic, and salt. Mash your avocados, stir in the rest of the ingredients, and voila! Creamy, tangy guacamole.
- Finally, don’t forget your cheese and sour cream. Shred your cheese ahead of time to save some hassle. You can use any kind you like, but a good sharp cheddar or tangy Monterey Jack works great.
New Recipe
- Pepperoni and Hot Honey PizzaTry the tantalizing twist of pepperoni pizza with hot honey, where sweet meets heat—how will it transform your taste buds?
Final Thoughts
So you’ve got the scoop on how to host a memorable Fajita Night. You’re ready to whip up some sizzling meats and veggies, and let your guests’ creativity run wild with their own choice of toppings. It’s a meal that’s as fun to make as it is to eat!
Remember, the beauty of Fajita Night lies in its flexibility. It’s simple to adapt to different diets, making it a crowd-pleaser for everyone. Don’t shy away from shaking things up a bit. Try various meats, or even opt for a vegetarian version. Mix and match toppings to cater to all taste buds. The possibilities are endless!
Don’t forget to take into account the presentation. Vibrant bell peppers can add a pop of color, while a variety of toppings can make your table look feast-like. And to keep the fajita fun going, keep those tortillas warm!
Preparing your toppings ahead of time will guarantee a smooth fajita-building process, and let’s not forget, the quicker the prep, the quicker you get to eat! So go on, have fun, and dig in. Here’s to a flavorful and successful Fajita Night!

