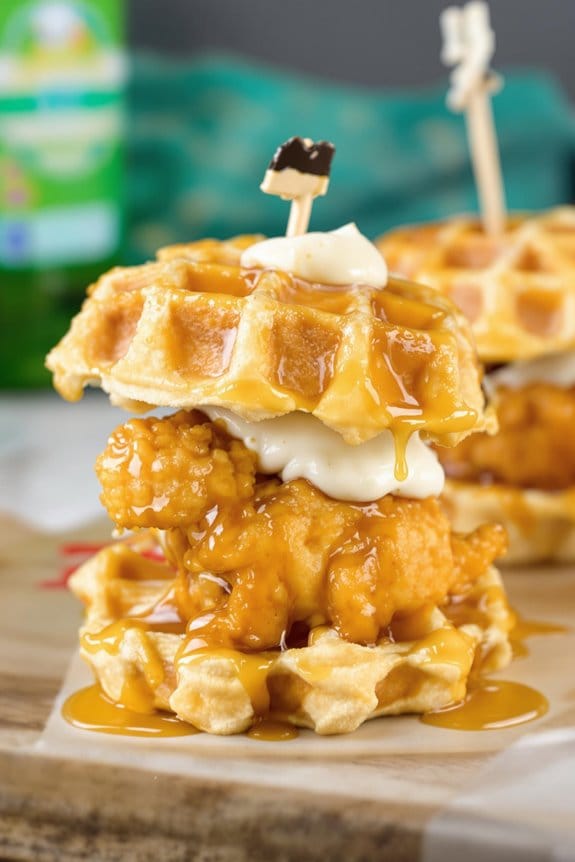
Have you ever imagined bringing a playful yet satisfying twist to your dining table with Baked Dino Nugget & Waffle Sliders? Combining the crispy texture of baked dinosaur-shaped chicken nuggets with the soft, comforting embrace of mini waffles might just be the innovative approach you’re looking for. The real charm lies in customizing these sliders with your favorite cheeses, spreads, and perhaps a touch of maple syrup. It’s an invitation to experiment with flavors while indulging in a bit of whimsy. Think about how these could transform your next gathering or family dinner. What might the outcome be if you decided to give them a go?
History
Although modern and whimsical, the concept of combining dinosaur-shaped chicken nuggets with waffles for sliders harks back to the playful innovations in family-friendly dining that emerged in the late 20th century.
You might recall the excitement that surrounded novelty foods; they weren’t just meals, they were experiences crafted to delight both young and old. This type of culinary creativity boosted the appeal of dining out for families, encouraging a sense of adventure in every bite.
Throughout the ’90s and early 2000s, themed restaurants and novelty menus became places where families could enjoy not just a meal, but a unique dining event.
This is where the roots of combining beloved children’s shapes with traditional dishes trace back. It’s all about the fusion of comfort and fun—turning an ordinary meal into something extraordinary.
Recipe
Baked Dino Nugget & Waffle Sliders combine the whimsical fun of dinosaur-shaped chicken nuggets with the crisp sweetness of freshly baked waffles, creating a snack perfect for parties, a delightful breakfast, or an imaginative dinner.
This dish is designed to be both fun to make and eat, capturing the essence of childhood favorites while being savory and satisfying. By baking both the chicken nuggets and the waffles, we focus on a healthier approach to what’s traditionally a fried food feast, making it slightly lighter but just as enjoyable.
The pairing of chicken and waffles is a classic that needs no introduction, yet this playful twist using dino nuggets adds an element of fun that’s irresistible to both kids and adults alike.
The slider format isn’t only easy to eat but also perfect for small hands, making it a great pick for your family gatherings or even a cozy weekend treat. Let’s explore the ingredients and the steps needed to create this delightful dish.
Ingredients:
- Dinosaur-shaped chicken nuggets (about 12 pieces)
- Mini waffles (24 waffles, you may need two boxes depending on the brand)
- Maple syrup (for drizzling)
- Sliced cheddar or your choice of cheese (12 slices)
- Mayonnaise or honey mustard (for spread)
- Toothpicks (for serving)
Cooking Instructions:
Start by preheating your oven to the temperature suggested on the package of dinosaur-shaped chicken nuggets; often, this is around 425 degrees Fahrenheit.
Arrange the chicken nuggets on a baking sheet and bake according to package instructions until they’re crispy and fully cooked—typically around 15-20 minutes.
Meanwhile, toast the mini waffles until they’re golden and crisp. You can use a toaster, toaster oven, or a regular oven preheated to 350 degrees Fahrenheit for about 5 to 8 minutes.
Once both nuggets and waffles are ready, cut the cooked chicken nuggets to fit the size of your mini waffles if necessary.
Extra Tips:
Assembling these sliders is a breeze but here are a few tips to guarantee they’re absolutely perfect.
First, consider adding a spread like mayonnaise or honey mustard on one side of each waffle to add moisture and flavor.
Placing a cheese slice on the bottom waffle before topping it with a hot chicken nugget can help the cheese melt enticingly.
After adding the top waffle, secure each slider with a toothpick. This helps in holding the slider together, especially if you’re serving them at a gathering.
Finally, drizzle with a little maple syrup just before serving for that quintessential chicken and waffles experience.
These sliders are best served warm, so assemble them right before they’re ready to be devoured!
Step 1. Preheat Oven for Nuggets
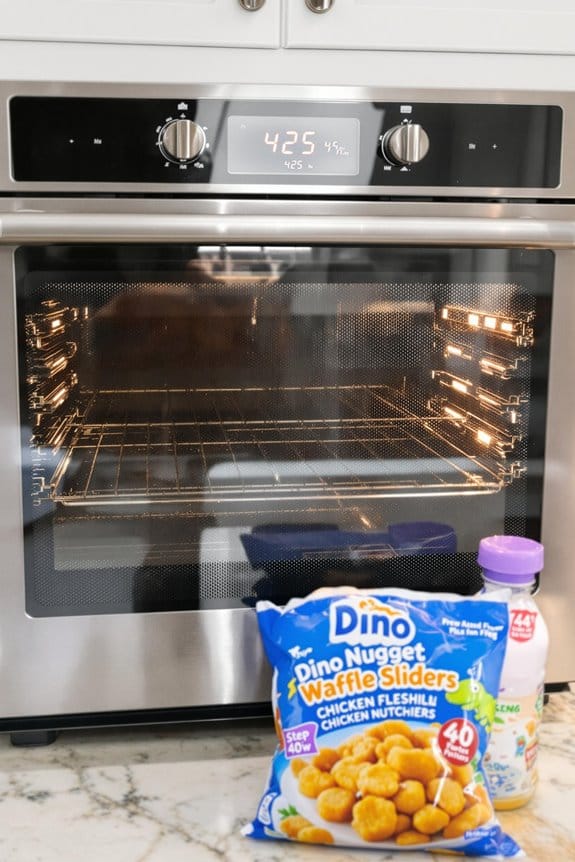
Before you can enjoy the delightful crunch of dino nuggets paired with soft waffles, you’ll need to preheat your oven. This vital step guarantees that your nuggets cook evenly and achieve that perfect golden-brown texture.
Start by setting your oven’s temperature. For most frozen dino nuggets, you’re looking at about 425 degrees Fahrenheit. This high heat helps to crisp the exterior while keeping the inside juicy and tender.
While you might be tempted to just pop the nuggets in and crank up the heat, preheating is indispensable. It might seem like a small detail, but it makes all the difference. An oven that’s properly preheated will have reached a stable temperature throughout, meaning no cold spots that could lead to uneven cooking.
You’ll usually need to allow about 10 to 15 minutes for your oven to reach the desired temperature. Use this time to get other parts of your meal ready, or simply take a moment to gather your condiments and toppings.
Once the oven beeps, indicating it’s heated, you’re ready to move on to the next step of your cooking adventure, guaranteeing those nuggets turn out just right.
Step 2. Arrange Nuggets on Tray
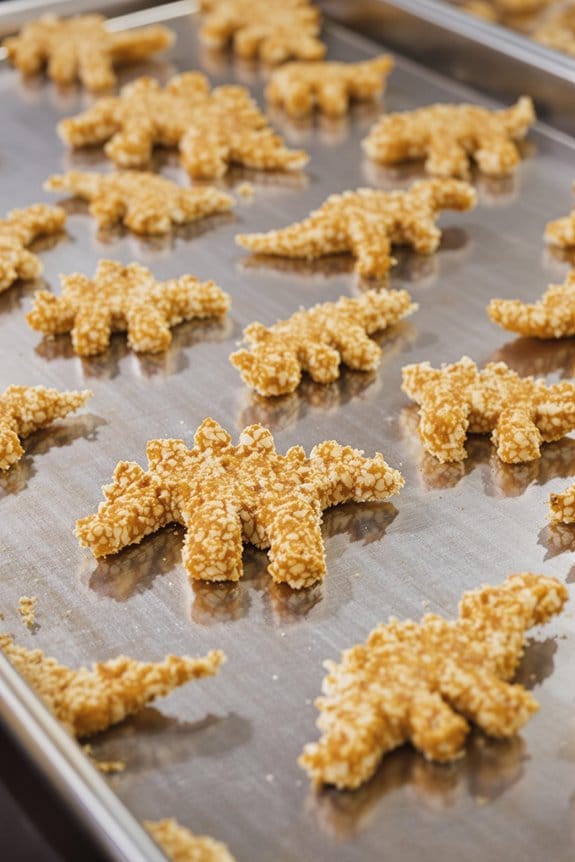
Now that your oven is hot and ready, it’s time to arrange the dino nuggets on a baking tray. Doing this properly guarantees that each nugget cooks evenly, avoiding any soggy or overly crispy surprises.
First, grab your baking tray. You don’t need to grease it, as the nuggets contain enough oil to prevent sticking.
Here are a few tips to perfectly arrange your nuggets:
- Spread them evenly: Make sure no nugget is touching another. This spacing allows hot air to circulate freely, promoting even cooking.
- Use a large tray: If you’re cooking many nuggets, don’t crowd them on a small tray. Use a large one or prepare to use two trays.
- Center placement: For best heat distribution, place the tray in the center of the oven.
- Flat side down: If your nuggets have a flatter side, set them flat side down. This minor detail helps in heat absorption.
- Quantity control: Don’t overload the tray. If needed, it’s better to cook in batches than to have an unevenly cooked batch.
Now, with your nuggets neatly arranged, they’re almost ready for the oven! Just one step closer to enjoying those delightful sliders.
New Recipe
- Pepperoni and Hot Honey PizzaTry the tantalizing twist of pepperoni pizza with hot honey, where sweet meets heat—how will it transform your taste buds?
Step 3. Bake Until Golden Brown
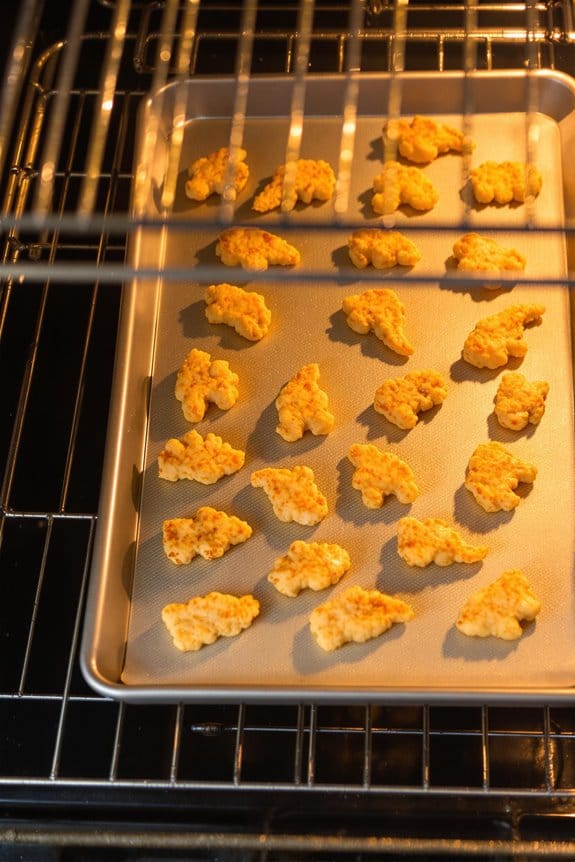
Once you’ve arranged the dino nuggets perfectly, pop the tray into the preheated oven. Set your timer for about 15 to 20 minutes, keeping an eye on the oven as the nuggets bake to a lovely, golden brown.
It’s vital to get this timing right to guarantee they’re deliciously crispy without being too dry. While you might be tempted to open the oven door for a quick peek, try to resist. Every time you open the door, you’re letting out heat, which can affect the cooking time and ultimately, the texture of your nuggets.
Instead, use the oven light and window to check their progress. They should be sizzling lightly and turning a rich golden color which is your cue that they’re nearly done.
When the timer dings, use oven mitts to carefully remove the tray. You’ll see the nuggets looking crisp and golden.
Let them rest for a minute or two on the tray—this brief cooling period helps the outer crust solidify a bit more, giving you the perfect crunch.
This step is essential; you want your nuggets to be both visually enticing and texturally satisfying. Now, they’re ready to be the star in your next culinary creation!
Step 4. Prepare Waffle Batter
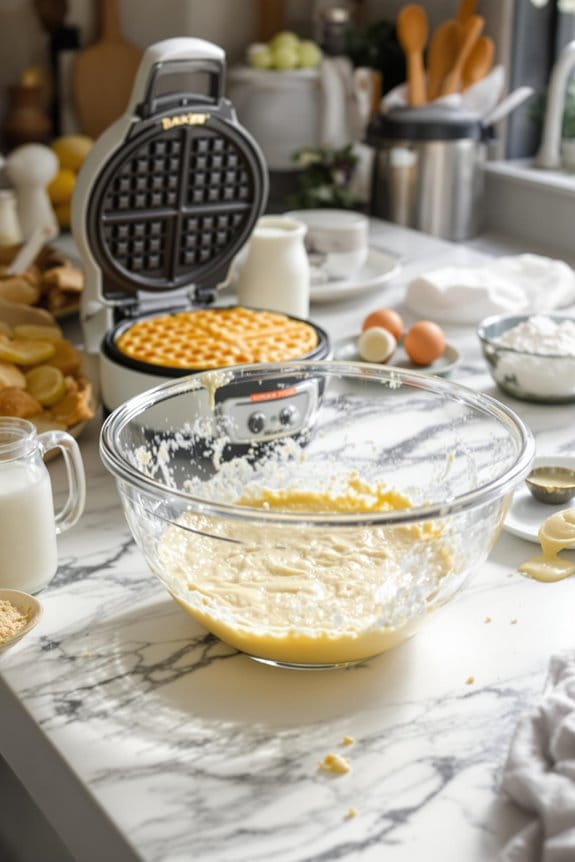
Let’s whip up some delicious waffle batter to complement the crispy dino nuggets. You’ll need to gather a few simple ingredients that are likely already in your pantry.
Here’s a quick guide to make certain your waffles turn out fluffy and light, just the way they should be.
Start by sifting together the dry ingredients to ascertain your batter is smooth and lump-free. You’ll want to separate your eggs as well, with whites beaten separately to soft peaks before folding them into the batter. This small step will add that desired airiness to your waffles.
Don’t overmix the batter—stir just until the ingredients are combined. Overworking it can lead to chewy waffles, and that’s not what we’re aiming for here!
Once you have your smooth batter ready, resist the urge to start cooking it right away; a little patience goes a long way.
Ingredients to prepare:
- Flour: Sifted to prevent clumpy batter.
- Baking Powder: For that essential rise.
- Salt: Just a pinch to balance the sweetness.
- Eggs: Separated and whites beaten to folds.
- Milk: Preferably at room temperature for even mixing.
Mix these up, and you’re all set!
Step 5. Cook Waffles in Iron
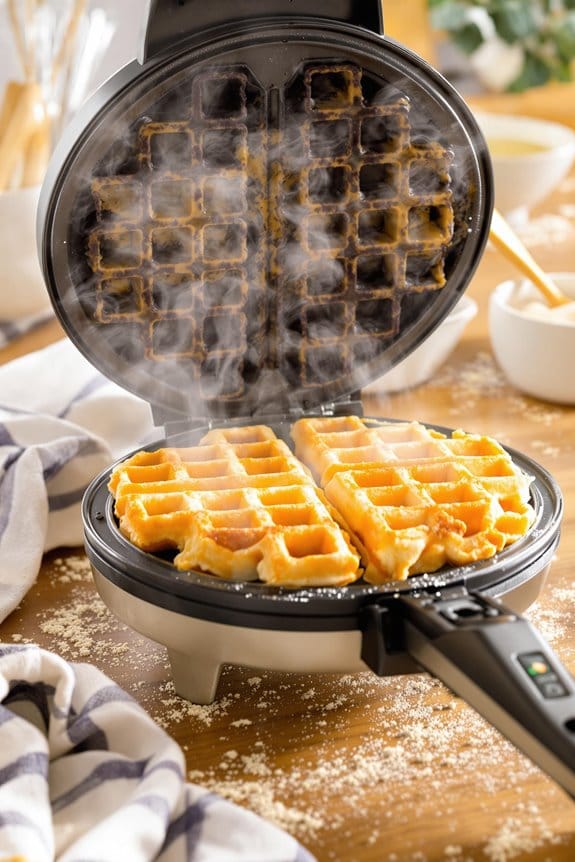
Heat your waffle iron while you grab the batter you’ve previously prepared. Make sure it’s hot and ready to transform that smooth mix into golden, crispy waffles.
Pour the batter evenly into the center of the iron, filling it just enough to spread to the edges once the lid is closed. You don’t want to overfill as this can cause overflow and make cleanup a headache.
Close the lid gently and cook according to your waffle iron’s instructions, usually about 3 to 5 minutes, until no steam escapes. The aroma of cooking waffles will soon fill your kitchen – it’s hard not to peek, but patience is key! Lifting the lid too early can lead to a waffle catastrophe.
Once done, carefully open the iron and use a non-stick spatula to lift the waffle out. It should be beautifully browned and slightly crispy on the outside, with a warm, fluffy inside that’s just begging for butter and syrup – or ready to be transformed into a delightful slider with your dino nuggets.
Repeat with the remaining batter, making sure each waffle is cooked to perfection. Enjoy immediately for the best experience!
Cooking Tips
While preparing your Baked Dino Nugget & Waffle Sliders, make sure your oven is preheated to the correct temperature to achieve a perfectly crispy finish. Getting that right sets you up for success, crispiness, and all-around pleasure from your first bite to the last.
When crafting these delightful snacks, follow these essential tips:
- Uniform Waffle Slices: Cut your waffles uniformly to guarantee each slider cooks evenly and holds together well.
- Thawing Dino Nuggets: Let your nuggets sit out for about 10 minutes before baking. This method guarantees they heat thoroughly without becoming too hard.
- Watch the Clock: Keep an eye on the baking time. Overcooking can lead to hard nuggets and burnt waffles, detracting from their delicious potential.
- Layer Thoughtfully: To build the best slider, start with a base waffle, add your dinosaur nugget, and then maybe a slice of cheese or a dollop of your favorite sauce before topping it with another waffle piece.
- Resting Time: Let your sliders rest for a couple of minutes after baking. This brief pause lets the flavors meld wonderfully, enhancing your eating experience considerably.
Remember these tips to guarantee each bite of your sliders is as enjoyable as possible.
Final Thoughts
As you wrap up your kitchen creation with these tasty sliders, remember the joy isn’t just in the eating but also in the making. Each step, from preheating your oven to watching the dino nuggets turn golden, offers a chance to enjoy the playful art of cooking.
These sliders, with their unique take on childhood favorites, invite fun into the kitchen and dining room alike. The simplicity of the recipe allows you to experiment with toppings or dips. Perhaps add a drizzle of maple syrup or a spread of mayonnaise for extra zing.
Think about the different textures and flavors you can combine to make this dish uniquely yours. It’s about creating memories around food, making each bite a tiny celebration of creativity and flavor.
As you serve these delightful sliders, don’t forget to share the experience. Cooking with family or friends not only splits the workload but also multiplies the fun.
And when the compliments come pouring in, take a moment to bask in the pride of your culinary creation. These sliders aren’t just food; they’re an affirmation of the joy and bonding that cooking can foster. Enjoy every last bite and the smiles they bring.

