When you’re crafting chili cheese dog sliders, you’re not just making a snack; you’re blending a delightful mix of culinary histories and tastes. Each component, from the hearty chili to the melt-in-your-mouth cheese and the tender bun, offers a chance to explore different flavors and textures. Have you ever wondered how to balance these elements perfectly, ensuring every bite is as satisfying as the last? What if there was a way to elevate this classic from good to unforgettable? Imagine the possibilities with the right combination of ingredients tailored to your palate.
History
While many may consider the chili cheese dog an uncomplicated indulgence, its roots reveal a rich melding of cultural influences. You might be surprised to learn that this seemingly simple dish is a snapshot of American immigration and innovation.
Originally, the hot dog, brought by German immigrants in the 19th century, was just a sausage served without toppings. As it traveled across the U.S., local flavors shaped its evolution.
The chili, a contribution from Mexican culinary traditions, was introduced by Texan cooks who added their own spice to the mix. Cheese, a beloved American addition, soon followed, creating the fully loaded chili cheese dog you relish today.
This dish isn’t just tasty; it’s a tale of cultural integration and creativity.

You'll get 12 Nature's Own Brioche Style Butter Rolls

One 12 count pack of KING'S HAWAIIAN Original Hawaiian Sweet Rolls

You'll get an 8 count of Nature's Own Perfectly Crafted Brioche Style Hamburger Buns per package
Recipe
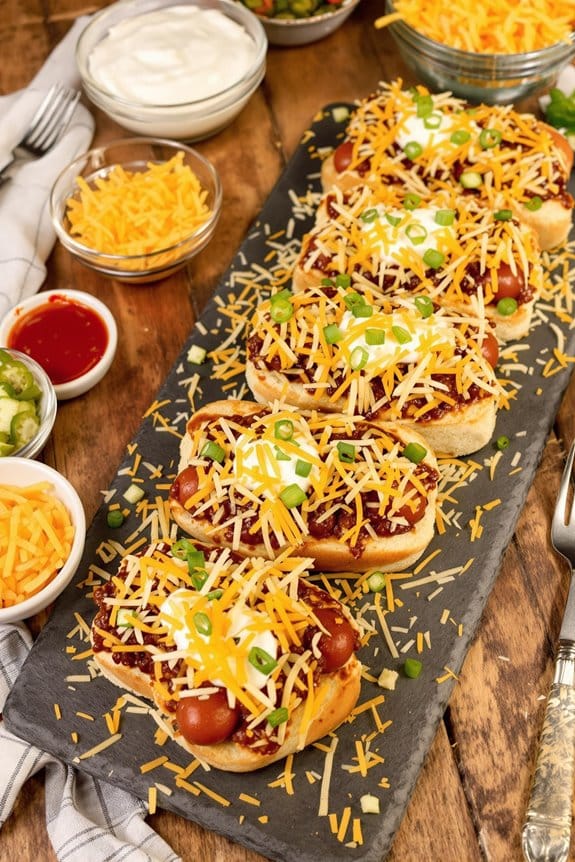
Chili cheese dog sliders are a delicious and fun twist on the traditional hot dog, perfect for parties, game days, or a family-friendly dinner. These mini sandwiches combine the classic flavors of a chili cheese dog inside a soft slider bun, making them easy to eat and even easier to love. By using pre-made chili and simple, store-bought ingredients, this dish comes together quickly, offering a satisfying bite that’s both mess-free and packed with flavor.
The process involves simple assembly and a quick bake in the oven, which melts the cheese and brings all the flavors together beautifully. The sliders are best served fresh from the oven, ensuring that the cheese is wonderfully gooey and the buns are perfectly toasted.
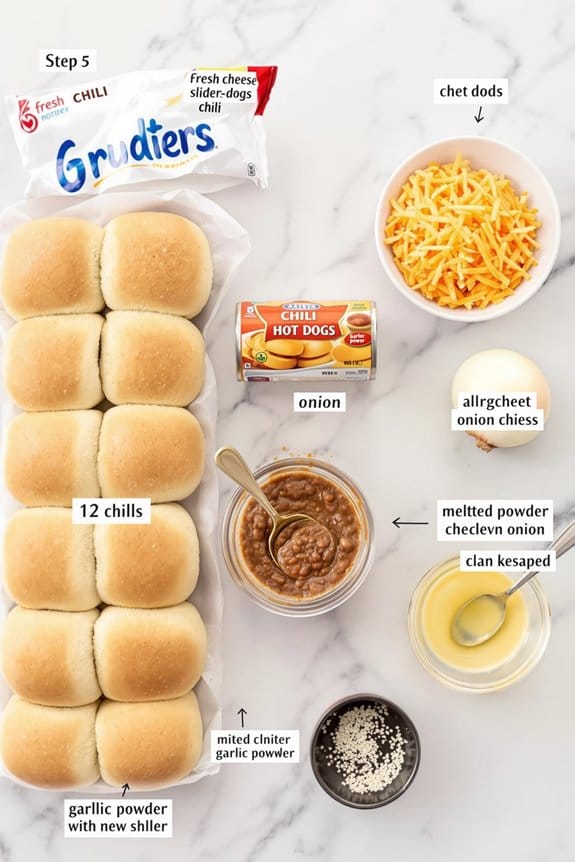
To make these delightful sliders, you’ll need the following ingredients:
- 12 slider buns
- 6 hot dogs, halved
- 2 cups of chili (canned or homemade)
- 2 cups shredded cheddar cheese
- 1 small onion, finely chopped
- 1 tablespoon butter, melted
- 1 teaspoon garlic powder
- 1 teaspoon sesame seeds
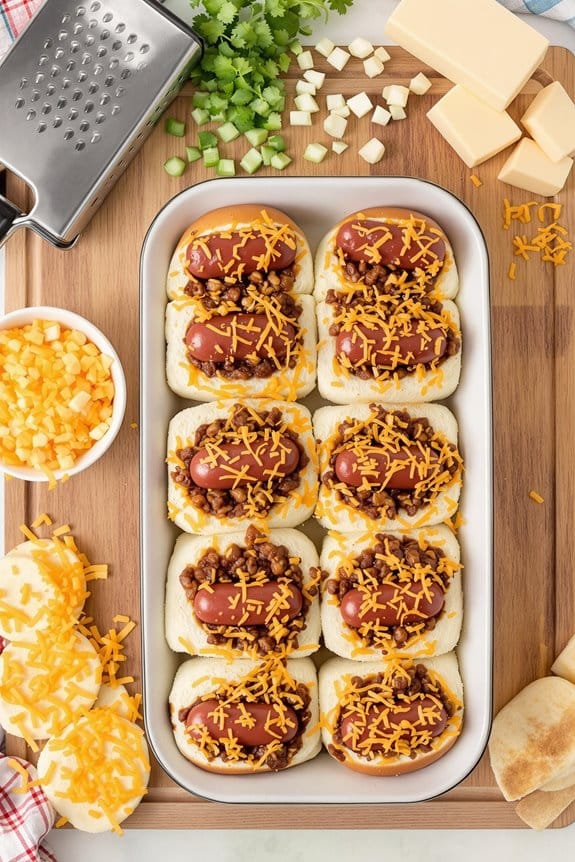
To prepare the chili cheese dog sliders, start by preheating your oven to 350°F (175°C). Take a large baking dish and lightly grease it or line it with parchment paper. Open the slider buns and place the bottom halves in the baking dish. Place a half hot dog on each bun base, then spoon the chili evenly over the hot dogs.
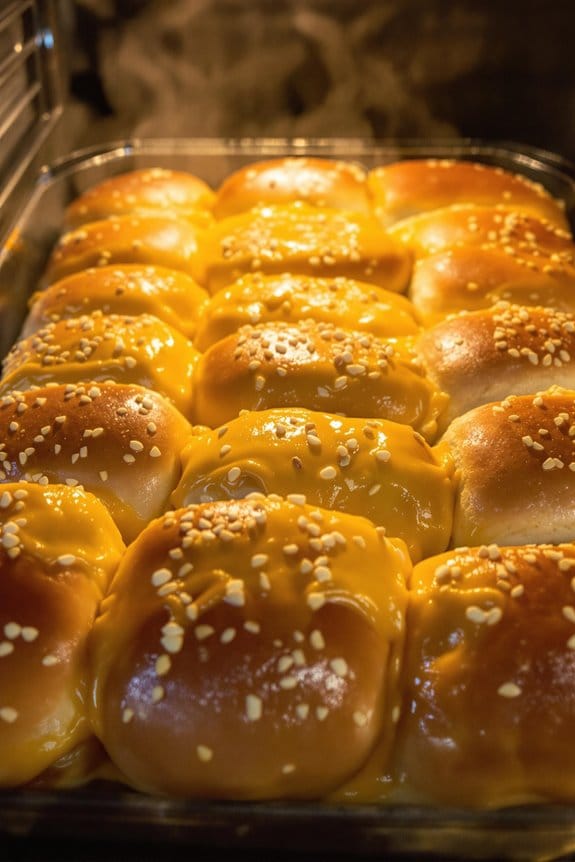
Sprinkle the chopped onion over the chili, and cover with shredded cheese. Top with the upper halves of the slider buns. In a small bowl, mix the melted butter with garlic powder, then brush this mixture over the tops of the buns. Sprinkle with sesame seeds.
Cover the baking dish with aluminum foil and bake for about 10 minutes, then remove the foil and continue baking for another 5 to 10 minutes, until the buns are golden and the cheese is bubbly.
Here are a few extra tips to make your chili cheese dog sliders a hit: First, if you desire a bit of extra crunch and flavor, consider adding a layer of pickles or jalapeños on top of the chili before adding the cheese. This can add a nice zest and texture to each bite.
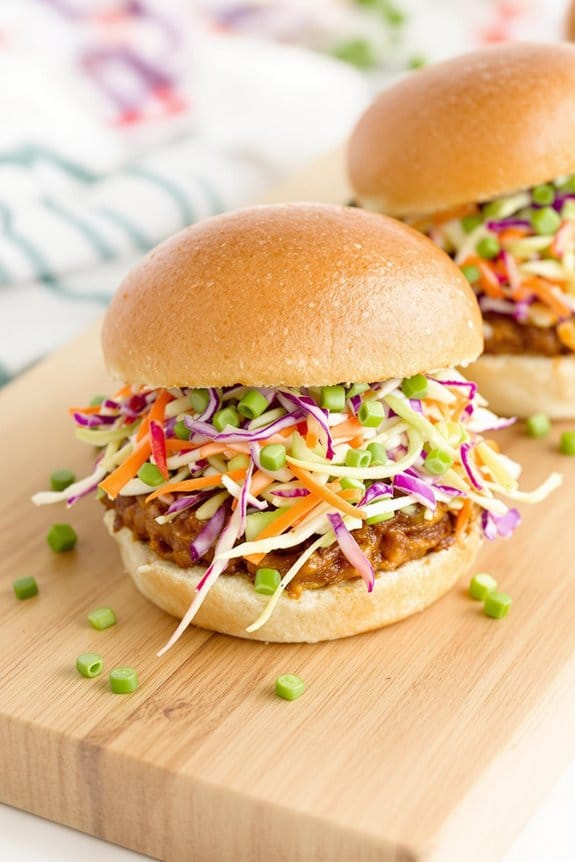
Next, for those who prefer a bit more spice, mixing a little hot sauce or cayenne pepper into the chili can elevate the heat to your preference. Finally, make sure not to overbake the sliders, as the buns can become too crispy and difficult to eat. Enjoy your meal with a side of coleslaw or a simple salad for a complete dining experience.
Step 1. Gather Ingredients
To kick off your Chili Cheese Dog Sliders, it’s vital to gather all the necessary ingredients first.
Start by picking up some mini hot dog buns and a pack of your favorite hot dogs; size matters here, as you’ll want them to fit snugly in your buns.
You’ll also need a substantial amount of cheese—think cheddar or pepper jack for that perfect melt.
Don’t forget a fresh onion and maybe a few pickles for crunch.
Additionally, grab some butter and your preferred seasoning for enhancing those buns.
It’s best to have everything on hand before you start cooking to keep things running smoothly.
This prep step guarantees you’re not mid-recipe when you realize you’re missing something critical.
Step 2. Prepare Chili Sauce

Once you’ve gathered all your ingredients for the sliders, it’s time to whip up the homemade chili sauce that’ll bring your dish together.
Begin by browning the ground beef in a skillet over medium heat; make sure to crumble it finely as it cooks. Once it’s thoroughly cooked, drain the excess fat.
Next, add chopped onions and minced garlic to the skillet, sautéing until they’re soft and translucent. Stir in tomato sauce, chili powder, cumin, and a bit of salt and pepper, blending everything well.
Let the mixture simmer gently for about 15 minutes to meld the flavors and thicken slightly. Your chili sauce should be rich, flavorful, and ready to elevate those sliders to the next level!
Step 3. Assemble Sliders With Buns
Gather your slider buns and lay them out on a clean surface, ready to build the perfect bite. Make certain they’re freshly opened; you want them soft and pliable for easy eating.
Next, slice each bun horizontally, if they aren’t pre-cut, careful not to tear them apart completely. You’ll want them attached at one edge to keep the toppings secure.
Now take the hot dogs you’ve previously cooked and sliced each into thin medallions. Evenly distribute these circles of hot dog atop the bottom halves of your slider buns. Spread them out to guarantee every bite has a good share of meat.
With the groundwork laid, you’re set for the next layer, skipping ahead to promising pockets of flavor.
Step 4. Add Cheese to Sliders

After evenly distributing the hot dog slices, add a generous layer of cheese atop each one, ensuring a rich, melty texture in every bite.
The type of cheese you choose can greatly affect the flavor profile of your sliders. For a classic taste, a blend of cheddar and American cheeses works beautifully as it melts well and complements the savory chili and hot dogs.
- Choose Your Cheese: Opt for meltable cheeses such as cheddar, Monterey Jack, or mozzarella.
- Generous Portions: Don’t skimp on cheese; cover each slider thoroughly to envelop in gooey goodness.
- Consider Mixing Cheeses: Blending different cheeses can enhance flavor complexity.
- Room Temperature: Let the cheese come to room temperature for even melting later on.
Step 5. Bake Until Cheese Melts
With your sliders now generously topped with your choice of meltable cheeses, it’s time to bake them until everything is deliciously gooey and golden.
Preheat your oven to 375°F. Arrange the sliders on a baking sheet lined with parchment paper to prevent sticking and guarantee easy cleanup.
Slide the tray into the oven and bake for about 10-15 minutes. You’ll want to watch for the cheese to bubble and the edges of the buns to turn a nice, toasty brown.
This step isn’t just about melting the cheese; it’s about marrying the flavors and textures into a perfect bite that brings out the richness of the chili, the sharpness of the cheese, and the soft yet crispy bun.
Enjoy them warm for the best experience!
Cooking Tips
Though creating chili cheese dog sliders might seem straightforward, mastering a few essential cooking tips can greatly enhance your results. Here are four key pieces of advice:
- Choose the Right Bun: Opt for soft, yet sturdy slider buns that won’t fall apart under the weight of the filling.
- Quality Hot Dogs: Select all-beef hot dogs for a richer flavor and firmer texture.
- Homemade Chili: If time allows, prepare your own chili. It allows for better flavor customization and avoids preservatives found in many canned options.
- Balanced Toppings: Don’t overload the sliders. Guarantee there’s a good balance between chili, cheese, and any additional toppings to maintain the perfect bite.
These tips should help you create delicious and satisfying sliders.

Bold Beef Chili with Simple Ingredients: Crafted from premium ground beef and a signature blend of spices, Skyline canned chili delivers authentic flavor with no beans. Each 15 oz can is packed for convenience and quality, making it a must-have for pantry food collections.

One 15 oz. can of Wendy's Chili With Beans

Final Thoughts
As you venture into making your own chili cheese dog sliders, remember that the best results come from attention to detail and a passion for flavors.
Mastery in the kitchen isn’t just about following a recipe—it’s about expressing your culinary creativity. Each slider you assemble shouldn’t only taste fantastic but also bring a smile to faces.
Don’t hold back on experimenting with different types of cheese or chili; each variation can lead to surprisingly delightful outcomes.
Whether you’re serving them at a family gathering or a community event, your sliders will certainly be a hit.
Keep tweaking your process, and enjoy every moment of the journey.

One 8 ounce bag of Shredded Sharp Cheddar Cheese

One 8-ounce bag of Shredded Triple Cheddar Cheese

One 32-ounce bag of Finely Shredded Sharp Cheddar Cheese