Creating a DIY tapas platter for entertaining is a delightful way to engage your guests and highlight various flavors. Start by selecting a mix of cured meats like chorizo, creamy cheeses such as Manchego, and vibrant vegetables like roasted peppers and olives. Arrange these ingredients on a large serving board, positioning larger items first and filling in gaps with smaller bites for visual appeal. Don’t forget dips like hummus or classic olive tapenade to enhance the experience. Pair your tapas with wines that complement the dishes, and create an inviting atmosphere to foster conversation and enjoyment. There’s much more to explore on making your platter perfect.
History
The history of tapas dates back to Spain in the late 19th century, where small dishes were served alongside drinks to encourage patrons to linger at bars. This tradition likely originated when bartenders began placing small slices of bread or meat on top of wine glasses to keep flies away.
Over time, these simple snacks evolved into a variety of flavorful dishes, reflecting the diverse culinary heritage of Spain.
You’ll find that tapas not only offer a taste experience but also embody a social culture, as sharing small plates fosters interaction and connection among friends and family.
As the popularity of tapas spread, regions across Spain developed their own unique variations, incorporating local ingredients and flavors.
In cities like Seville, you might encounter traditional dishes like jamón ibérico or patatas bravas, while in Barcelona, seafood tapas like calamares or grilled octopus are favorites.
Today, tapas have gained international acclaim, transforming dining into a communal experience.
Whether you’re at a bustling bar in Madrid or hosting a gathering at home, the essence of tapas remains: enjoying good food and good company, one small bite at a time.
Recipe Cooking Steps
Creating a DIY tapas platter is an exciting and interactive way to enjoy a variety of flavors and textures. Tapas, originating from Spain, are small dishes that can be served as appetizers or combined to make a full meal. The beauty of a tapas platter lies in its versatility; you can mix and match your favorite ingredients, from cured meats and cheeses to olives and roasted vegetables. This allows for endless creativity and personalization, making it the perfect dish for gatherings, parties, or a cozy night in.
To assemble an impressive tapas platter, you’ll want to contemplate a balance of flavors and colors. Think about including a selection of proteins, such as chorizo or marinated shrimp, alongside fresh vegetables like bell peppers and cherry tomatoes. Incorporating a variety of textures, such as crunchy bread and creamy dips, will elevate your platter and entice your guests.
Remember, presentation is key; arrange your ingredients on a large board or platter, allowing for easy access and a visually appealing display.
Ingredients:
- Chorizo, sliced
- Manchego cheese, cubed
- Olives (green and black)
- Roasted red peppers
- Cherry tomatoes
- Marinated artichoke hearts
- Fresh baguette, sliced
- Hummus or tzatziki dip
- Fresh herbs (such as parsley or basil) for garnish
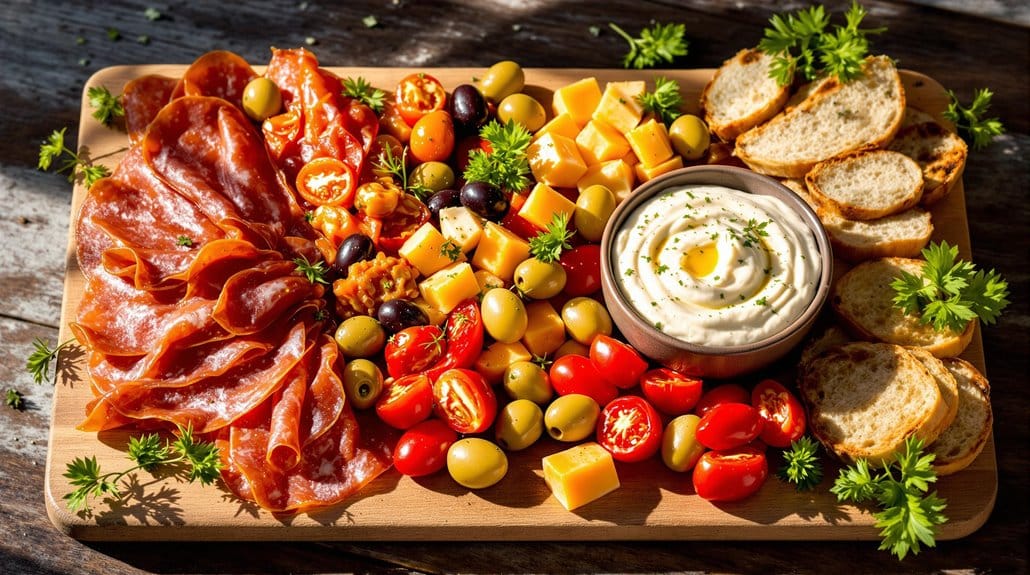
To prepare your tapas platter, start by gathering all your ingredients and arranging them on a large serving board or platter. Begin by placing the sliced chorizo and cubed Manchego cheese in one section, creating a colorful contrast with the olives and roasted red peppers in another.
Scatter the cherry tomatoes and marinated artichoke hearts around the platter, and fill in any gaps with the sliced baguette and dips. Finish by sprinkling fresh herbs for garnish, ensuring each item is easily accessible for guests to pick and enjoy.
When preparing your tapas platter, aim for a variety of colors and textures to make it visually appealing. Feel free to experiment with different ingredients based on your personal taste and dietary preferences.
Additionally, contemplate preparing some items in advance, such as marinating vegetables or making dips, to save time on the day of your gathering. Finally, don’t hesitate to include a few sweet treats, like chocolate-covered almonds or fresh fruit, to round out your platter and delight your guests. Enjoy the process of creating and sharing this delightful meal!
Step 1. Gather Your Favorite Ingredients
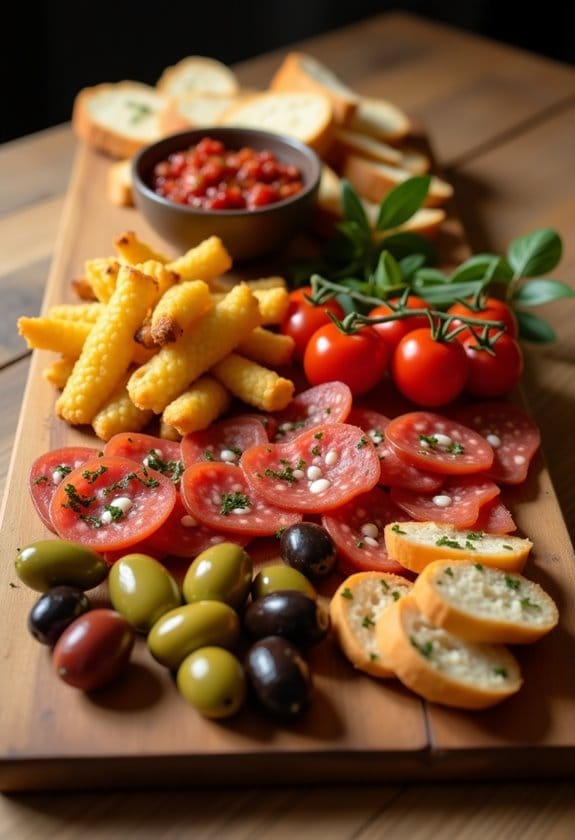
Gathering your favorite ingredients is essential for crafting a delicious tapas platter that suits your taste. Start by considering a variety of flavors and textures, as tapas are all about diversity. You might want to include cured meats like chorizo and prosciutto, which add savory depth.
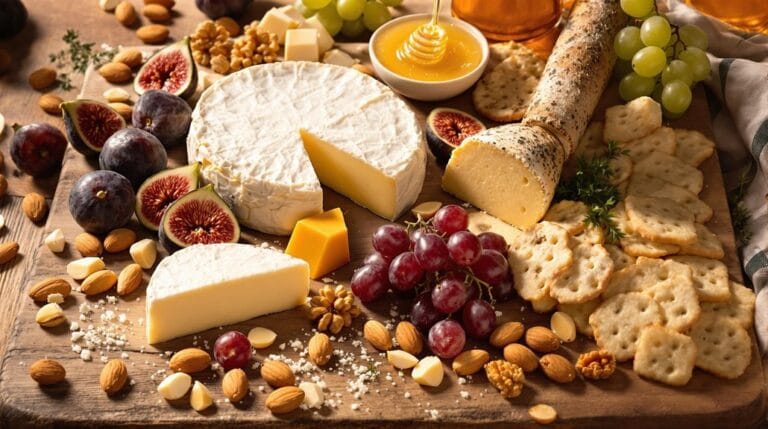
Don’t forget cheeses! Options like Manchego or goat cheese can elevate your platter with creamy richness.
Next, think about vegetables. Roasted red peppers, olives, and artichoke hearts not only look appealing but also provide invigorating bites. Incorporating fresh fruits, such as figs or grapes, can add a sweet contrast to the savory elements.
For a hearty touch, consider adding some bread; a sliced baguette or crusty breadsticks serve as perfect companions for dips and spreads. Speaking of which, hummus, romesco, or olive tapenade can enhance your platter and encourage guests to mingle.
Lastly, remember to include nuts or seeds for a crunchy element. Almonds or Marcona almonds, in particular, are a great choice.
Step 2. Arrange Ingredients Artfully
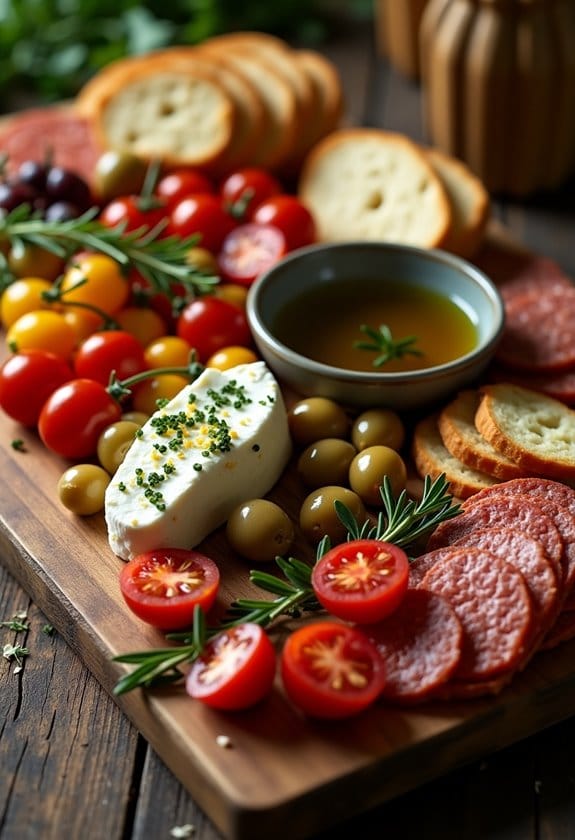
Start by selecting a large serving board or platter as your canvas. This is where you’ll transform your gathered ingredients into a visually stunning tapas display.
Begin by placing the larger items, like cheese wedges or cured meats, strategically across the board. Position them in a way that draws the eye, perhaps in a circular or diagonal pattern, allowing for balance.
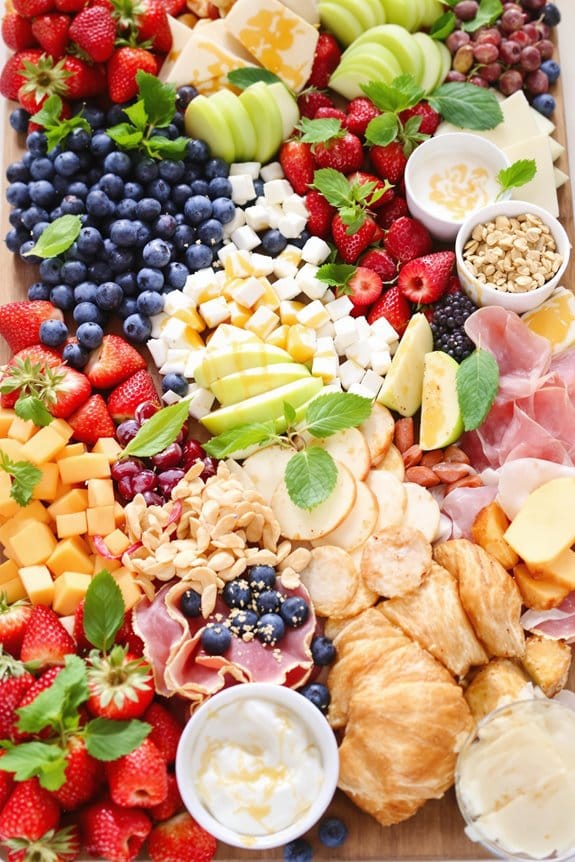
Next, fill in the gaps with smaller items like olives, nuts, and cherry tomatoes. Group similar ingredients together, as this creates a cohesive look while making it easier for guests to grab what they want.
Don’t shy away from varying colors and textures; this adds depth and interest to your platter. For example, pair creamy cheeses with crunchy crackers and juicy fruits.
As you arrange, consider the height of your ingredients. Stacking some items or using small bowls can add dimension to your platter.
Finally, take a step back to evaluate your arrangement. Make adjustments until everything feels harmonious and inviting.
Step 3. Add Dips and Spreads
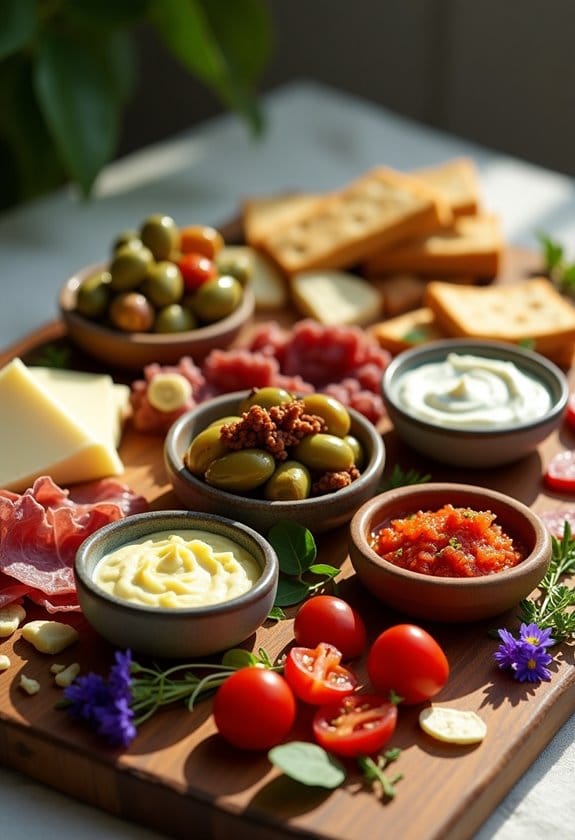
Dips and spreads are essential for elevating your tapas platter, adding flavor and variety to the mix. You don’t have to stick to just one; a combination can create a delightful tasting experience.
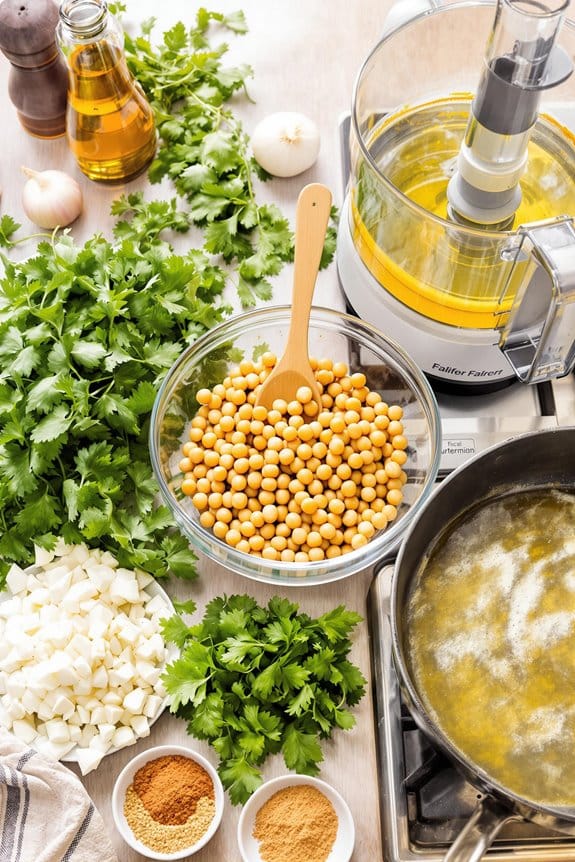
Start with classic options like hummus and tzatziki, which are both creamy and invigorating. To make a simple hummus, blend canned chickpeas, tahini, garlic, lemon juice, and olive oil until smooth. For tzatziki, mix Greek yogurt, grated cucumber, garlic, and dill.
Consider adding a spicy element with a romesco sauce, made from roasted red peppers, almonds, garlic, and olive oil. This nutty, smoky spread pairs wonderfully with vegetables and bread. If you want something with a kick, a spicy harissa dip made from chili peppers and spices will certainly awaken the taste buds.
Don’t forget about the classic Spanish option, a rich olive tapenade. Simply combine olives, capers, garlic, and olive oil in a food processor for a robust spread.
Arrange these dips in small bowls around your platter, encouraging guests to mix and match flavors. With these dips and spreads, your tapas platter will become an inviting centerpiece that sparks conversation and enjoyment.
Step 4. Include Fresh Herbs

Fresh herbs can transform your DIY tapas platter, adding vibrant flavors and appealing visuals. When you include fresh herbs, you not only enhance the taste but also elevate the overall presentation.
Start by choosing herbs that complement your selected tapas. Basil, parsley, cilantro, and thyme are excellent choices, each bringing its unique aroma and flavor profile.
To incorporate these herbs, consider using them as garnishes on your dishes. For instance, sprinkle chopped parsley over hummus or add fresh basil leaves atop bruschetta. You can also create small herb bundles or sprigs to place alongside your cheeses and meats, inviting guests to add them to their bites.
Another great idea is to infuse your olive oil with herbs. Simply combine olive oil with herbs like rosemary or thyme and let it steep for a few hours. This infused oil not only adds a delightful flavor when drizzled over your dishes but also serves as a dip for crusty bread.
Don’t forget to include a small bowl of fresh herbs for guests to pick from. This interactive element encourages creativity while allowing everyone to customize their experience, making your tapas platter even more memorable.
Step 5. Serve With Wine Pairings
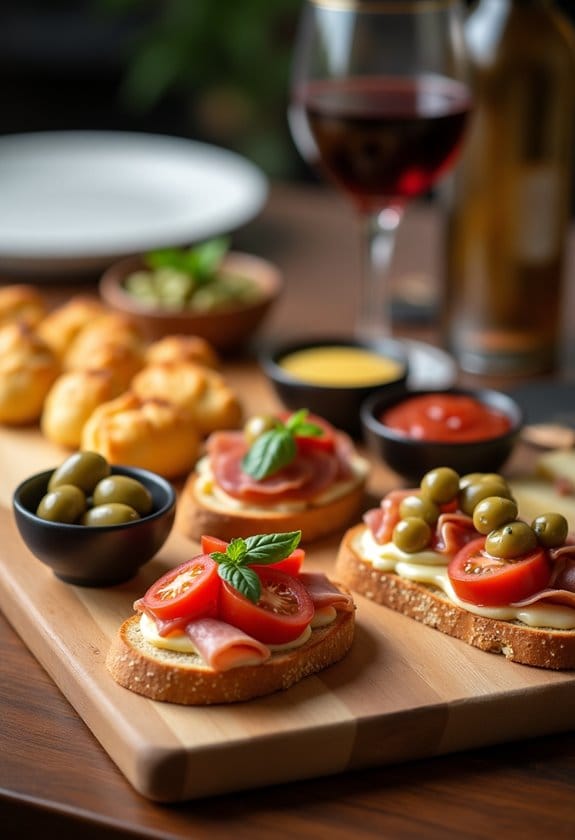
Pairing your tapas platter with the right wine elevates the entire experience, enhancing both the flavors of the food and the drink. Selecting complementary wines can transform your gathering into a memorable event.
Here’s how to choose the perfect pairings for your tapas:
- Crisp White Wine: A chilled Sauvignon Blanc or Verdejo works wonderfully with seafood tapas. Their acidity cuts through the richness of dishes like shrimp or calamari, making each bite more enjoyable.
- Rosé: A dry rosé is versatile and pairs beautifully with a variety of tapas, from charcuterie to vegetable dishes. Its invigorating profile adds a delightful contrast to savory flavors.
- Tempranillo: This Spanish red wine is a classic choice for meat-based tapas. Its bold, fruity notes complement grilled meats and spicy chorizo, enhancing the overall flavor experience.
- Sparkling Wine: Whether it’s Cava or Prosecco, sparkling wine adds a festive touch to your gathering. Its effervescence pairs well with salty or fried tapas, cleansing the palate between bites.
New Recipe
- Pepperoni and Hot Honey PizzaTry the tantalizing twist of pepperoni pizza with hot honey, where sweet meets heat—how will it transform your taste buds?
Final Thoughts
As you wrap up your DIY tapas platter, have you considered how to elevate your gathering? Creating a stunning spread is just the beginning.
Think about the ambiance you want to set. Soft lighting, perhaps some candles, and a curated playlist can transform your space into a cozy haven, inviting guests to relax and enjoy.
Don’t forget to engage your guests. Encourage them to mix and match flavors, sharing their favorite combinations. You might even provide small cards with pairing suggestions, sparking conversations about the dishes or the wine.
This interactive element not only enhances the experience but also fosters a sense of community.
Presentation matters too. Use vibrant plates or wooden boards to display your tapas attractively. Garnish with fresh herbs or edible flowers to add a pop of color.
Finally, consider your guests’ preferences and dietary restrictions when planning your menu. Offering a variety guarantees everyone finds something to enjoy, making for a memorable evening.
Bottom Line
Creating a DIY tapas platter is not just about the food; it’s about bringing people together and celebrating flavors. By thoughtfully gathering ingredients, artfully arranging them, and pairing with suitable wines, you elevate any gathering into a delightful experience. Remember to incorporate fresh herbs and vibrant dips to enhance the presentation and taste. So, whether it’s a casual get-together or a festive occasion, your tapas platter will surely impress, fostering connections and memorable moments among your guests.

