Imagine this: you’re hosting a gathering and want to offer a unique, engaging culinary experience. Why not consider a Build-Your-Own Burger Bar? This concept provides a fun and interactive way to dine, inviting your guests to craft their ideal burger. High-quality ingredients, dietary options, and a wide array of toppings cater to every preference. It’s not just about the food, but the atmosphere it creates. Intrigued? There’s much more to explore about this innovative dining idea.
History
Tracing back the history of the burger, it’s quite a fascinating journey. You’d think it’s an American invention, right? But it’s not. The concept of a patty sandwiched between bread dates back to the Mongols. They’d stash raw meat under their saddles, and the friction would cook it. Pretty ingenious, huh?
Fast forward to Germany in the 19th century, Hamburg became famous for their ‘Hamburg steak’, a ground beef patty, which seafaring Germans brought to America. It was first served between two pieces of bread at the St. Louis World’s Fair in 1904, and voila, the hamburger we recognize was born!
Now, you’re taking it a step further with your build-your-own burger bar. You’re not just serving a piece of culinary history; you’re allowing folks to personalize it. Whether they prefer a classic cheeseburger, a veggie delight, or a gourmet concoction, they’re part of the burger’s ongoing history.
Isn’t it amazing how a simple food item can hold so much history? So, next time you’re biting into that juicy burger, remember, you’re munching on a piece of the past. Now, go ahead, make history with your burger bar!
Recipe Cooking Steps
Creating a build-your-own burger bar is a fantastic way to cater to everyone’s individual tastes at your next gathering. It’s a fun, interactive, and adaptable option that allows each of your guests to customize their burger to their liking. You can simply modify the quantity of ingredients based on the number of people you are planning to serve. The most exciting part is that everyone will enjoy crafting their burger with their favorite ingredients, making it a unique and enjoyable experience.
The recipe provided below serves as a general guideline, focusing on the fundamental elements of a burger. The choice of toppings is entirely up to you and your guests. However, the secret to an excellent burger lies in the quality of the meat and the bun.
Ingredients:
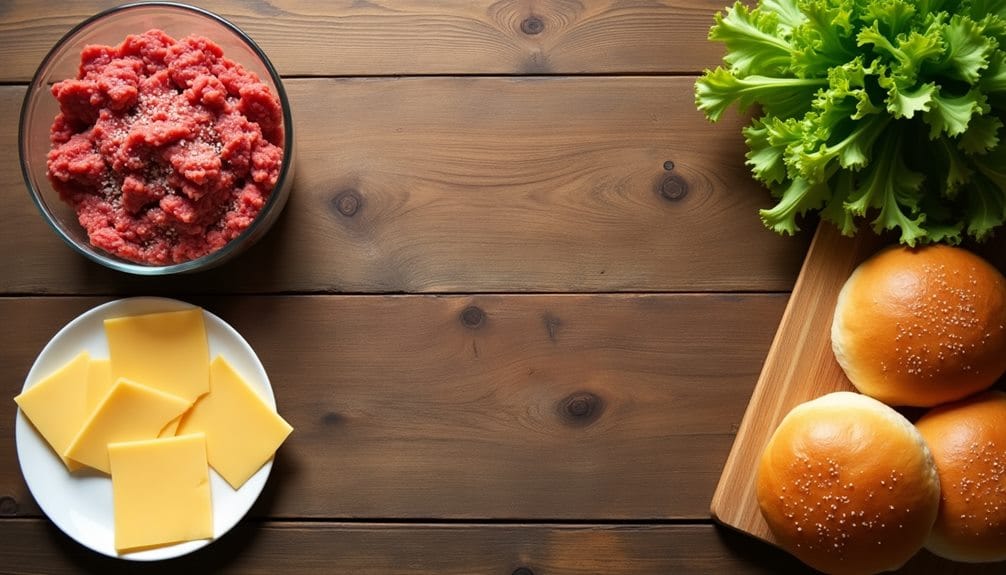
- 2 lbs of ground beef
- Salt and pepper for seasoning
- 4 slices of your preferred cheese
- 4 hamburger buns
- 1 lettuce head
Cooking Instructions:
Begin by shaping your ground beef into four equal patties. Generously season them with salt and pepper on both sides. Cook the patties on a grill or a skillet over medium-high heat for approximately 3-5 minutes per side, depending on your preferred level of doneness. In the final minute of cooking, place a slice of cheese on each patty and allow it to melt. If you prefer, you can toast the hamburger buns. Place each cooked patty on a bun and let your guests add their own toppings.
Extra Tips:
It is essential to remember not to overwork the meat when forming your patties, as this can result in tough burgers. For the juiciest burgers, grilling is the best option. However, if you don’t have a grill, using a skillet will suffice. Additionally, consider offering a variety of cheeses and buns to cater to different preferences. Finally, make sure to provide a wide array of toppings for your guests, such as tomatoes, pickles, onions, various sauces, and more.
Step 1. Patty Shaping and Seasoning
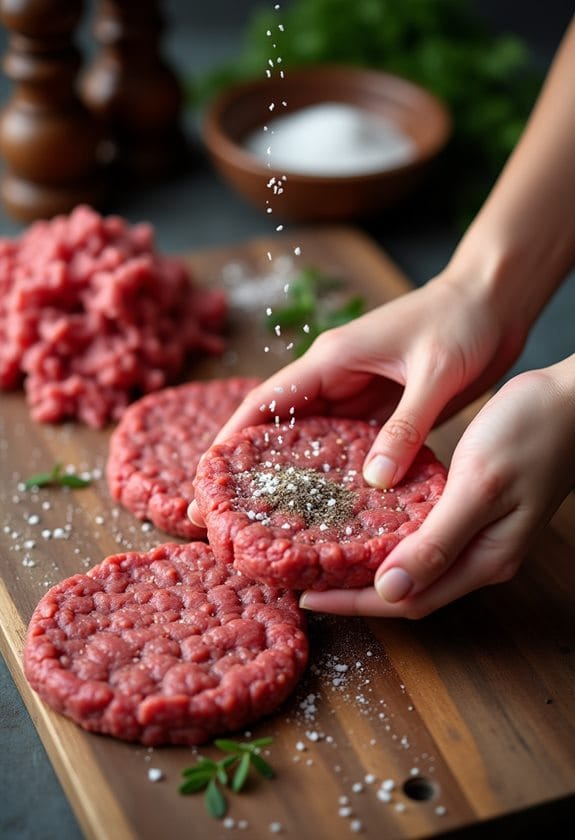
First up, let’s tackle shaping and seasoning your patties. Grab your ground beef and divide it into four equal portions. Carefully form each portion into a patty, roughly about an inch thick. Be sure not to overwork the meat as it can result in tough burgers. Now, it’s time to season. Use a generous amount of salt and pepper on both sides of each patty. Remember, the seasoning is what brings out the flavors in your beef.
You might be tempted to get creative here, adding other spices or sauces into the mix. However, it’s best to keep it simple. The beauty of a build-your-own burger bar lies in the toppings, which we’ll get to later. For now, let your quality beef and its seasoning shine. Finally, make a small indentation in the center of each patty with your thumb. This helps the burger cook evenly and prevents it from puffing up in the middle.
In a nutshell, shaping and seasoning your patties is a breeze. It’s a simple process, but it’s essential for creating perfect, flavorful burgers. Stay tuned for the next step: grilling and melting cheese.
Step 2. Patty Grilling and Cheese Melting
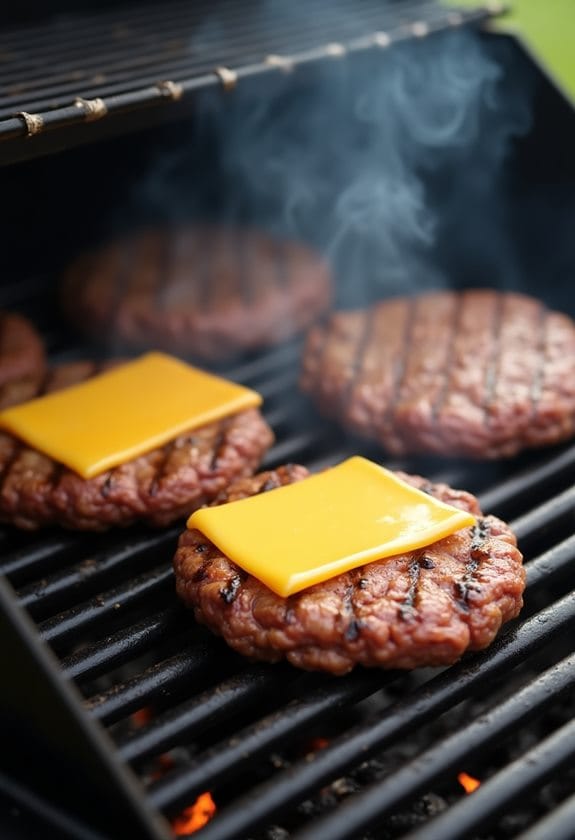
Once your patties are shaped and seasoned, it’s time to fire up the grill. Get it nice and hot before you add your patties. You’re aiming for a medium-high heat to give your burgers a beautiful sear. This isn’t just for appearances – that sear locks in flavor and juices, making your burgers extra tasty.
Now, patience is key here. Resist the temptation to move or flip your burgers too soon. Let each side cook for about 3-5 minutes. This should give you a medium cook, but adjust the time to suit your preference.
While the second side is cooking, it’s time for the cheese. Lay a slice on each patty and let the heat of the grill do its work. You’re looking for a good melt here, but be careful not to let it burn.
Remember, safety first. Always use a spatula or tongs to handle your burgers, and never press down on them. That’ll only squeeze out those delicious juices.
And there you have it, perfectly grilled patties with melted cheese, ready to be devoured. But hold on, we’re not done yet. Let’s move on to the next step, toasting your buns and placing your patties.
Step 3. Bun Toasting and Patty Placement
Don’t underestimate the importance of a good bun in your burger creation! The bun is not just a holder but also adds taste and texture. So, let’s talk bun toasting and patty placement.
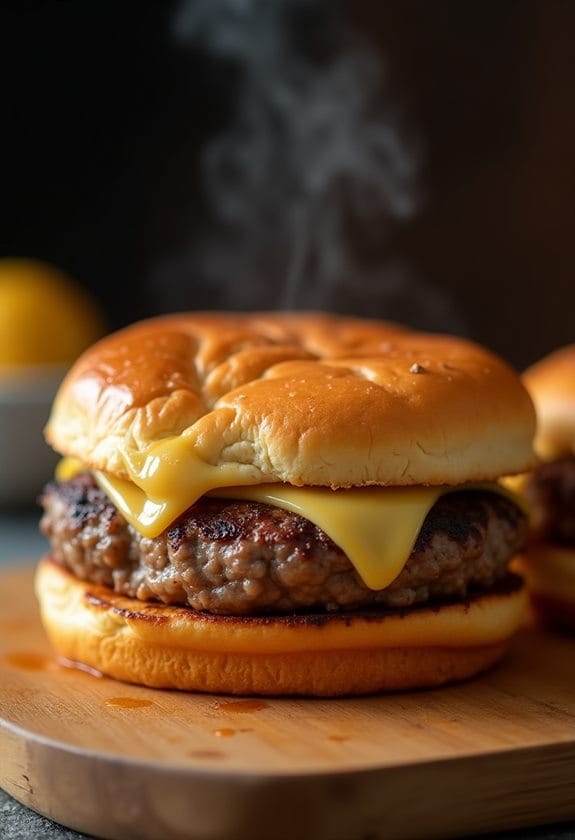
First, cut your buns in half and toast them lightly on a griddle or under a broiler. Keep a close eye as they can burn quickly. You’re looking for a slight golden brown color and a bit of crispness. Toasting not only enhances flavor but also prevents your bun from getting soggy.
Next, your beautifully grilled and cheese-melted patty. Make sure it’s rested a bit after coming off the grill; this lets the juices redistribute. Now, place it on the bottom half of your bun. Why the bottom? It’s generally thicker and holds up better under the weight of the patty.
Step 4. Guests Customize Their Burgers
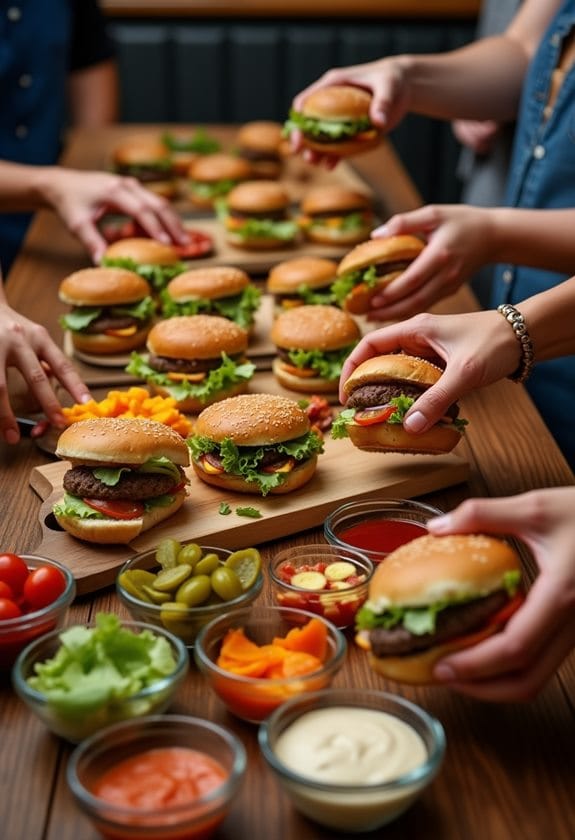
Now comes the most enjoyable part – your guests get to customize their burgers. With a delicious, juicy patty and a toasted bun as their canvas, they’re free to create their own masterpiece. You’ve provided a range of toppings, so they can pile on as much or as little as they like.
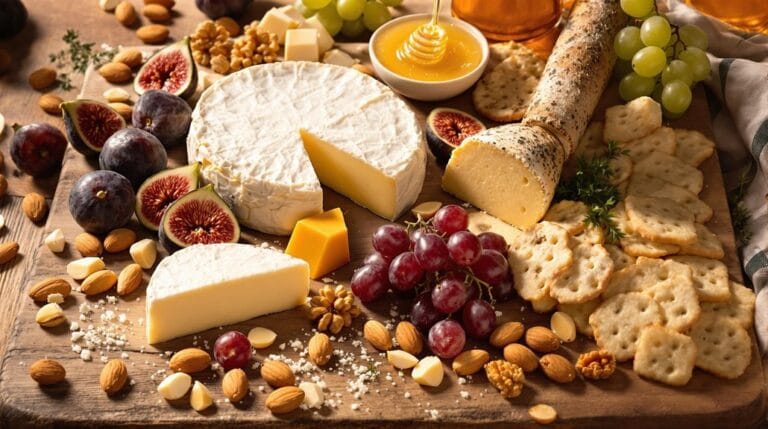
Offer a variety of cheeses, from sharp cheddar to creamy mozzarella, or even tangy blue cheese for the adventurous. Don’t forget the veggies – lettuce, tomatoes, pickles, and onions are staples, but you could also offer grilled mushrooms or ripe avocados. And of course, sauces are key. Ketchup, mustard, mayo, barbeque sauce, or perhaps a spicy sriracha for those who like a little heat.
Step 5. Enjoying the Customized Burgers
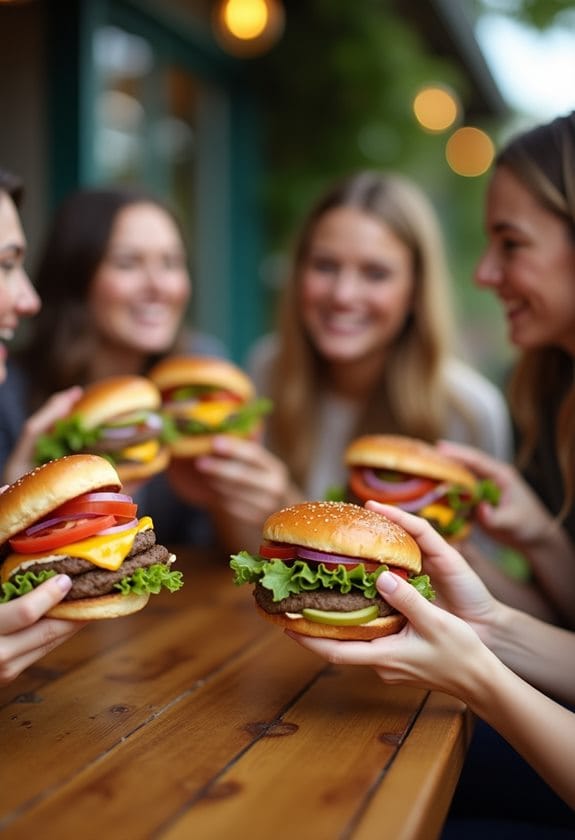
After your guests have had their fun adding their personal touch to their burgers, it’s time to dig in and enjoy the feast. You can’t help but feel a sense of gratification seeing everyone enjoy their customized meals.
Now, it’s time for you to relish in the fruits of your labor. Grab a burger, dress it up exactly how you like, and take that first, delectable bite. The flavors of your chosen toppings meld with the juicy, perfectly cooked patty providing a taste explosion in your mouth. Each bite is a reminder of why the build-your-own burger bar is such a hit.
Don’t forget to check in with your guests. Ask them how they’re enjoying their unique creations. It’s a great way to spark conversation and share culinary ideas. You’ll likely find that everyone’s burger is different, just like their personalities.
Lastly, don’t stress about the clean-up. The beauty of a build-your-own burger bar is that it’s a self-contained activity. Most of the clean-up was done as the burgers were being built. So, sit back, enjoy your burger, and relish in your successful event.
New Recipe
- Pepperoni and Hot Honey PizzaTry the tantalizing twist of pepperoni pizza with hot honey, where sweet meets heat—how will it transform your taste buds?
Final Thoughts
Everyone can agree that a build-your-own burger bar is a fun, interactive, and delicious idea for any gathering. It’s a fantastic way to engage your guests and let them customize their own meal. The versatility of this concept allows you to cater to varied tastes, preferences, and dietary restrictions.
However, it’s important to remember that the heart of a good burger lies in the quality of your meat and buns. Don’t skimp on these, as they can make or break the overall experience. In addition, be mindful not to overwork your patties while shaping them. You want them to be tender and juicy, not tough and dry.
When it comes to toppings and extras, the sky’s the limit. Offer a variety of cheeses, sauces, and fresh produce to allow for maximum customization. Don’t forget to include options for vegetarians or those with dietary restrictions.
Lastly, don’t stress too much. The beauty of a build-your-own burger bar is that it’s supposed to be fun and relaxed. Enjoy the process, and remember, the best part is seeing your guests enjoy their custom-made burgers. After all, isn’t that what it’s all about?

