Did you know that nearly 60% of Americans enjoy Mexican food regularly, with quesadillas being one of the top choices? Now imagine taking this beloved staple and adding a classic American twist to it – Grilled Ham and Cheese. It’s simple, yet undeniably delicious. But what’s the secret to achieving that perfect blend of crispy tortilla, gooey cheese, and smoky ham? Can you take this classic and elevate it even further? Let’s explore.
History
The evolution of Grilled Ham and Cheese Quesadillas is truly a demonstration of culinary creativity. You see, quesadillas, in their simplest form, originated in Mexico. They were traditionally filled with cheese only, hence the name ‘quesadilla’ which literally means ‘little cheesy thing’.
However, as this dish moved north into the United States, it began to change. American cooks, with their knack for experimentation, began adding more fillings. Ham, a common sandwich filler, became a popular addition. The combination of the salty ham and the melting cheese proved a hit, and therefore the Grilled Ham and Cheese Quesadilla was born.
Today, this dish is loved by many for its simplicity, versatility, and deliciousness. It’s a common sight in American homes, particularly as a quick and easy meal option. It’s also a hit in restaurants, where it’s often served as an appetizer or a light lunch. As you see, the journey of the Grilled Ham and Cheese Quesadilla, from a simple Mexican cheese snack to a beloved American dish, is a proof of the magic of culinary evolution. So, why not join the journey and cook up a batch for yourself?
Recipe Cooking Steps
Grilled Ham and Cheese Quesadillas offer a delectable fusion of flavors wrapped in a crispy tortilla. This dish is a demonstration of the magic that happens when you combine simple ingredients with a straightforward cooking method. It’s a perfect meal for lunch or dinner, or even a quick snack when hunger strikes unexpectedly. With the golden-brown tortilla, the melted cheese, and the savory ham, every bite of this quesadilla is a delightful experience.
What makes Grilled Ham and Cheese Quesadillas even more appealing is the flexibility in its ingredients. You can select from a range of cheeses that melt well, such as cheddar or Monterey Jack. The choice of ham is also up to you. Just pick your favorite or whatever is readily available. In no time, you will have a dish that’s not only easy to make but also incredibly satisfying.
Ingredients:
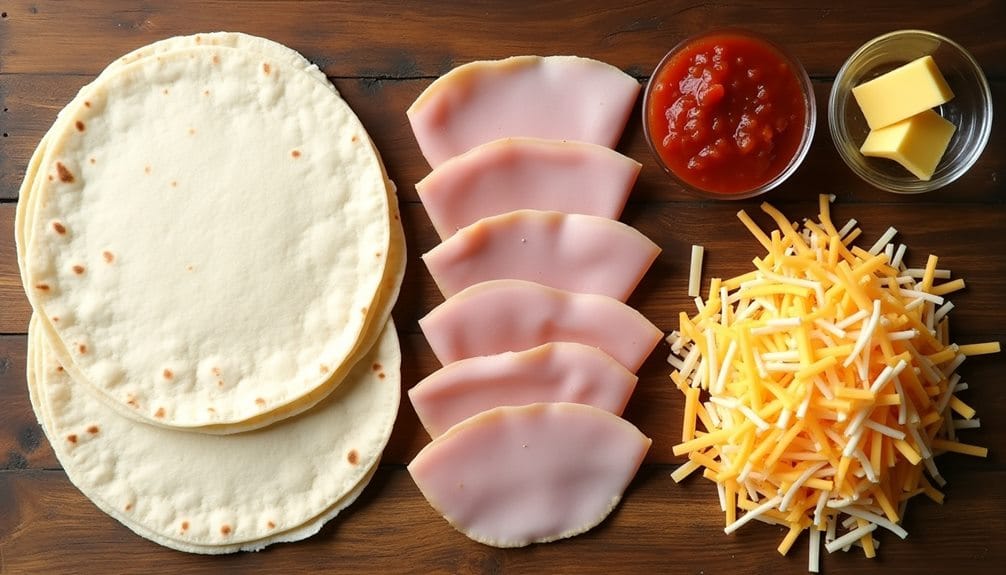
- 4 large flour tortillas
- 8 slices of ham
- 2 cups of shredded cheese
- 2 tablespoons of butter
- Salsa for serving (optional)
To prepare Grilled Ham and Cheese Quesadillas, preheat a griddle or a large pan over medium heat. Butter one side of each tortilla and place one on the griddle, butter side down. Layer cheese, two slices of ham, more cheese, and another tortilla on top (butter side up). Cook until the bottom tortilla turns golden brown and the cheese starts to melt. Flip the quesadilla and cook until the other side is also golden brown. Repeat this process with the remaining quesadillas. Cut each quesadilla into four pieces before serving, and if you like, serve with salsa on the side.
The key to a successful Grilled Ham and Cheese Quesadilla lies in the cooking time. You want to cook it just long enough for the cheese to melt, but not so long that the tortilla gets burnt. Medium heat is ideal for even cooking. When flipping the quesadilla, be careful to avoid spilling the fillings; a wide spatula can help with this. Don’t hesitate to get creative and add in other fillings such as sautéed onions, bell peppers, or even some grilled chicken for a more substantial meal.
Step 1. Preheat and Butter Tortillas
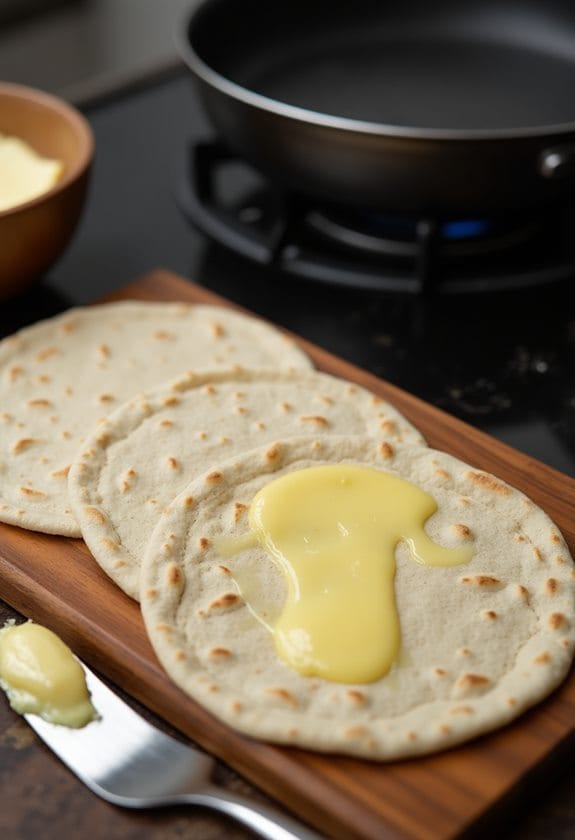
Before you plunge into your cooking adventure, get your griddle or large pan warming up over medium heat. This step is essential to achieve the perfect golden-brown color and crispy texture on your tortillas. Now, while your griddle is heating up, you should butter your tortillas. You don’t need much, just enough to cover one side of each tortilla. This thin layer of butter is going to give your quesadillas a delightful crunch and a rich flavor.
Now, here are the three things to remember when preheating and buttering your tortillas:
- Don’t rush the preheating. Giving your griddle adequate time to warm up guarantees even cooking and prevents any cold spots on your tortillas.
- Be generous with the butter, but don’t overdo it. A thin layer is all you need. Too much butter can make your quesadillas soggy instead of crispy.
- Always butter the tortillas on the side that’ll touch the griddle. This helps you get that crispy, golden-brown finish.
And with that, you’re all set to move on to the next exciting step in your quesadilla-making journey: adding the cheese and ham layers.
Step 2. Adding Cheese and Ham Layers
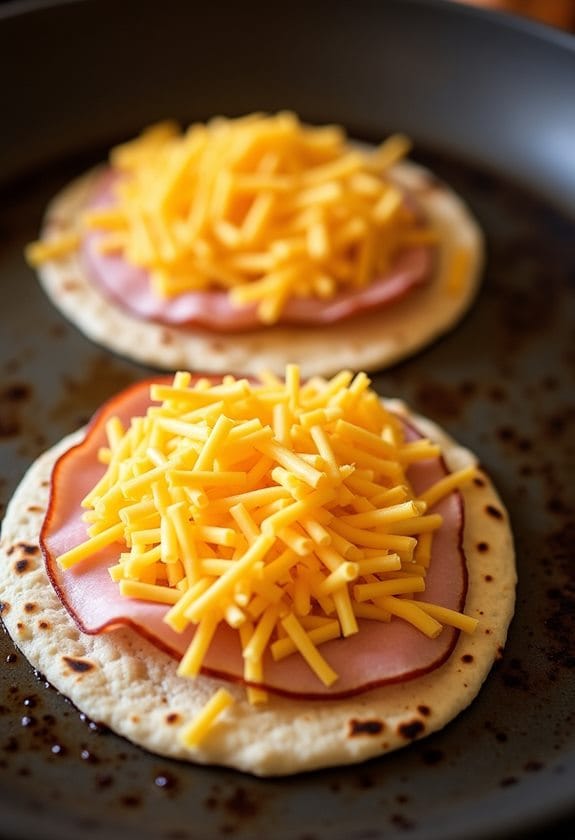
You’ve preheated your griddle and buttered your tortillas, setting the stage for a crispy, golden quesadilla. Now, it’s time to introduce the stars of the show: the cheese and ham. Remember, the cheese is not just a filler; it’s a flavor enhancer, binding the ingredients while adding a creamy texture. Choose a cheese that melts well. Cheddar, Monterey Jack, or mozzarella are all excellent choices.
Grab a handful of your chosen cheese and sprinkle it evenly over the buttered side of one tortilla. Don’t skimp on the cheese; it’s the glue that holds your quesadilla together. Now, layer on your ham. Two slices per quesadilla should do the trick, but feel free to add more if you’re a meat lover.
Once your ham is in place, it’s time for another layer of cheese. This second layer of cheese will melt and ooze into the ham, creating a delicious, gooey center. Top it all off with another buttered tortilla, butter side out.
You’re almost there. Your quesadilla is built and ready for the heat, which will turn these simple ingredients into a mouthwatering meal. Now, get ready for the flip, but that’s a step for another subtopic.
Step 3. Flipping the Quesadilla Over
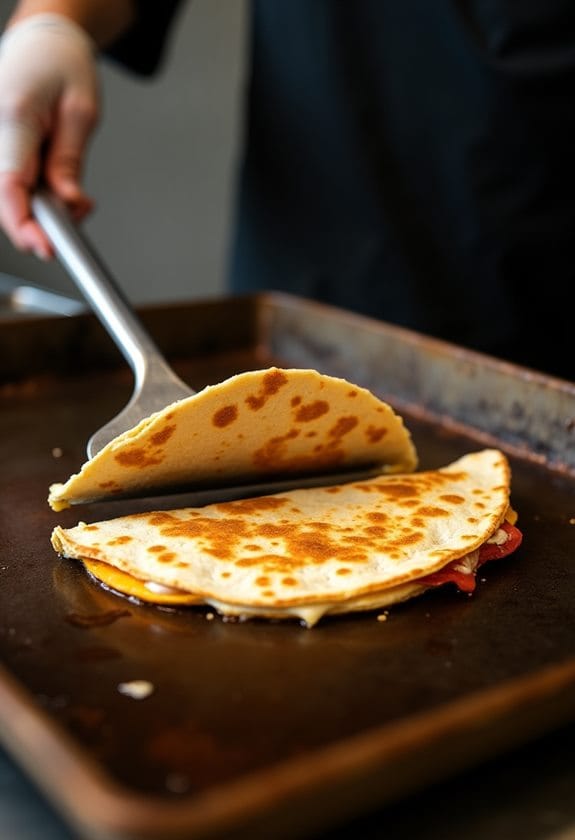
Once your quesadilla is assembled and heated on one side, it’s time for the essential flip. This step is critical to achieve a golden-brown color on both sides and to guarantee the cheese is evenly melted. Now, don’t let this intimidate you. Flipping a quesadilla can be a breeze with the right technique.
Here are a few tips to make the flip as smooth as possible:
- Use a large spatula: This gives you better control and helps keep all those delicious fillings in place.
- Be confident: Don’t hesitate or flip too slowly, as this might cause your quesadilla to fold or the filling to fall out.
- Flip towards you: It’s more natural and there’s less chance of it flipping out of the pan.
Step 4. Cutting and Serving Quesadillas
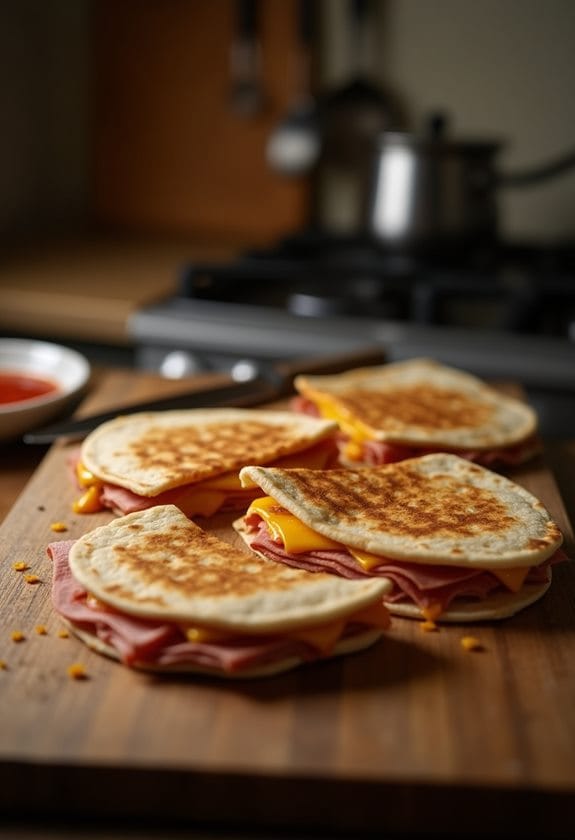
After successfully flipping your quesadilla, the next step is to cut and serve it. It’s a task that requires careful execution. Just as you’re cautious not to let the cheese ooze out while flipping, the same care is needed when slicing.
Grab a sharp pizza cutter or chef’s knife. Slice your quesadilla into quarters, making sure to cut through the center. This way, each piece gets an equal share of the filling. Be gentle to avoid squeezing out the melted cheese. If your fillings start to spill, don’t fret. They’re part of the experience!
Once cut, use a spatula to transfer your quesadilla pieces to a serving plate. This guarantees they maintain their shape and the fillings stay intact. Now, you’re ready to serve. If you fancy, pair your quesadillas with a side of salsa or sour cream. They add an extra punch of flavor.
Step 5. Experimenting With Additional Fillings
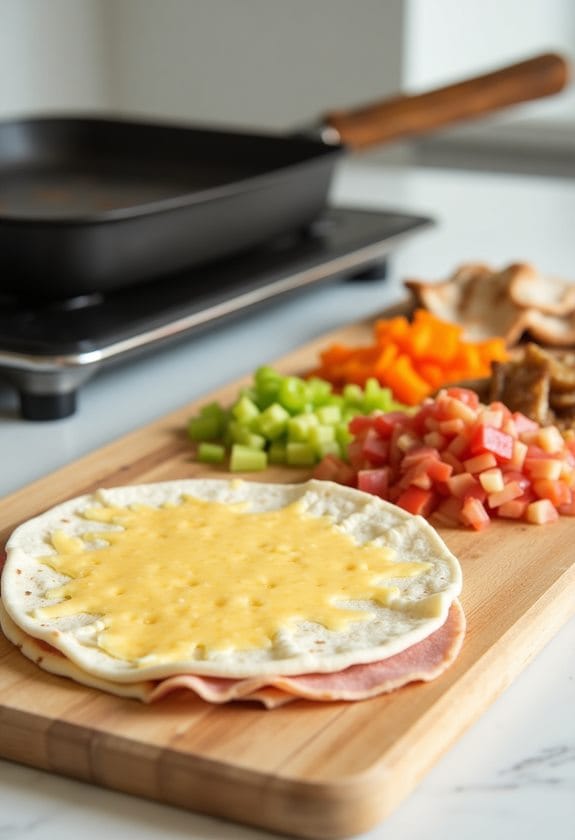
While two fillings are more than enough for a traditional quesadilla, don’t let that limit your culinary creativity. Indeed, one of the joys of cooking is experimenting with different flavors and textures. Let’s consider a few additional fillings that could take your grilled ham and cheese quesadillas to the next level.
- Vegetables: Think bell peppers, onions, or tomatoes. These add a nice crunch and a burst of freshness to contrast the rich cheese and ham. Sauté them lightly before adding to your quesadilla for a delightful flavor boost.
- Proteins: Grilled chicken, steak, or even shrimp could be a fantastic addition. If you’re vegetarian, try beans or tofu for added protein.
- Spices and Sauces: A sprinkle of cumin, a dash of hot sauce, or a dollop of guacamole can dramatically transform the taste of your quesadilla.
New Recipe
- Pepperoni and Hot Honey PizzaTry the tantalizing twist of pepperoni pizza with hot honey, where sweet meets heat—how will it transform your taste buds?
Final Thoughts
In the domain of quick and easy recipes, Grilled Ham and Cheese Quesadillas certainly hold a top spot. You’ve explored the versatility of the dish and the simplicity of its preparation. It’s a recipe that you can make your own, adding the fillings that tickle your taste buds.
If you were uncertain about cooking before, I hope this recipe has quelled some of your fears. It’s straightforward and doesn’t require any fancy kitchen gadgets. Plus, the ingredients are probably already sitting in your pantry. It’s a perfect dish for those hectic days when you just need something quick and satisfying.
Furthermore, the beauty of quesadillas lies in their adaptability. From the type of ham to the choice of cheese, the recipe conforms to your preferences. And if you’re feeling adventurous, why not toss in some extra fillings like sautéed onions or bell peppers?

